DIY Framed Stone Art
When I was a girl I was very close to my Grandma Ann. We both had a love for cats and beauty in nature. We both collected stones, and when she passed away, I was given a mason jar full of the precious stones she had acquired. I had been wanting to do something with the stones so they would be displayed in my home in a beautiful way.
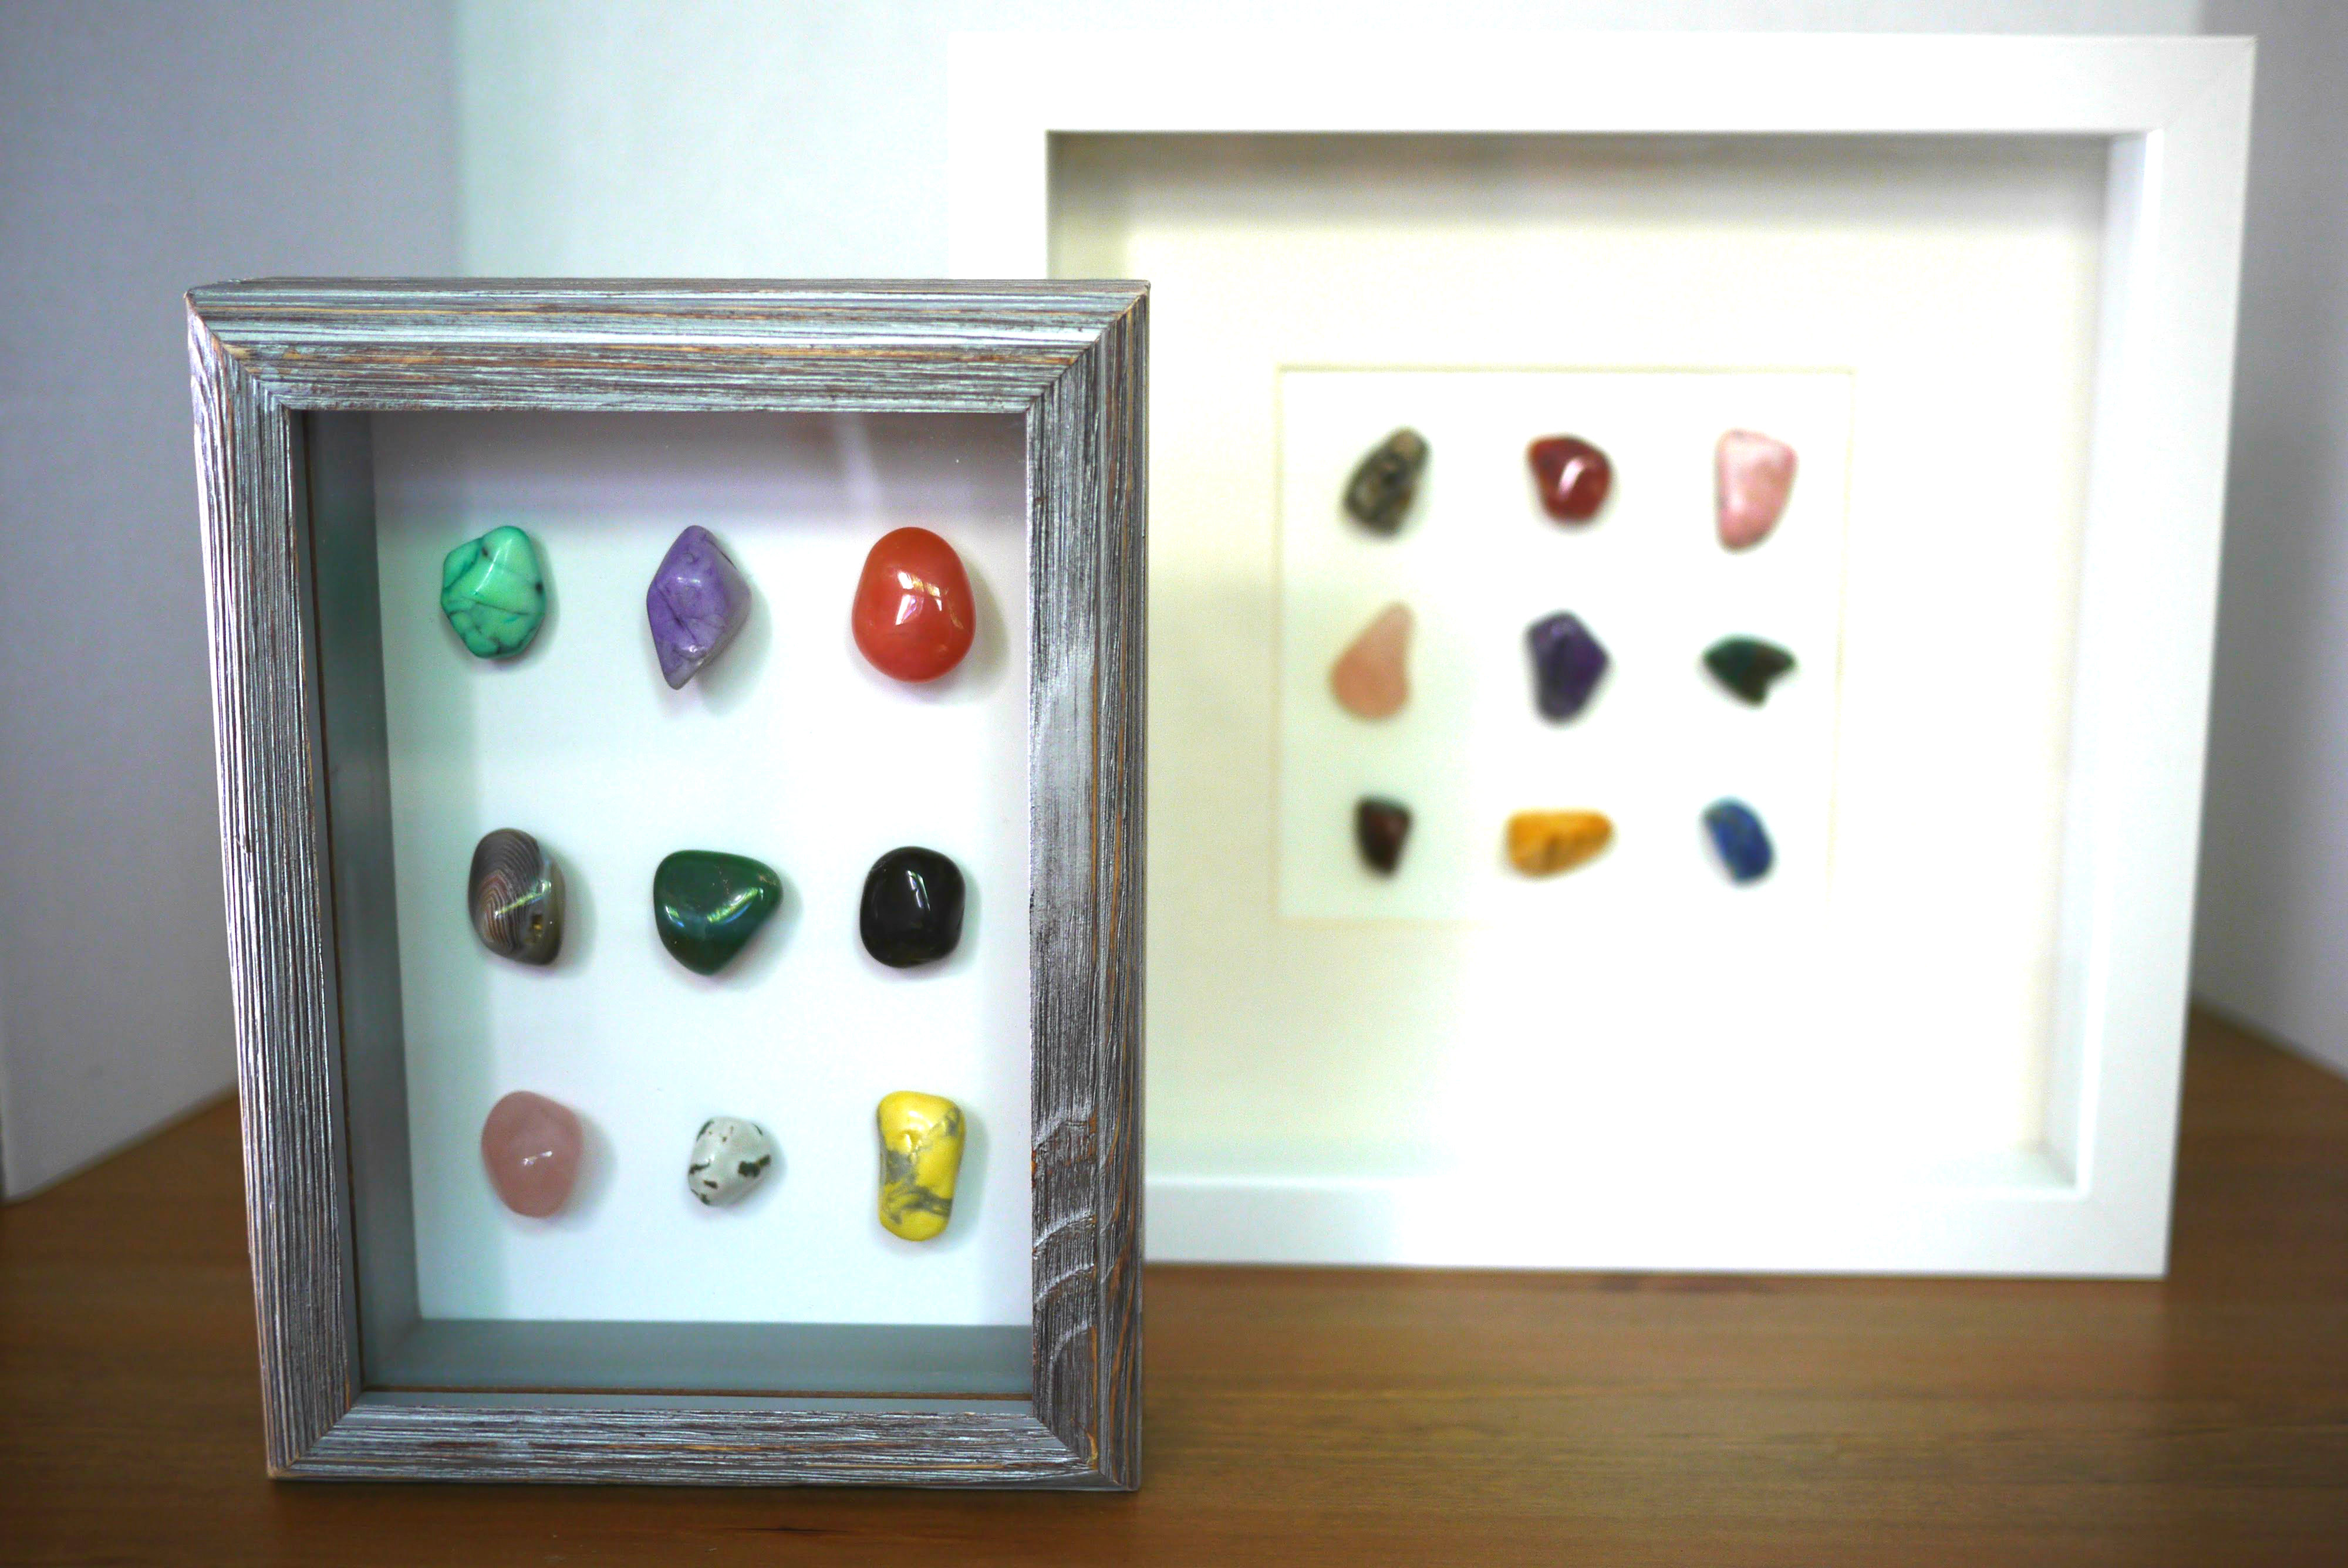
I first made this display using a frame from Ikea. I get so many compliments on this piece and the great thing about it is that it is so personally meaningful to me. I try and have the things in my house to be things that I really love, and not just like. I don’t want any unnecessary clutter, or art that you could just buy at a store. I was so pleased with the way it turned out that I decided to make another similar piece for my home office area.

I like the idea of taking something ordinary, but meaningful, and displaying it in an artful way. I imagine you could do this with seashells from a beach vacation, special coins from a trip abroad, or even something fun like pieces from your favorite board game.
What you need:
Shadowbox frame
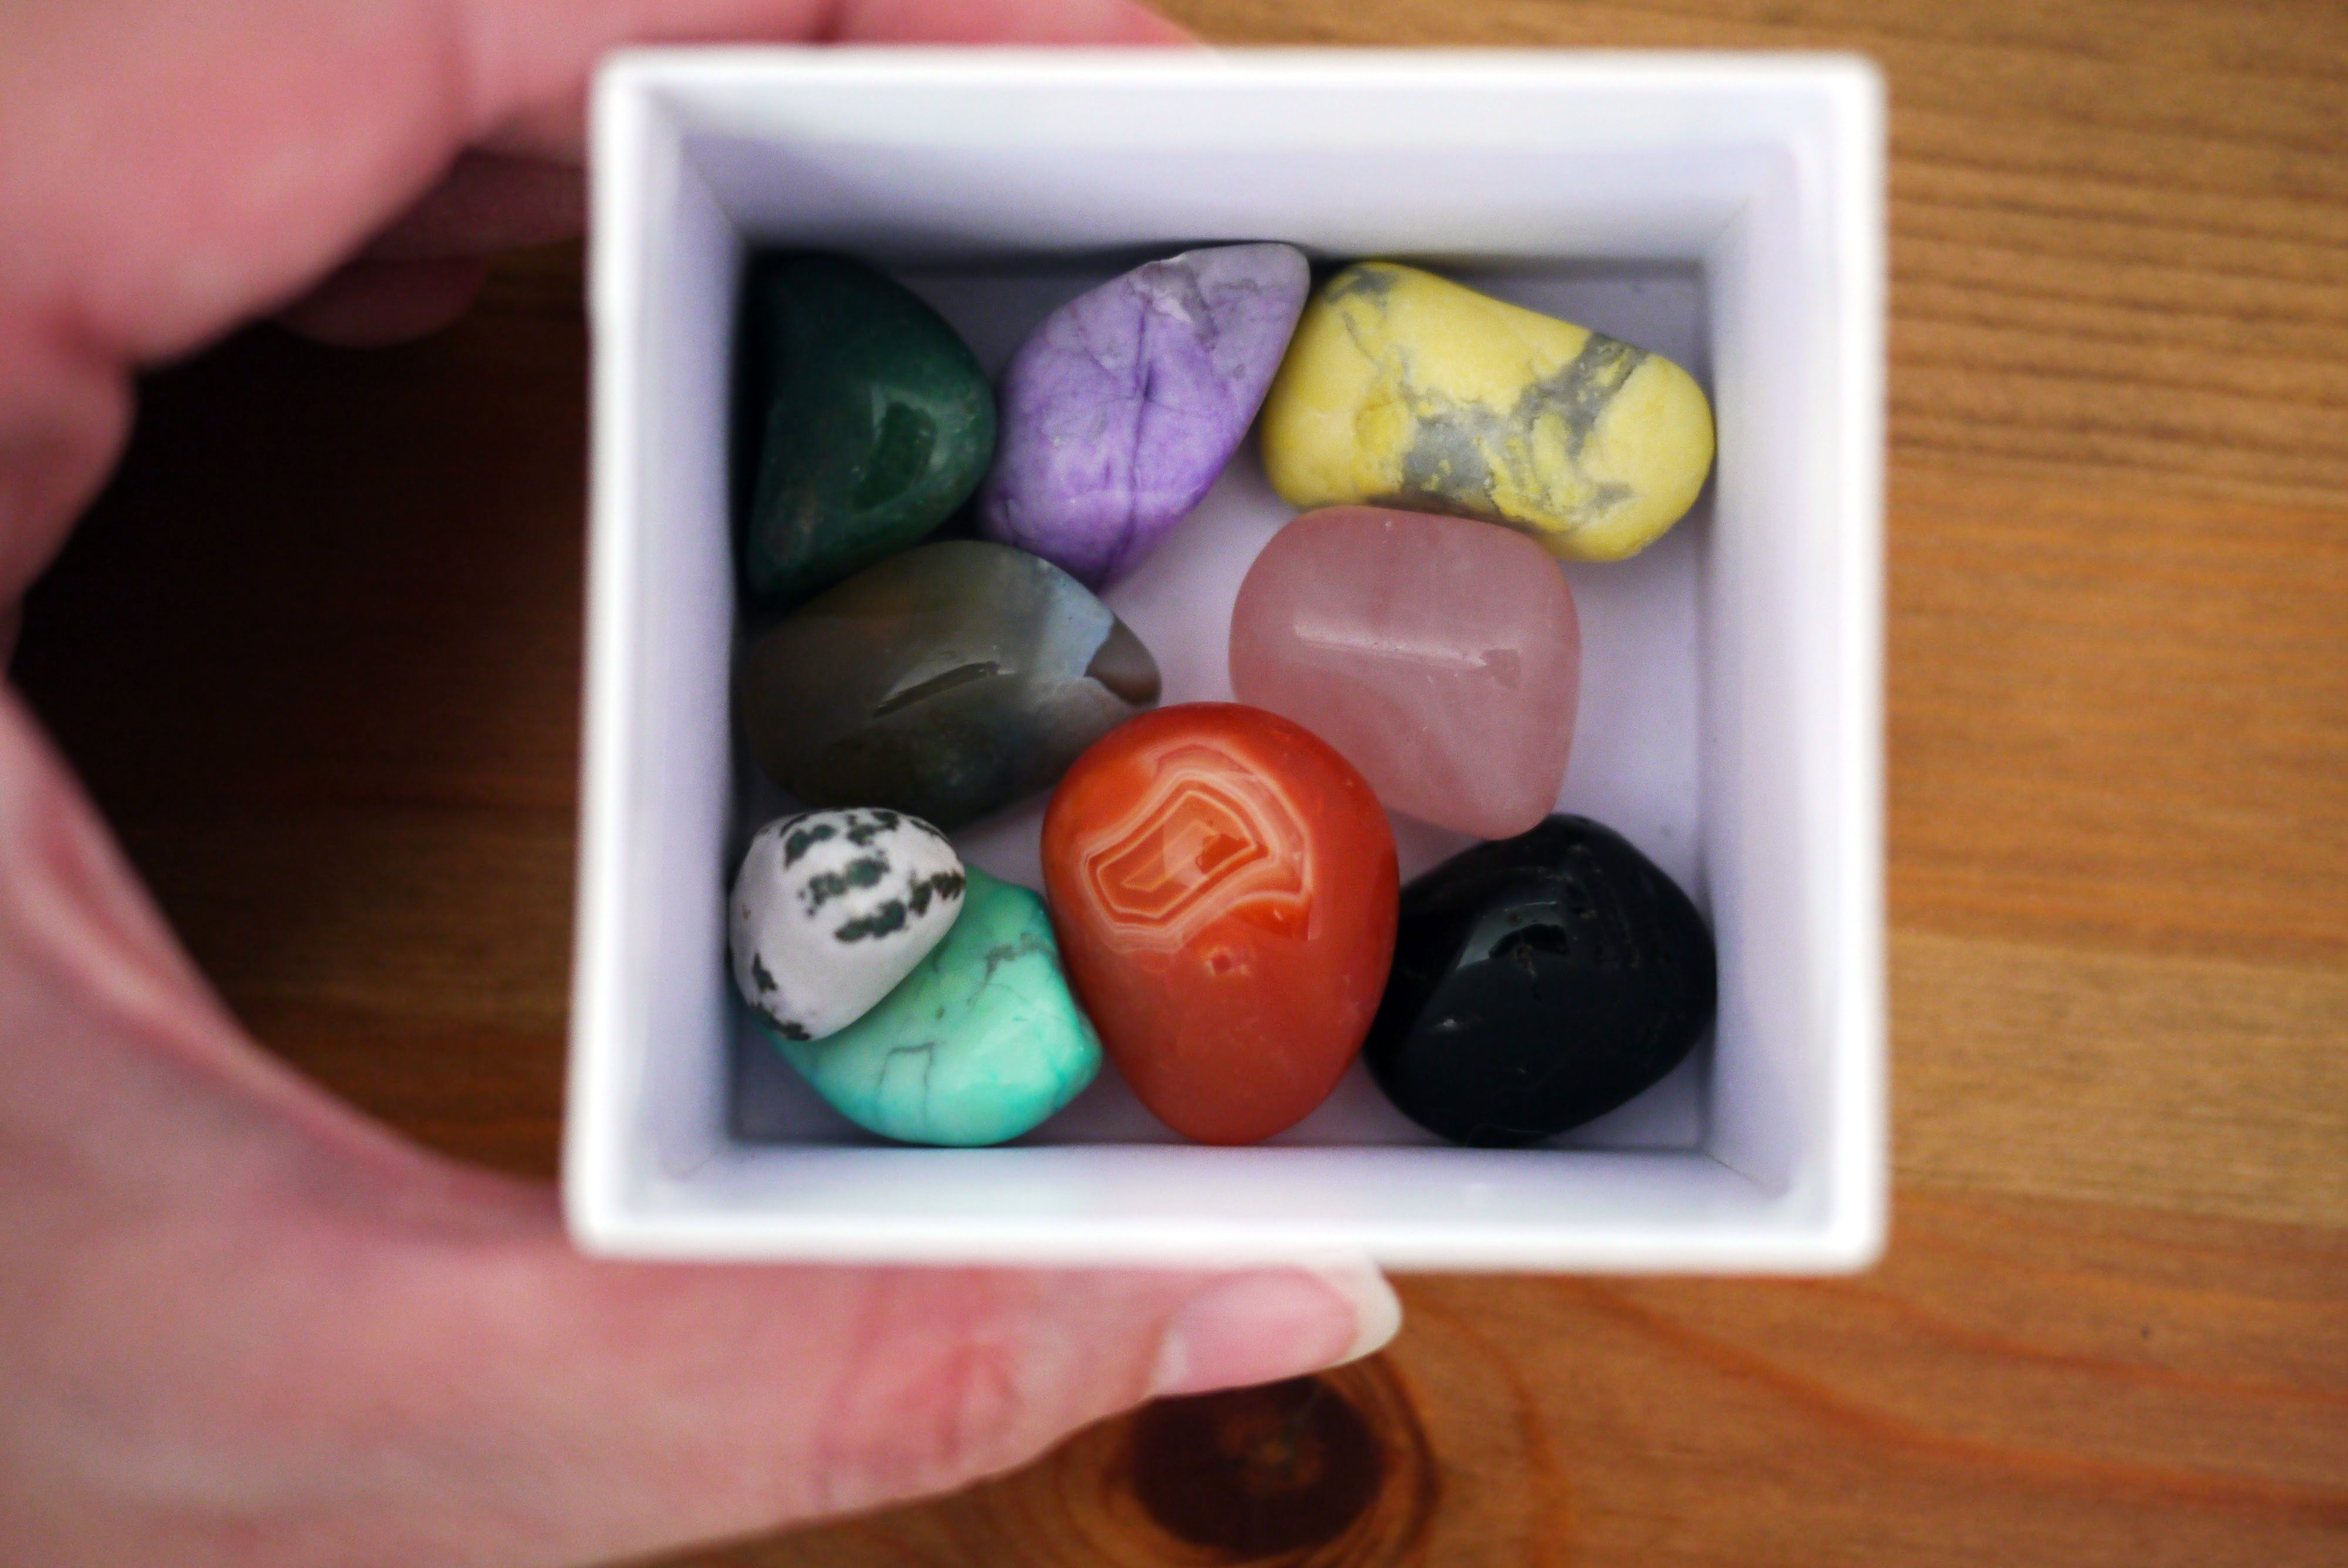
Stones
White cardstock
Hot Glue

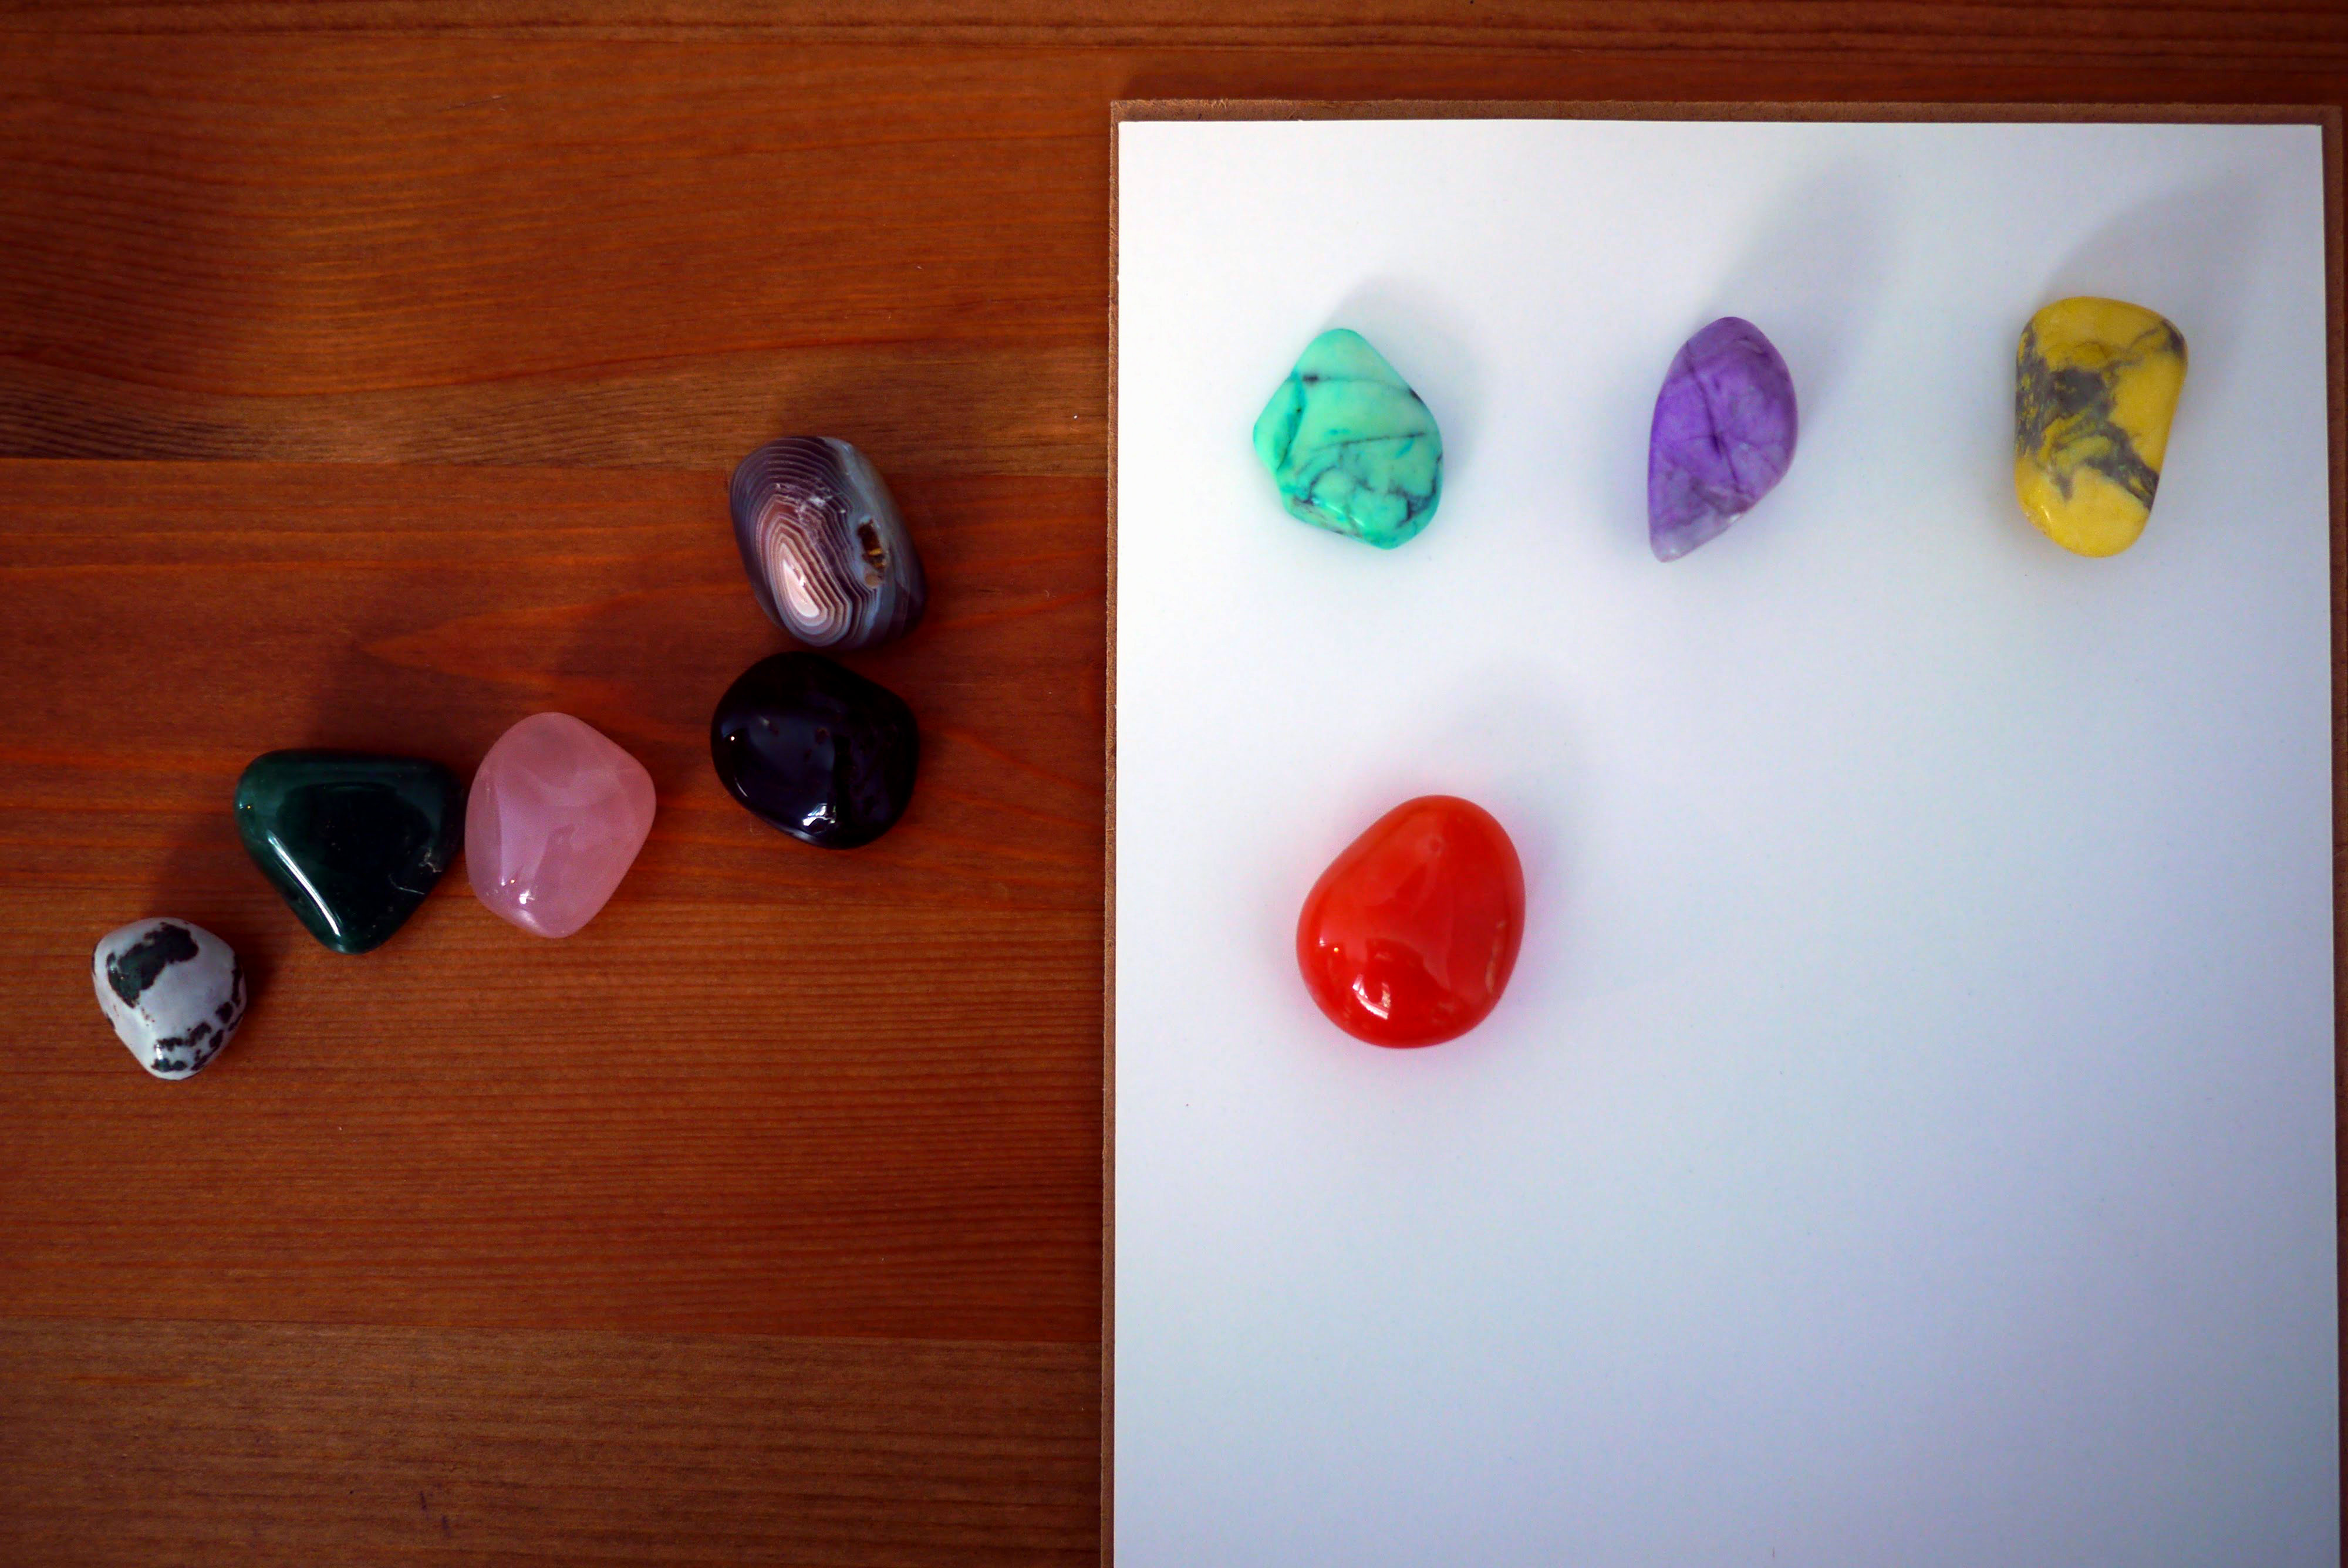
Step 1: Cut your cardstock to the size of the frame and hot glue the corners to the backing of the frame. I just put a dot in each corner. This is important because the rocks have some weight to them and they could bend the paper if not secured to the chipboard on the back.
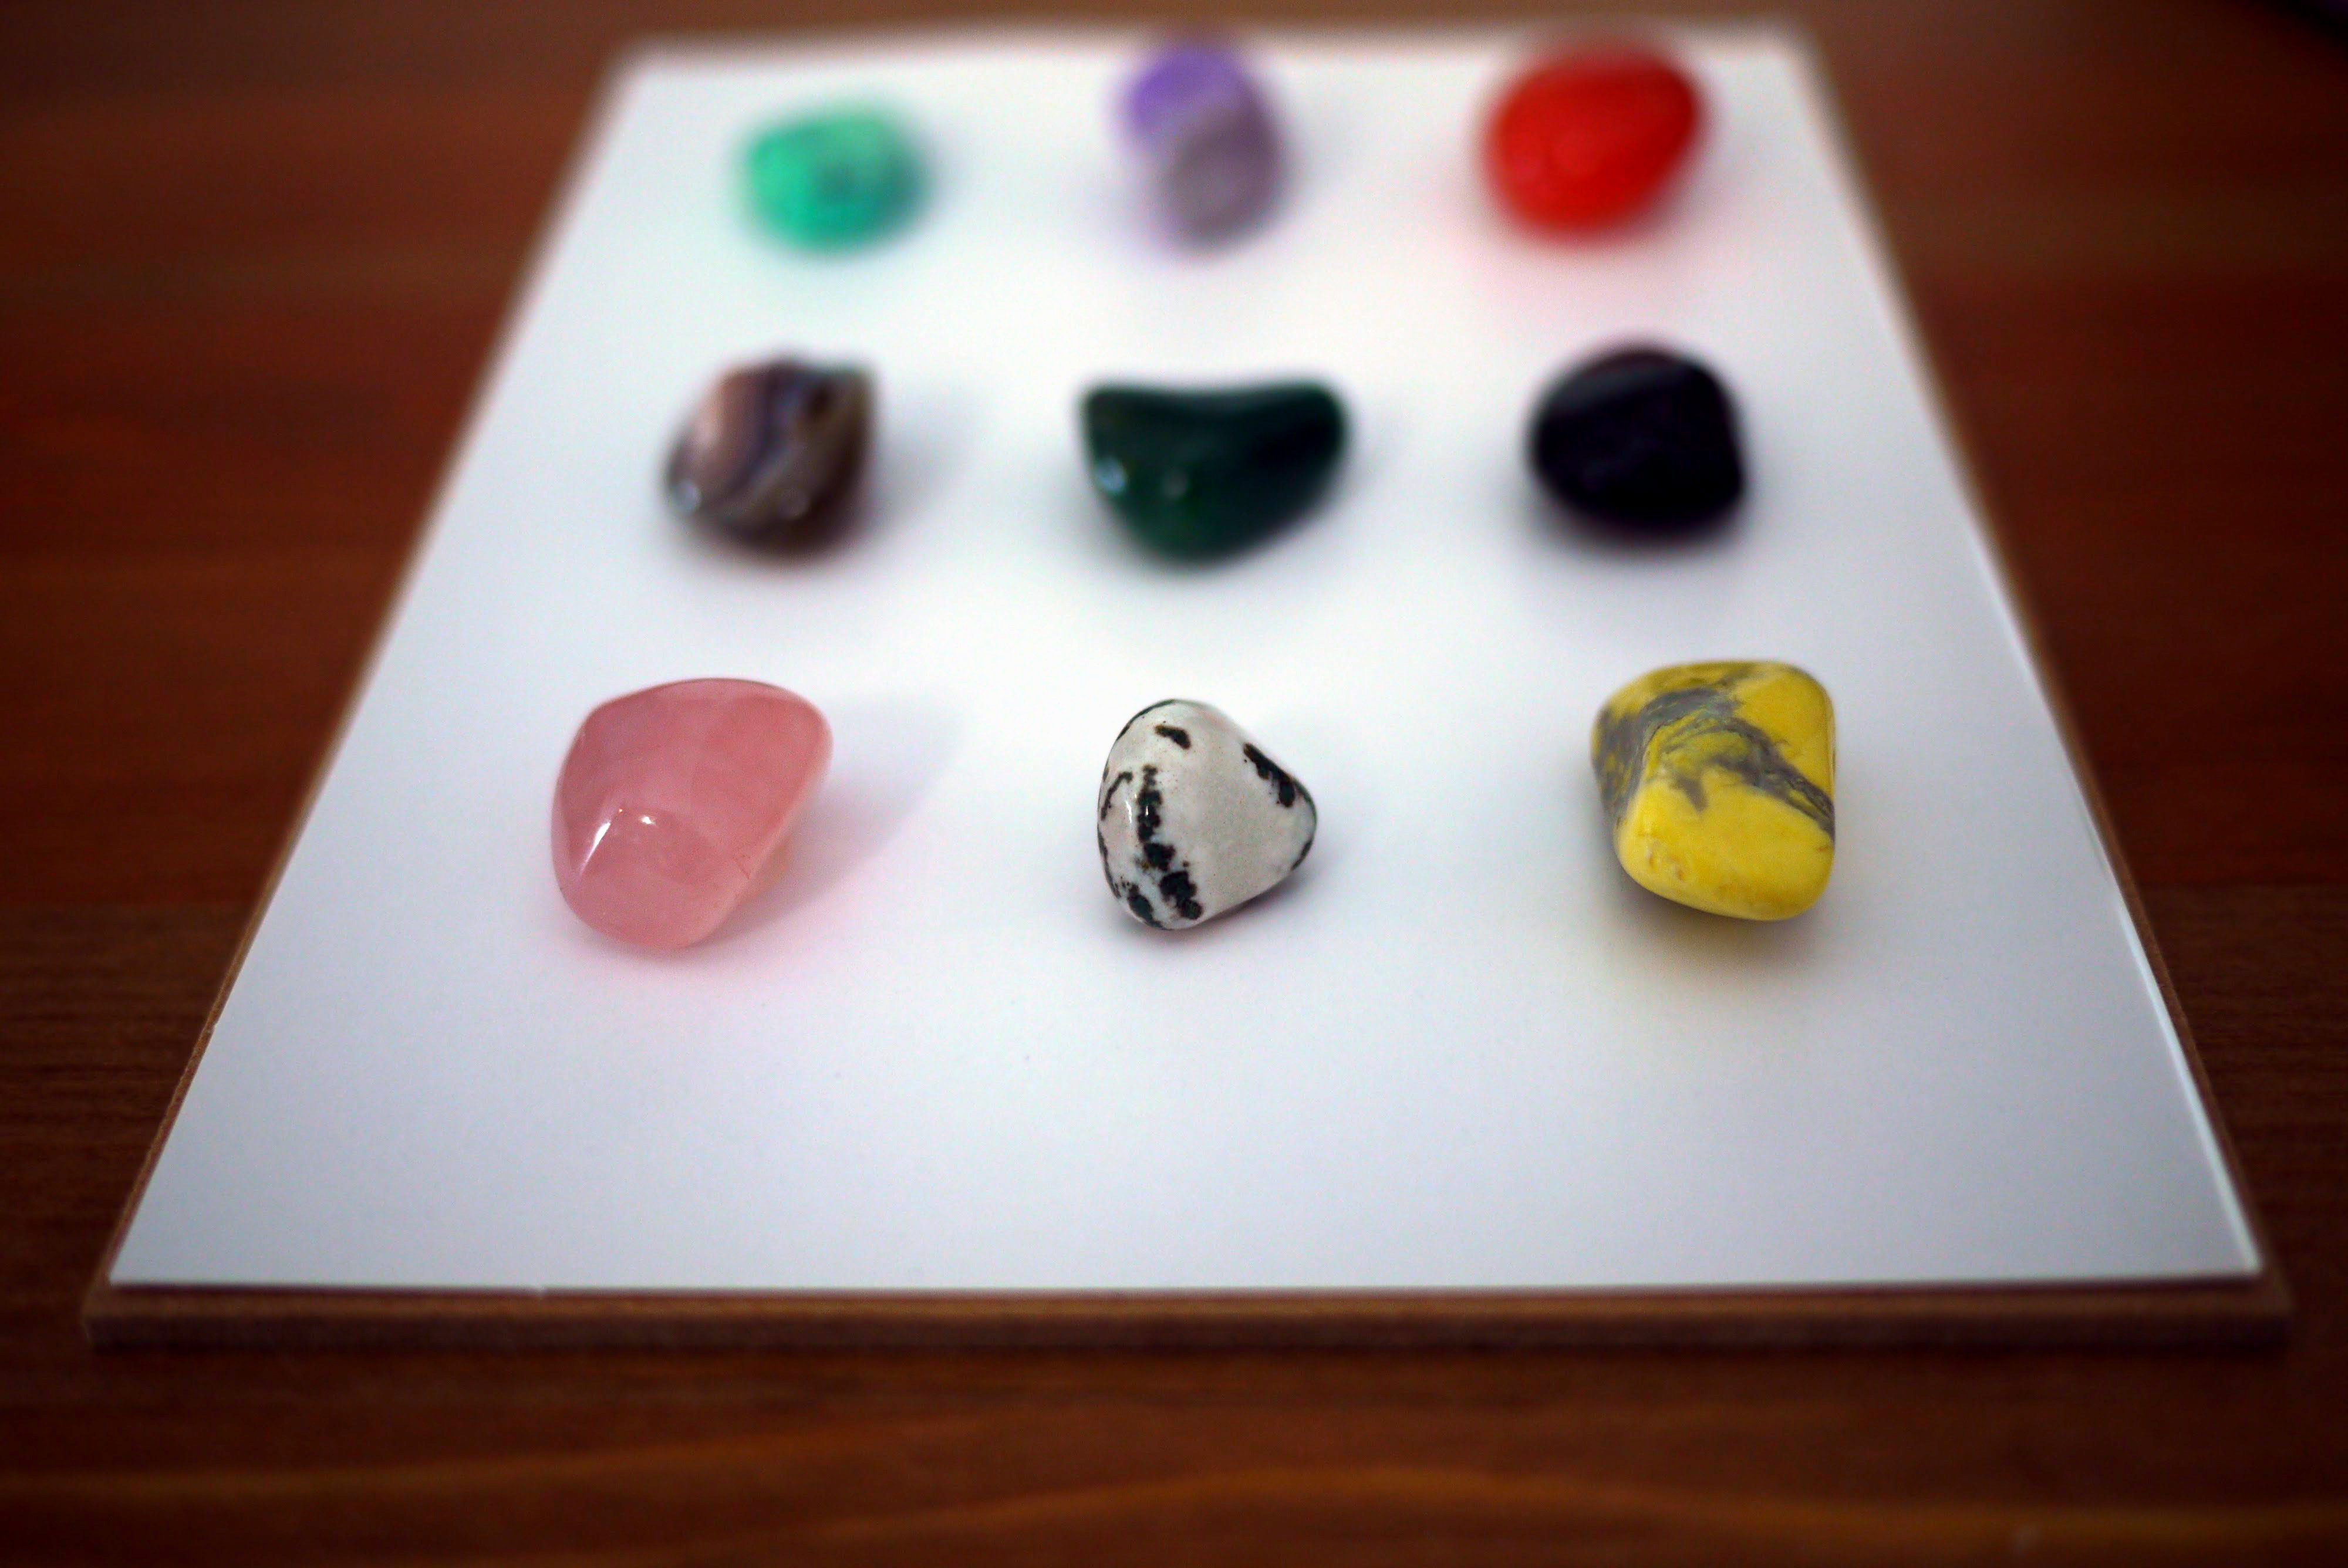
Step 2: Arrange your stones on the paper. I didn’t measure but I did spend a bit of time arranging them to look just right, I made sure the shape of the stone varied within each row and column and so did the lightness/ and color of the stone.
Step 3: Pick up one stone at a time, put a dot of hot glue on the back and place it back on the cardstock. Once it is down, it dries immediately, so be careful with your placement!
Step 4: Place the backing with the stones in the frame and hang for display!


