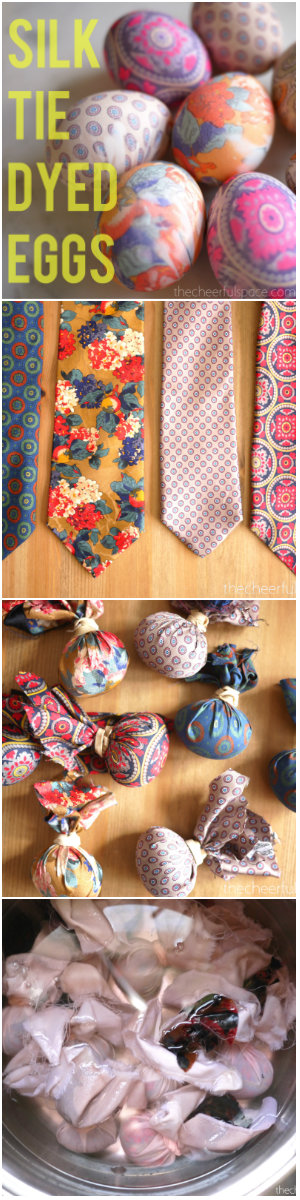
This Easter, I wanted to find an alternative to the pre-packaged egg dying kits found at the store. I did some searching online and there are so many great ideas out there, from natural dyes, to painting, to marbling. The one idea that really caught my attention was silk dyeing eggs. I didn’t even know you could do this! It is so easy and inexpensive and I’d love to show you how to dye your own eggs!
What you need: 100% Silk ties, an old white pillowcase (or fabric), uncooked eggs, scissors, rubber bands (or twist ties), water, vinegar, a large pot.
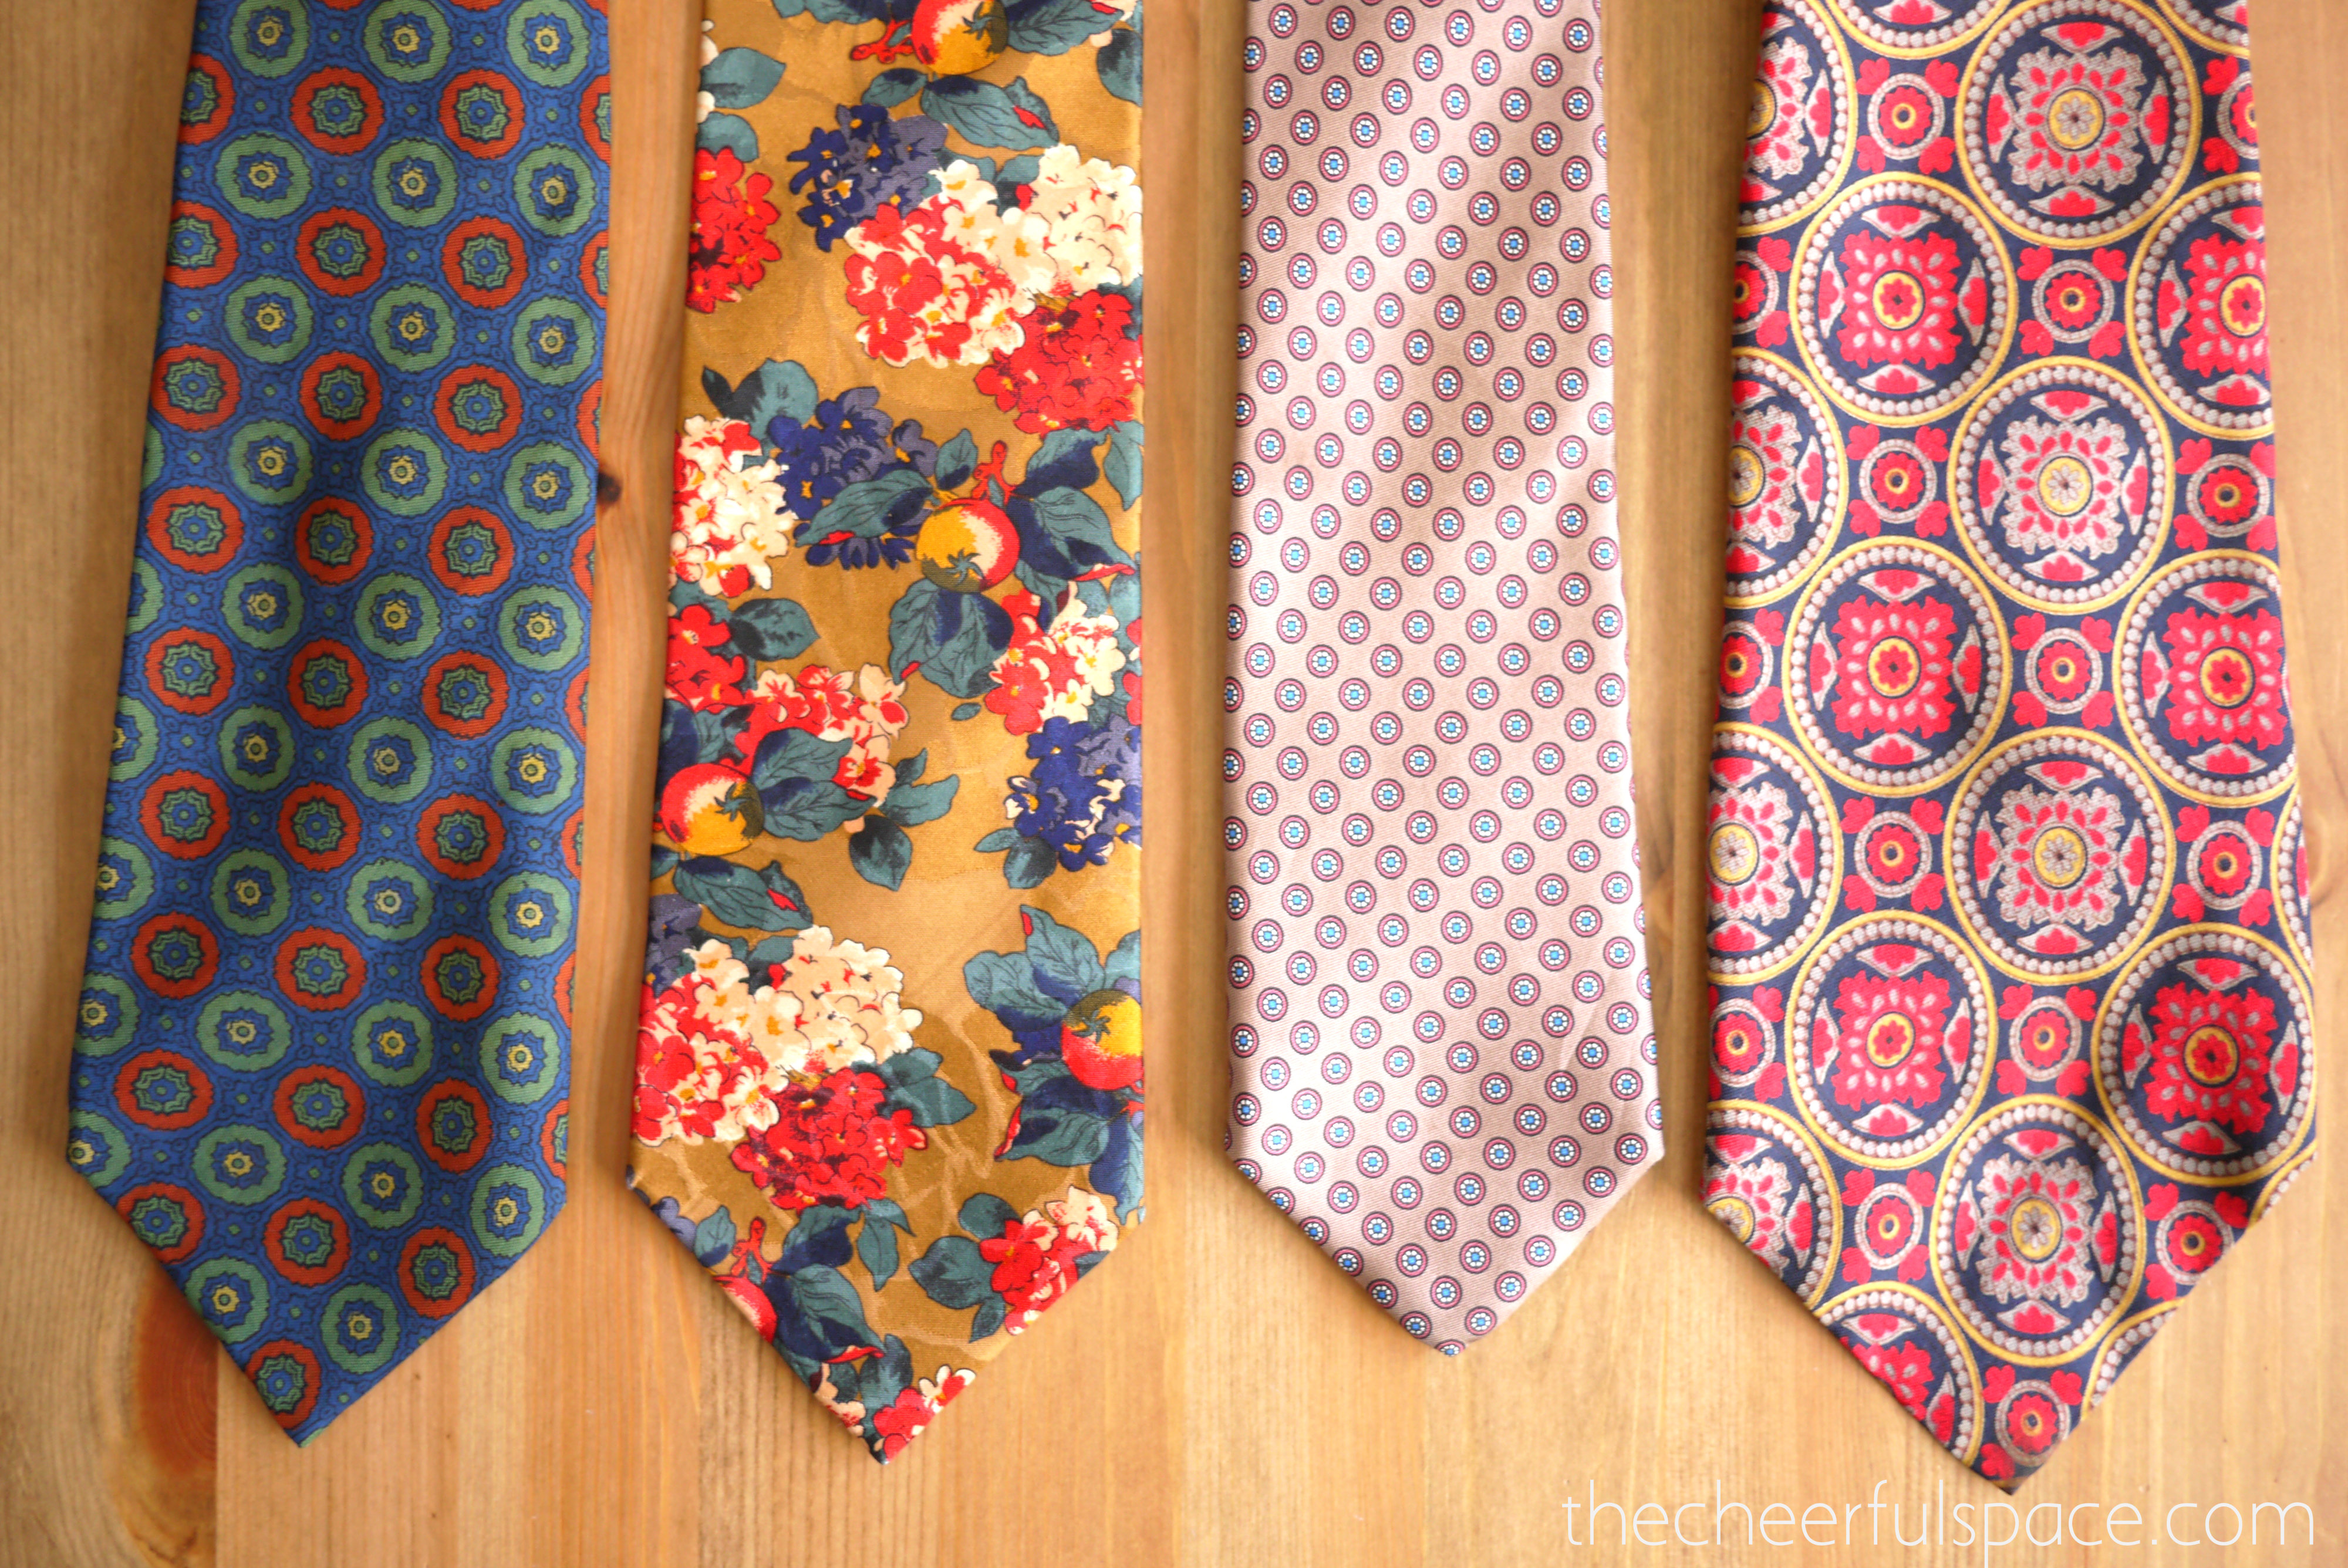
The first step is to get some silk ties (scarves would work too). They must be 100% silk. I was looking for ones with interesting patterns, and I tried to stick to a floral theme, although good floral patterns were hard to find. I purchased each of these four ties at thrift stores and estate sales for $1 or under.
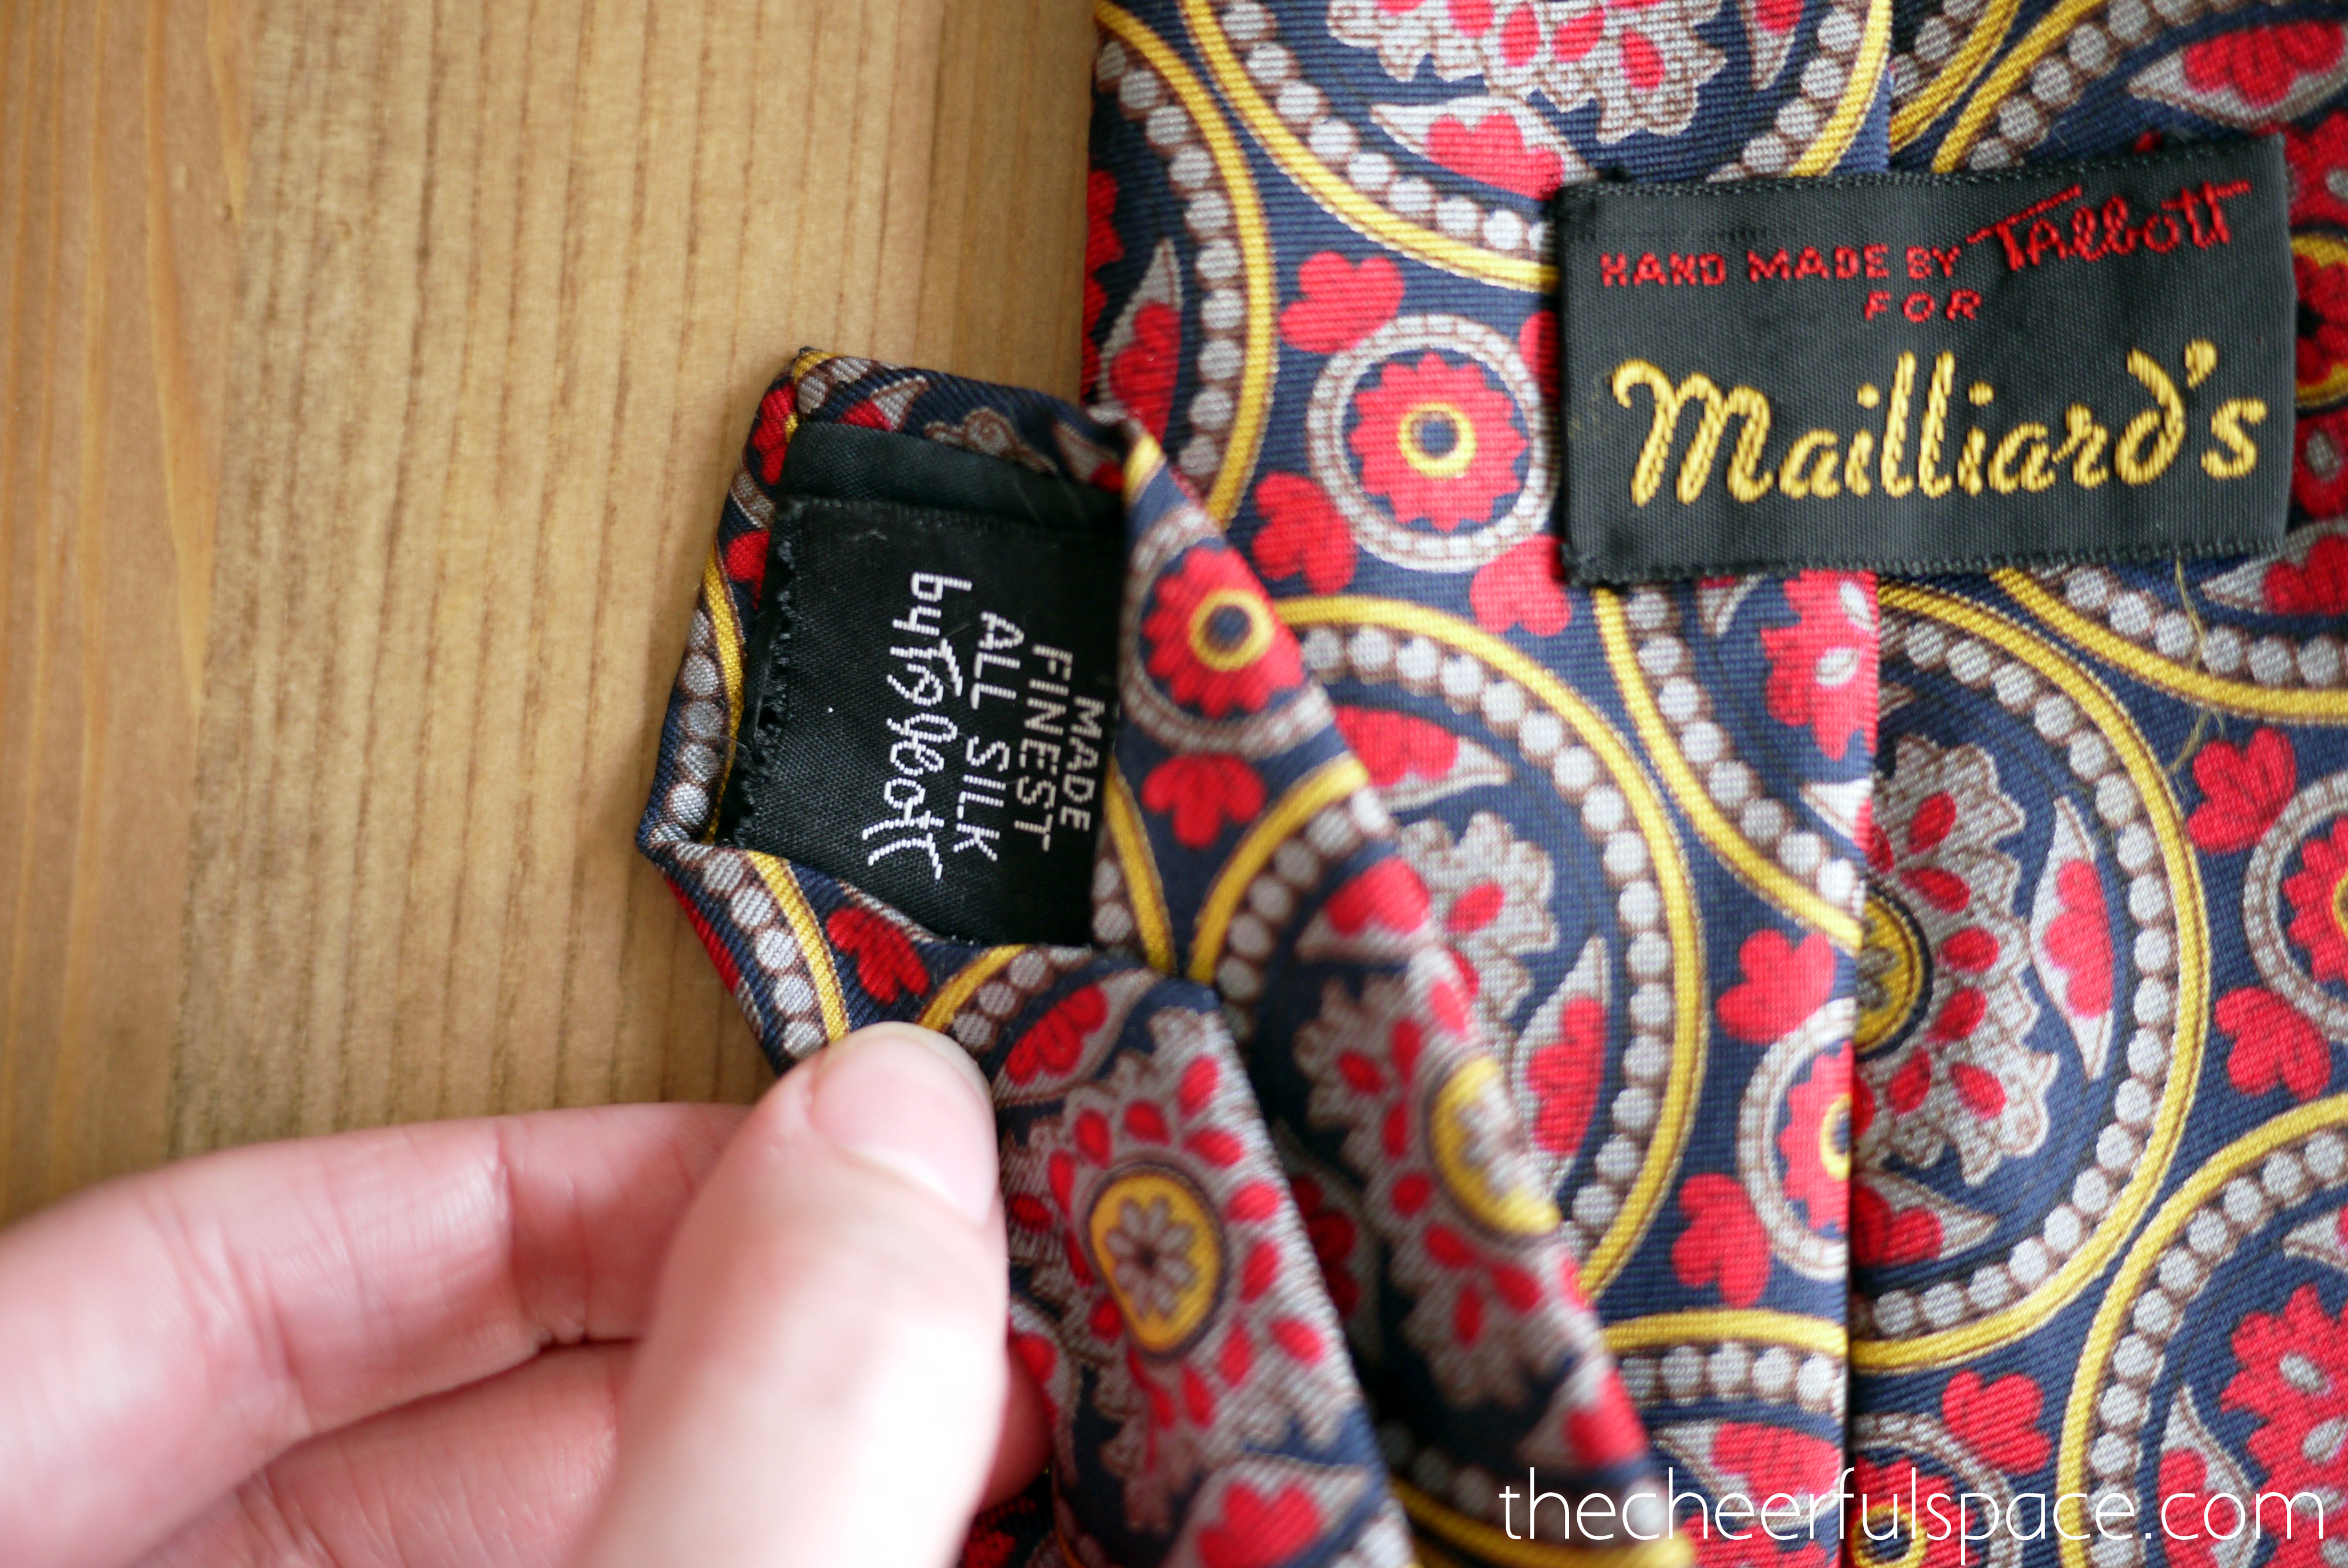
When looking for ties, I checked tags to make sure they said “All Silk” or “100%” Silk.
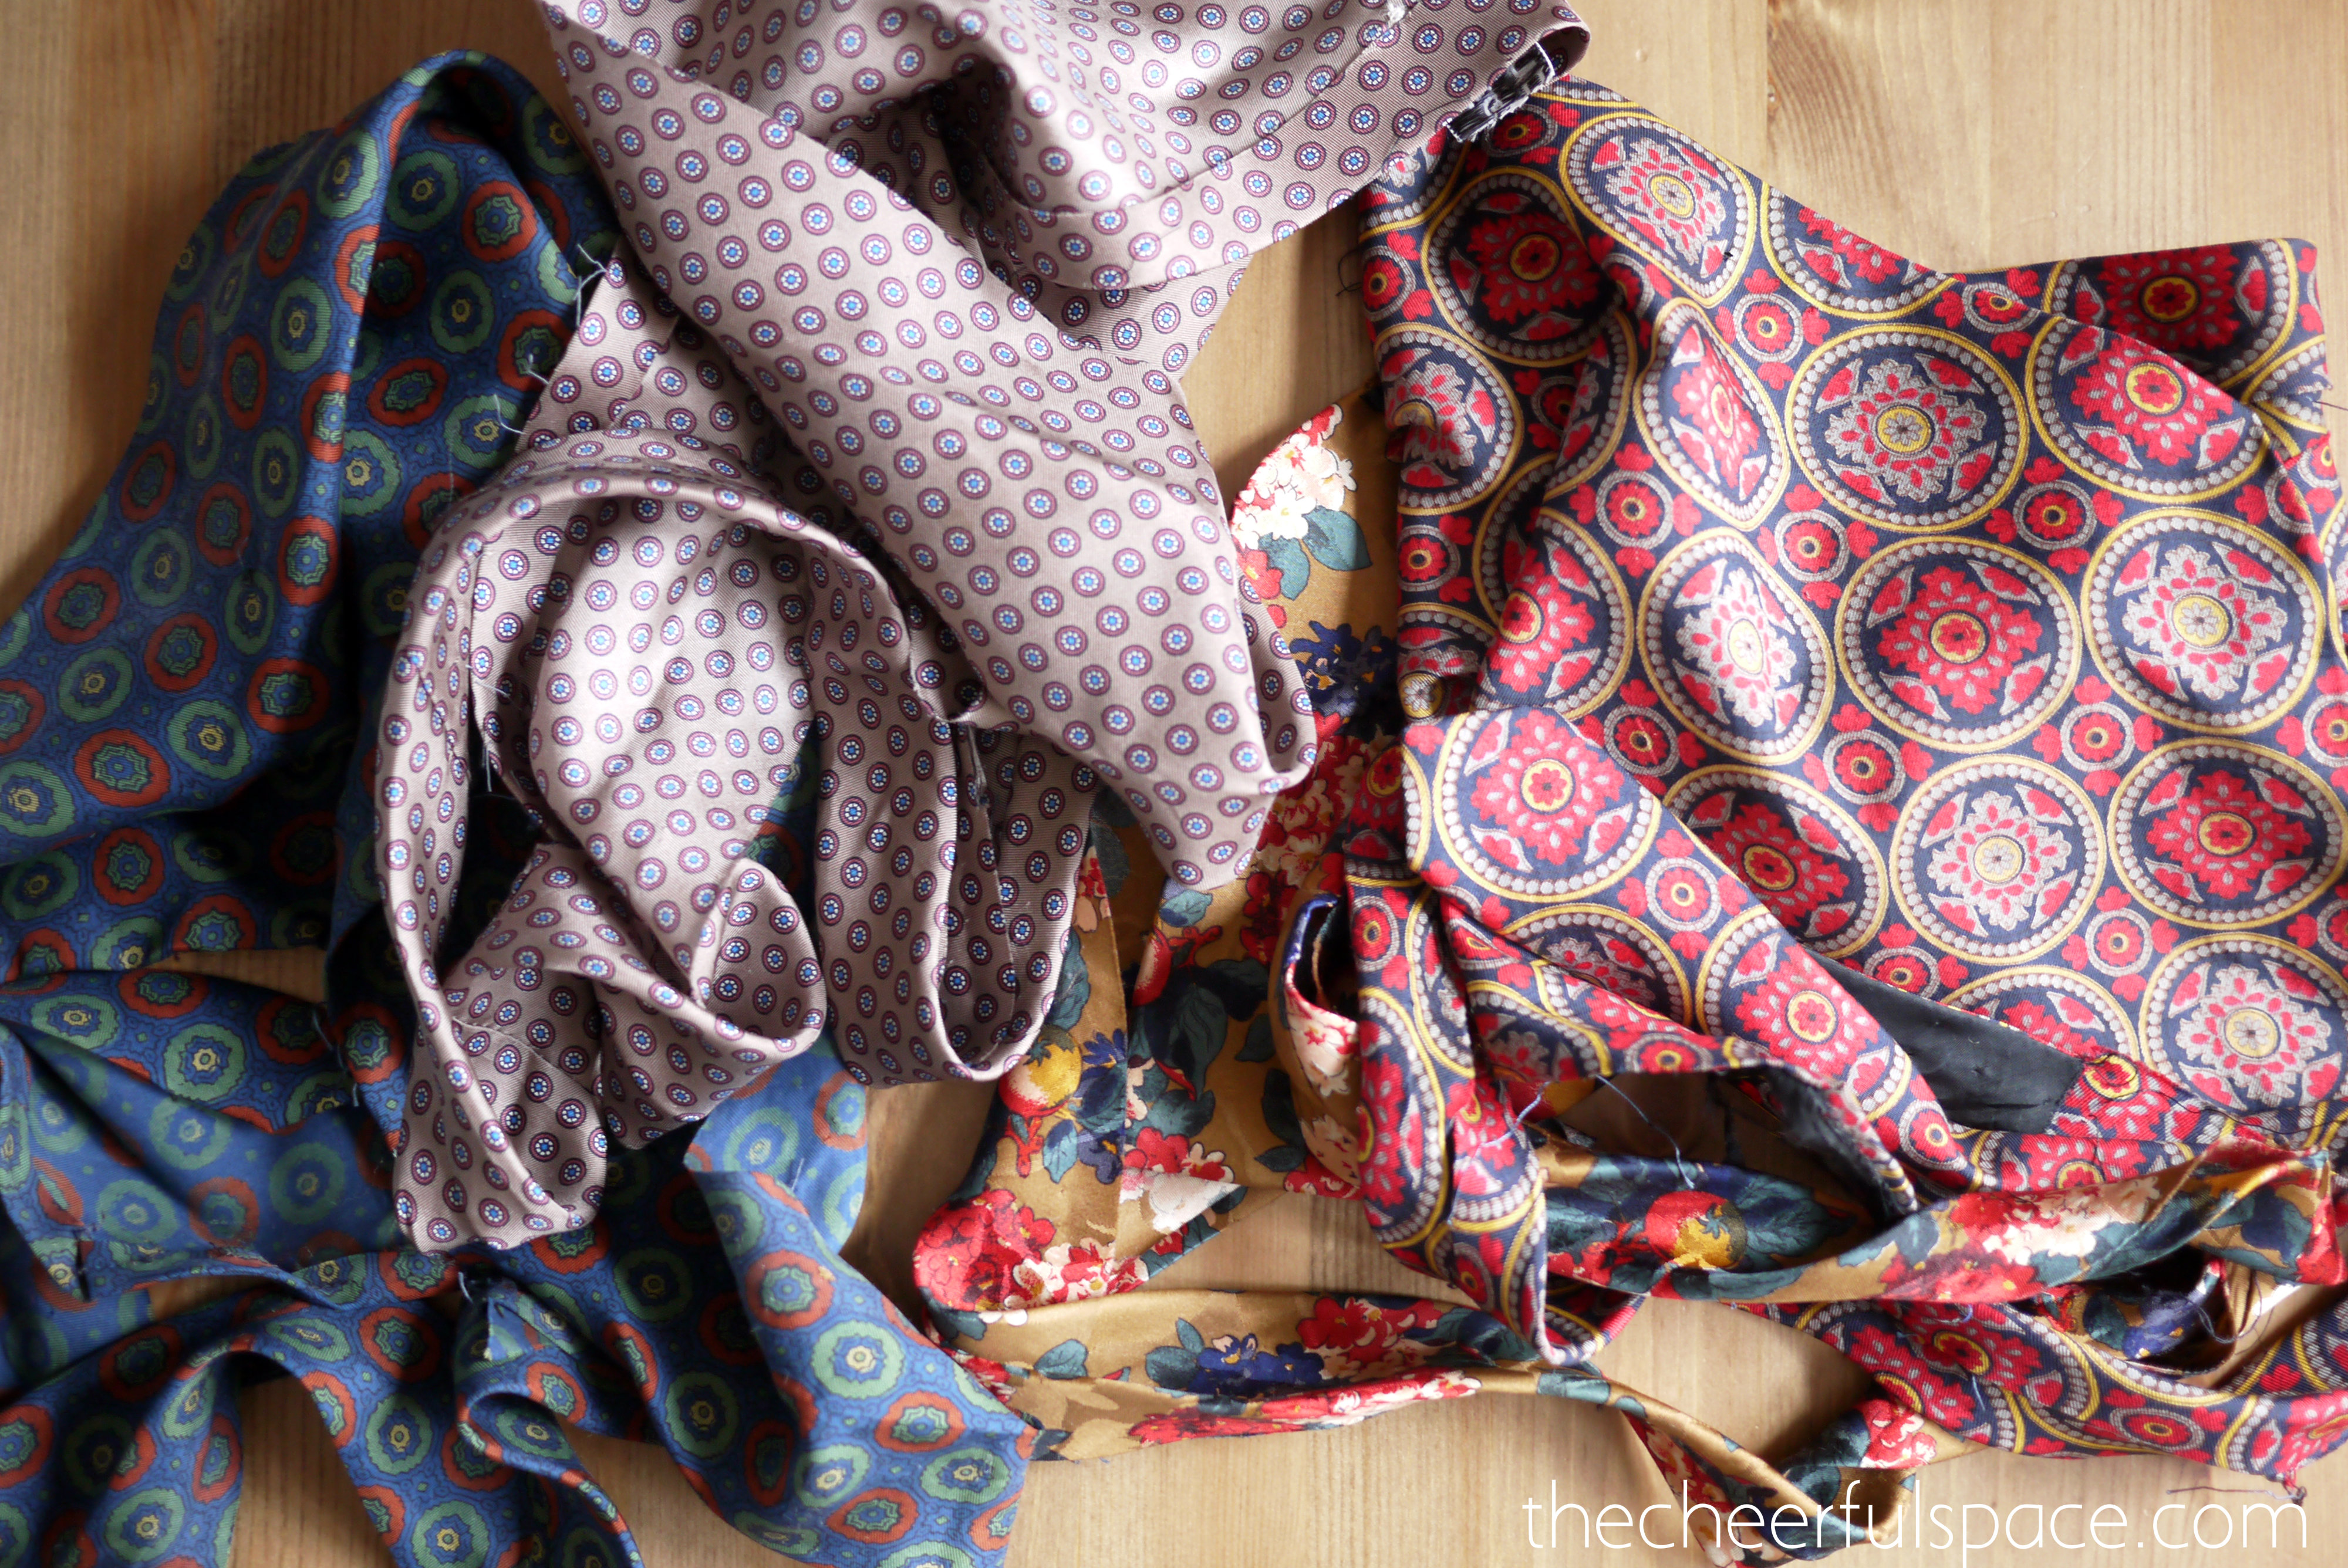
I used some scissors to cut open seams and take out all of the inside fabric in the ties, basically, you want only the silk part left. Each tie can dye 2-3 medium eggs.
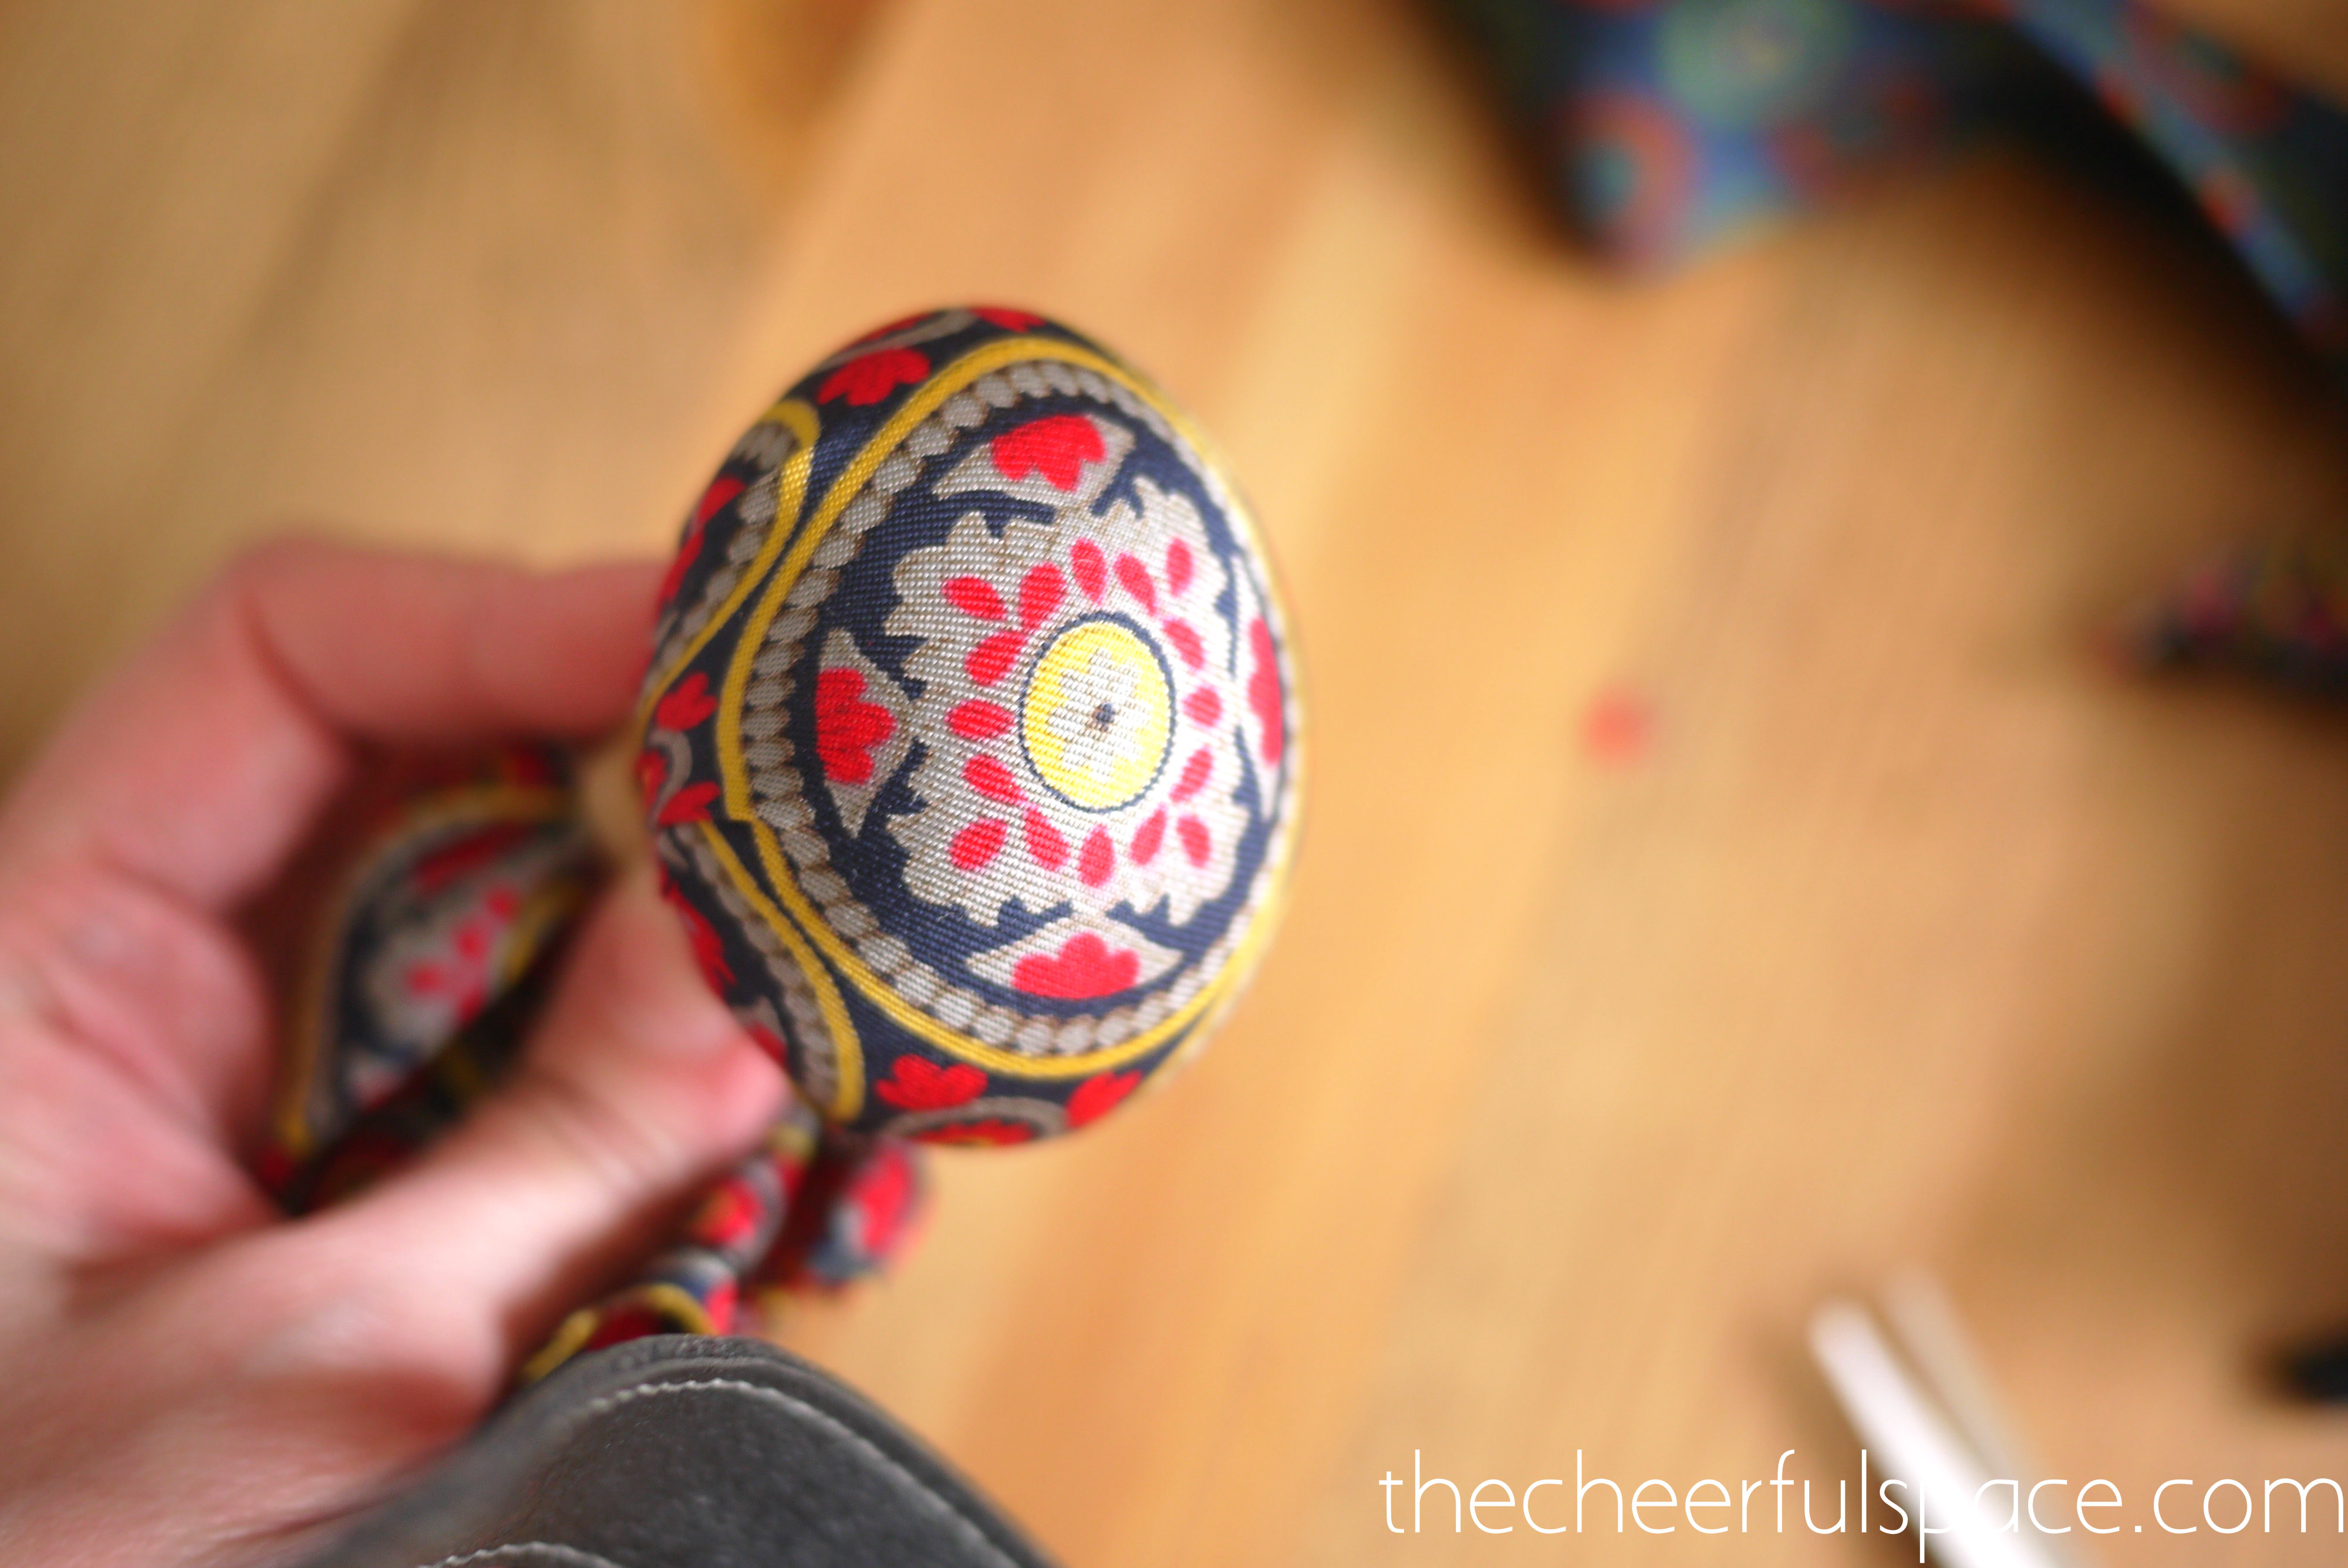
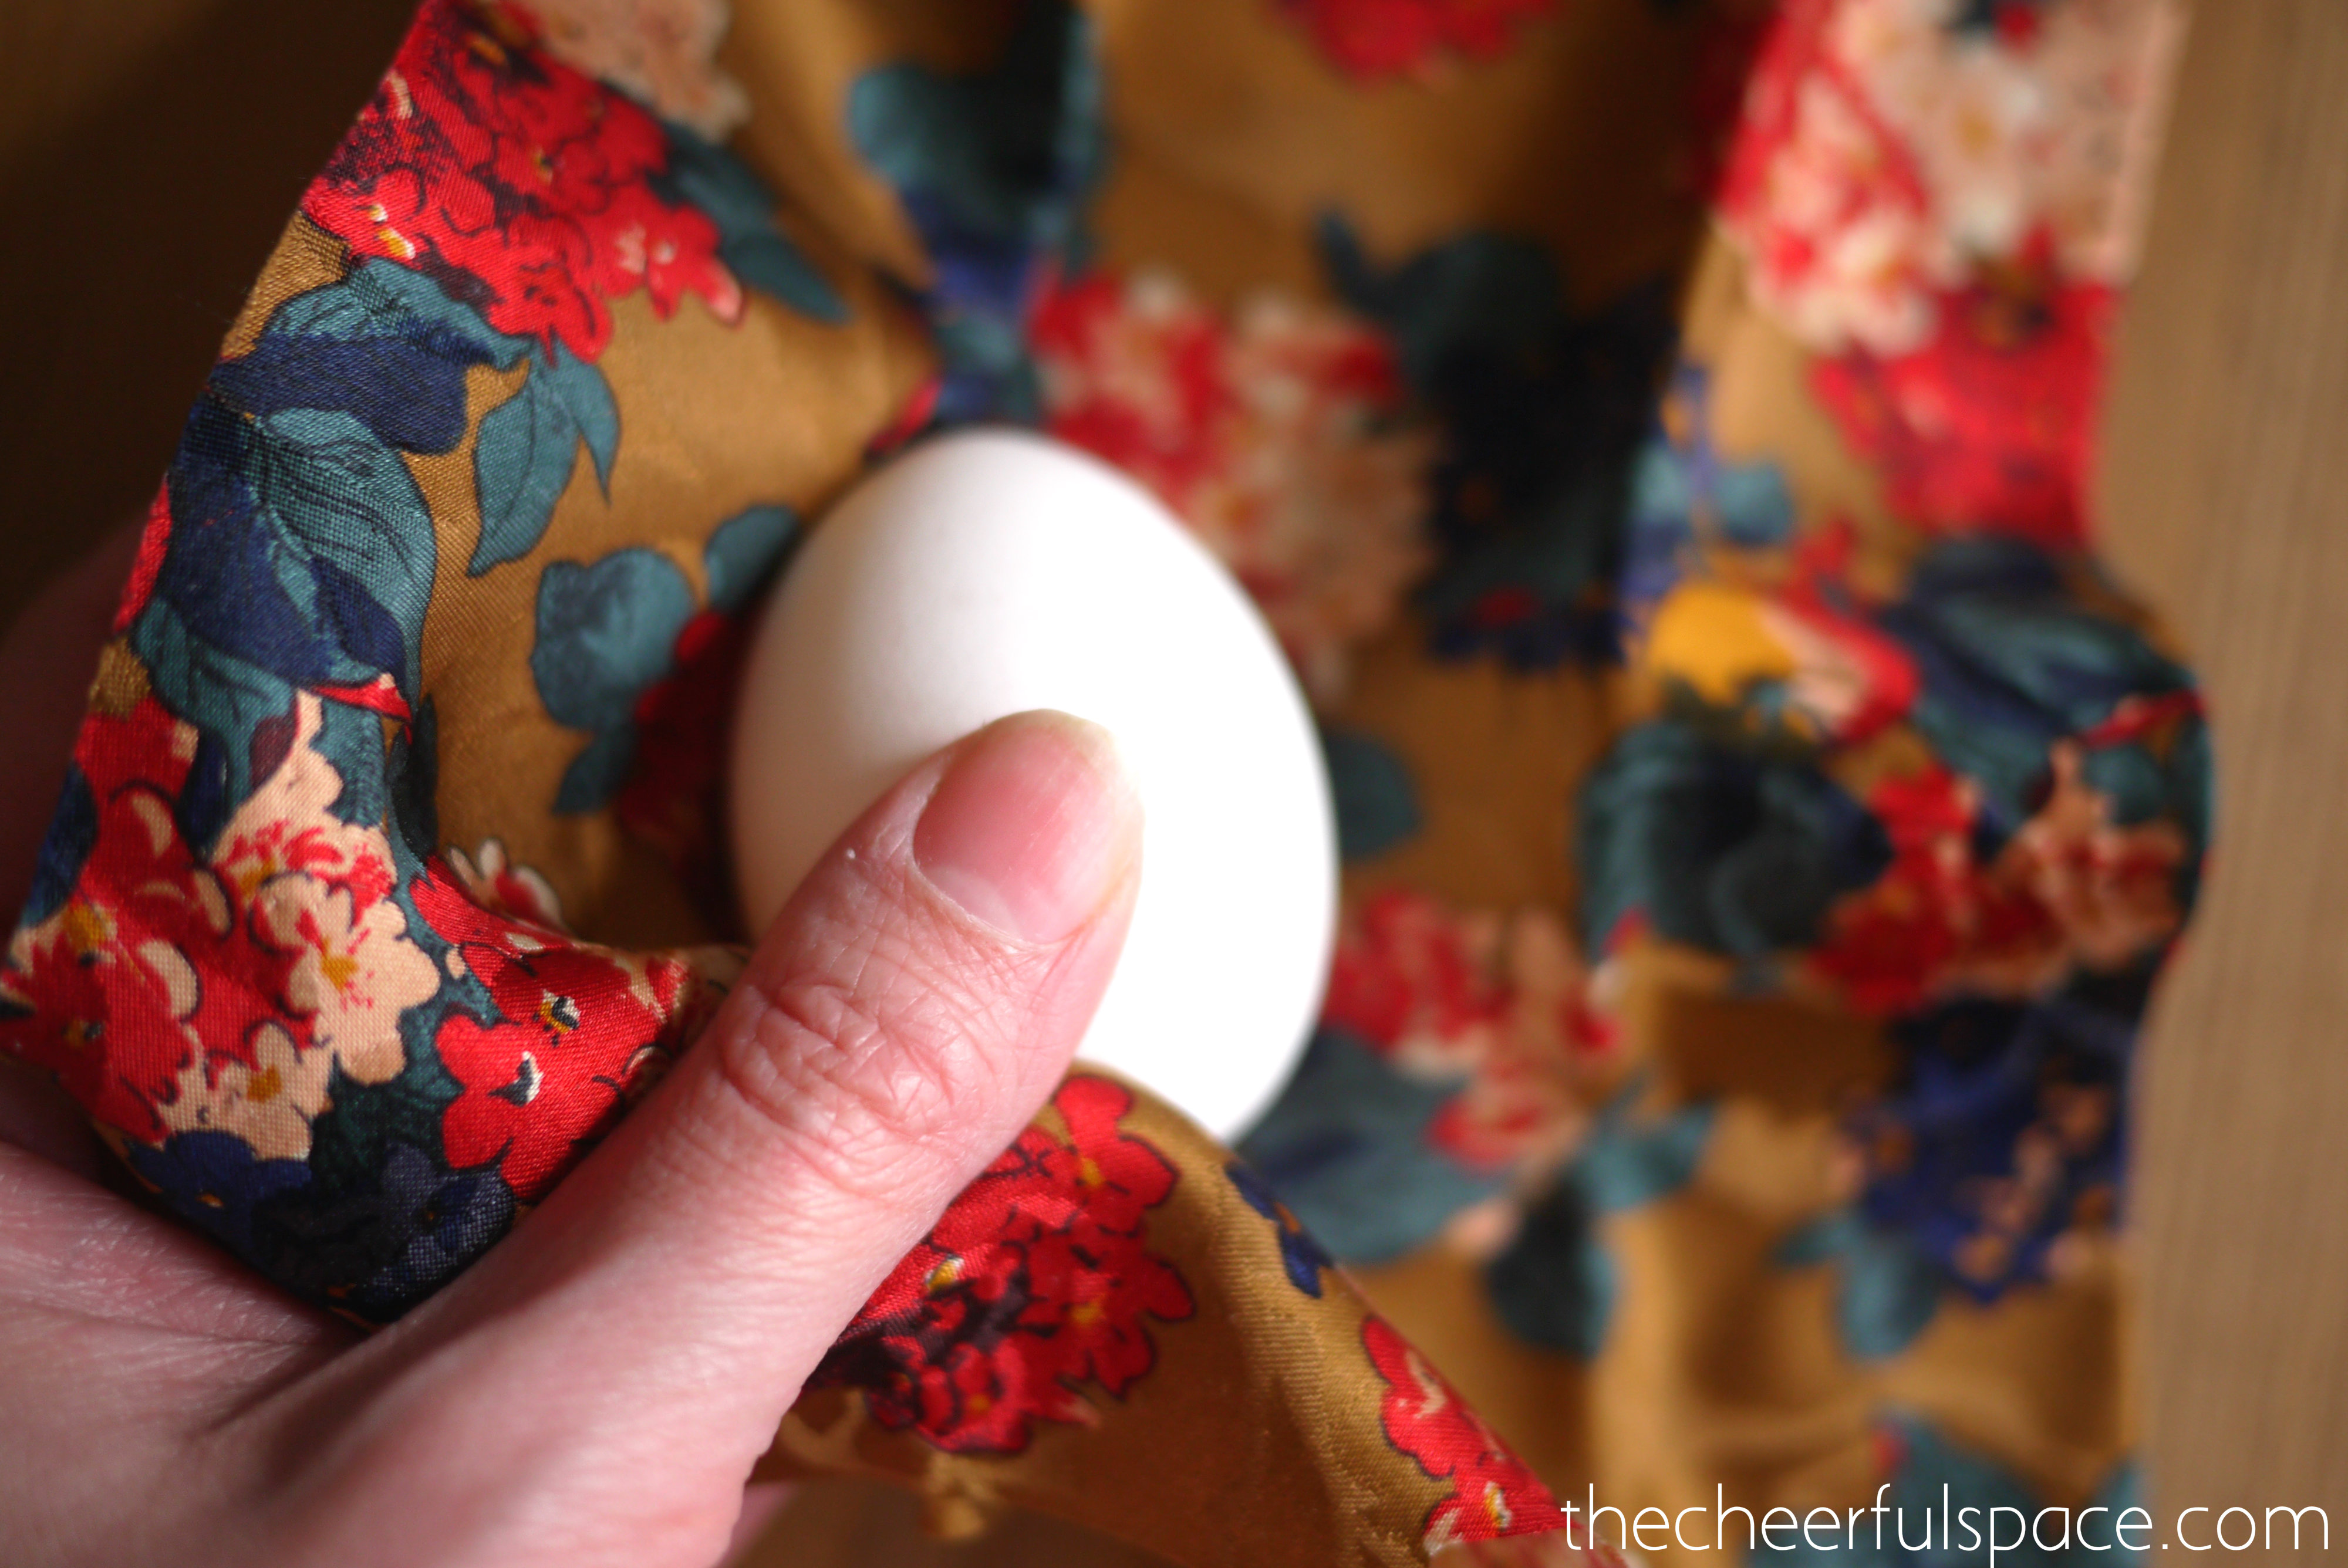
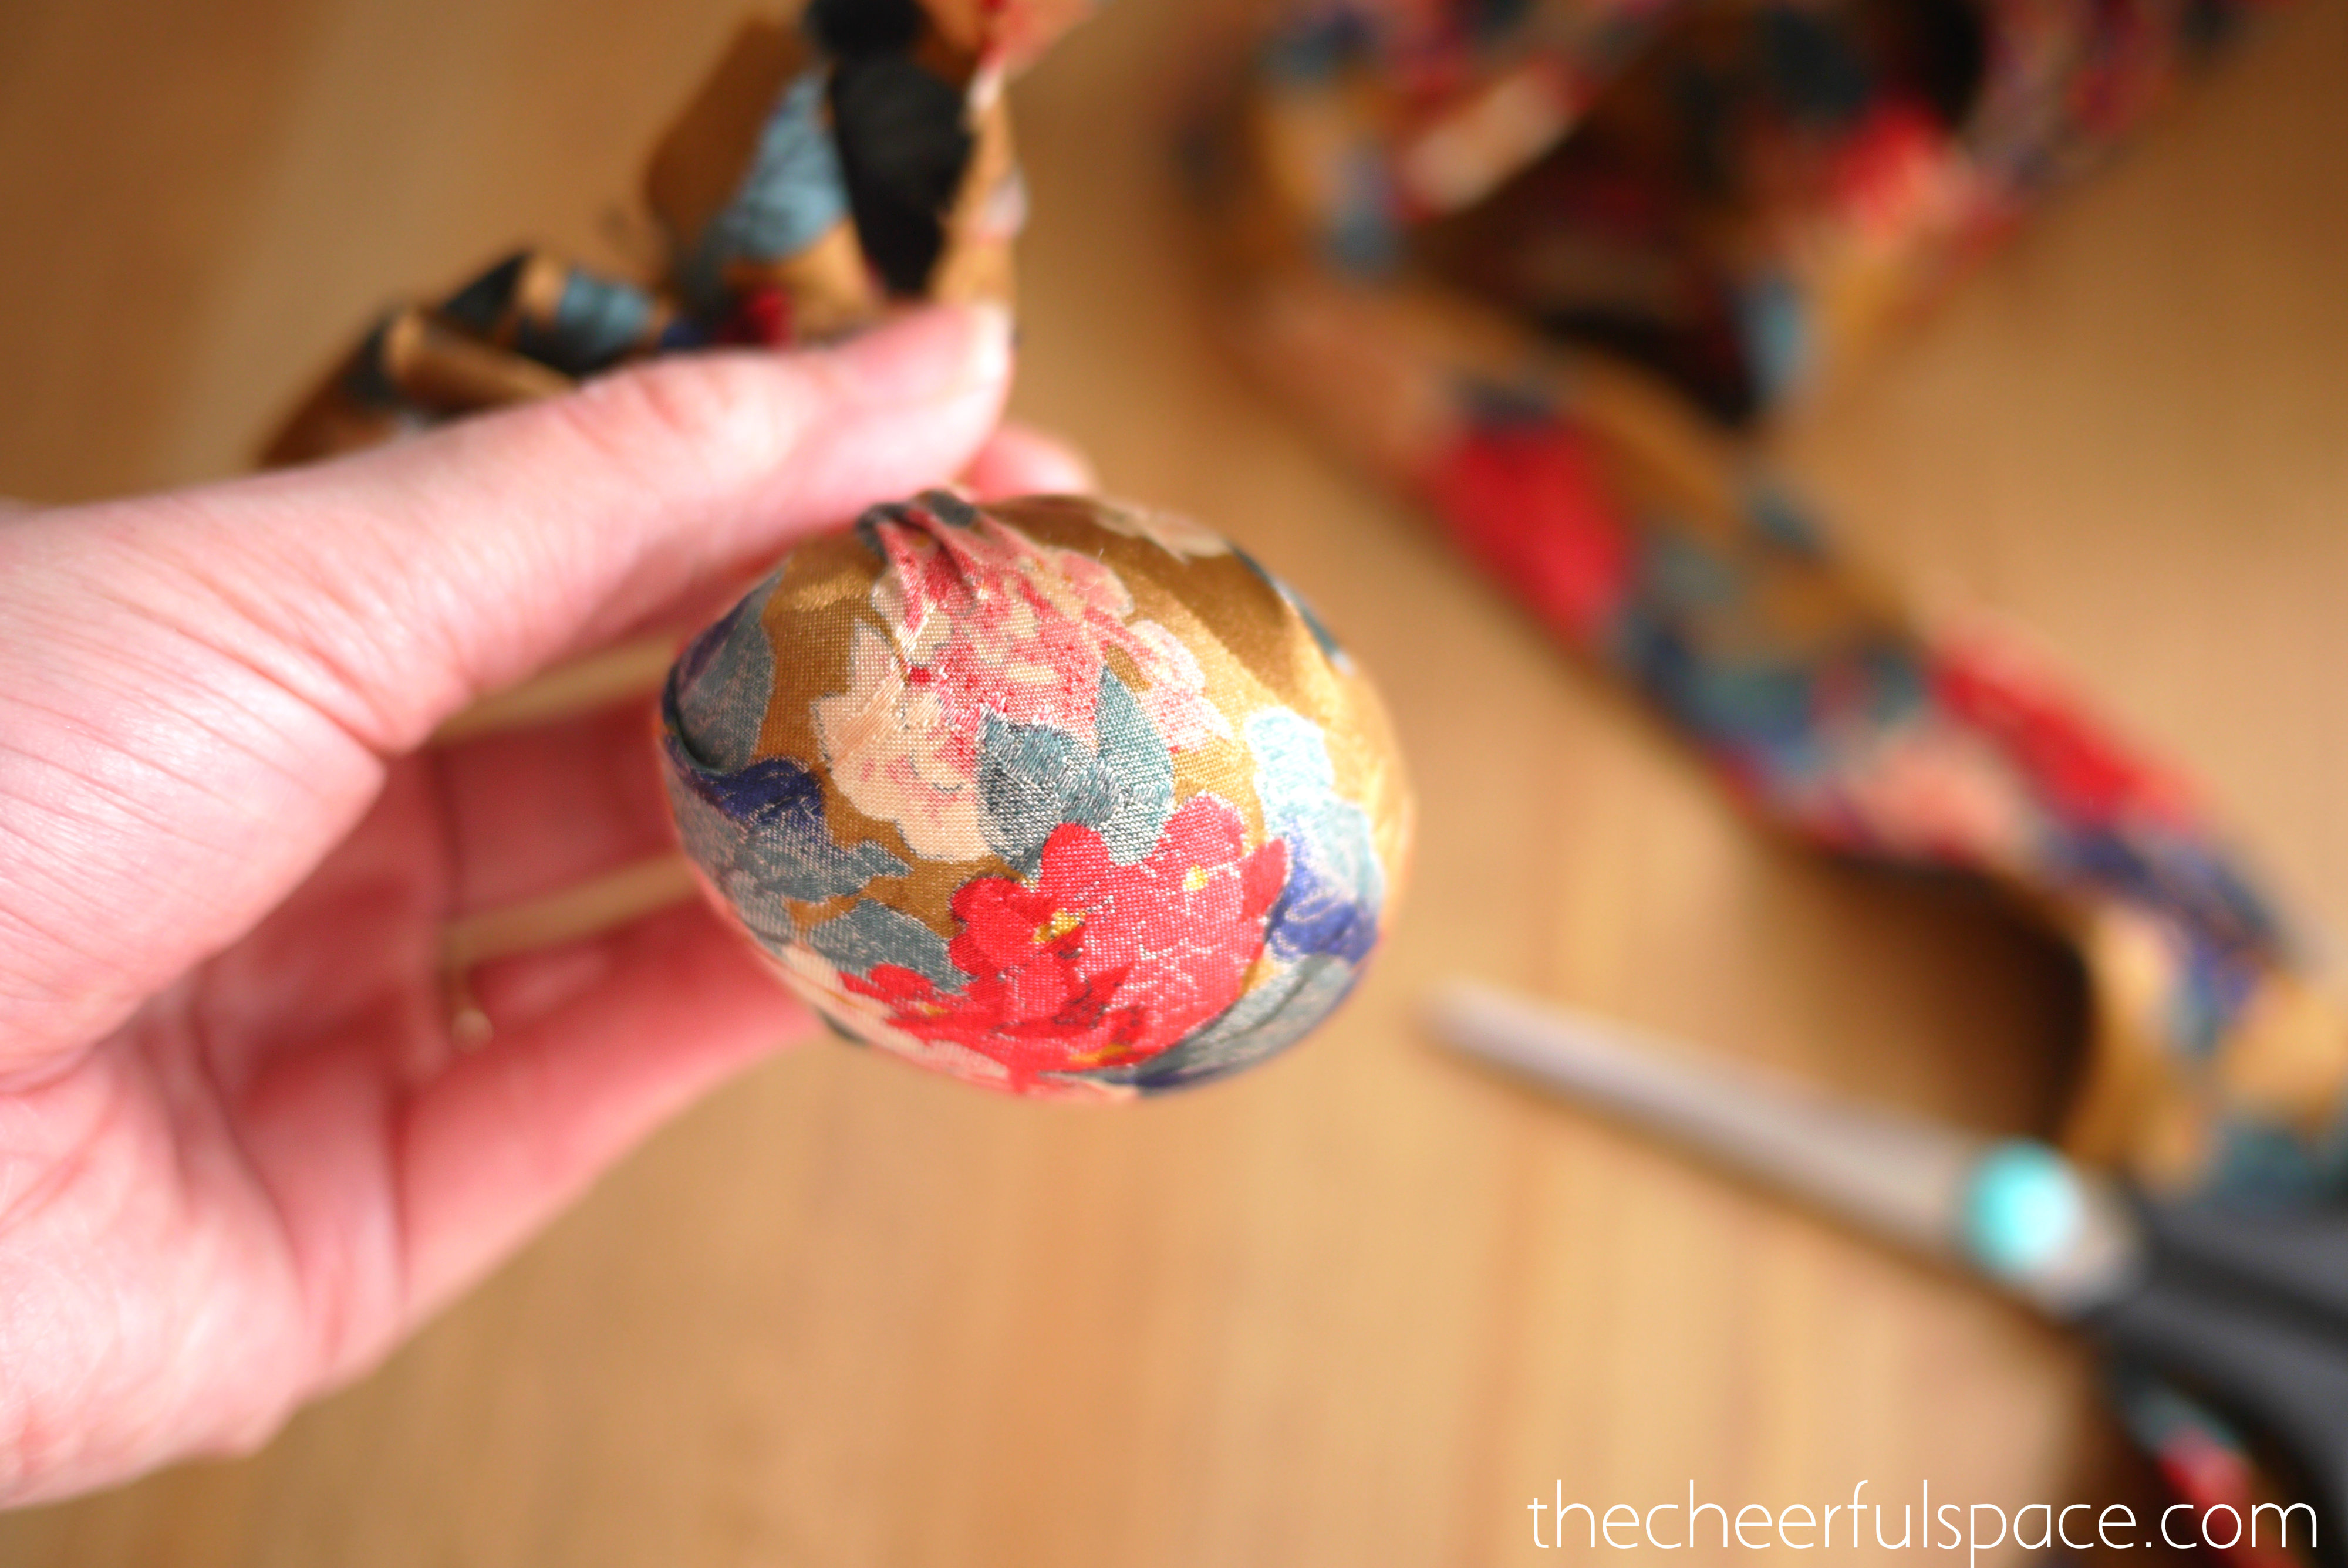
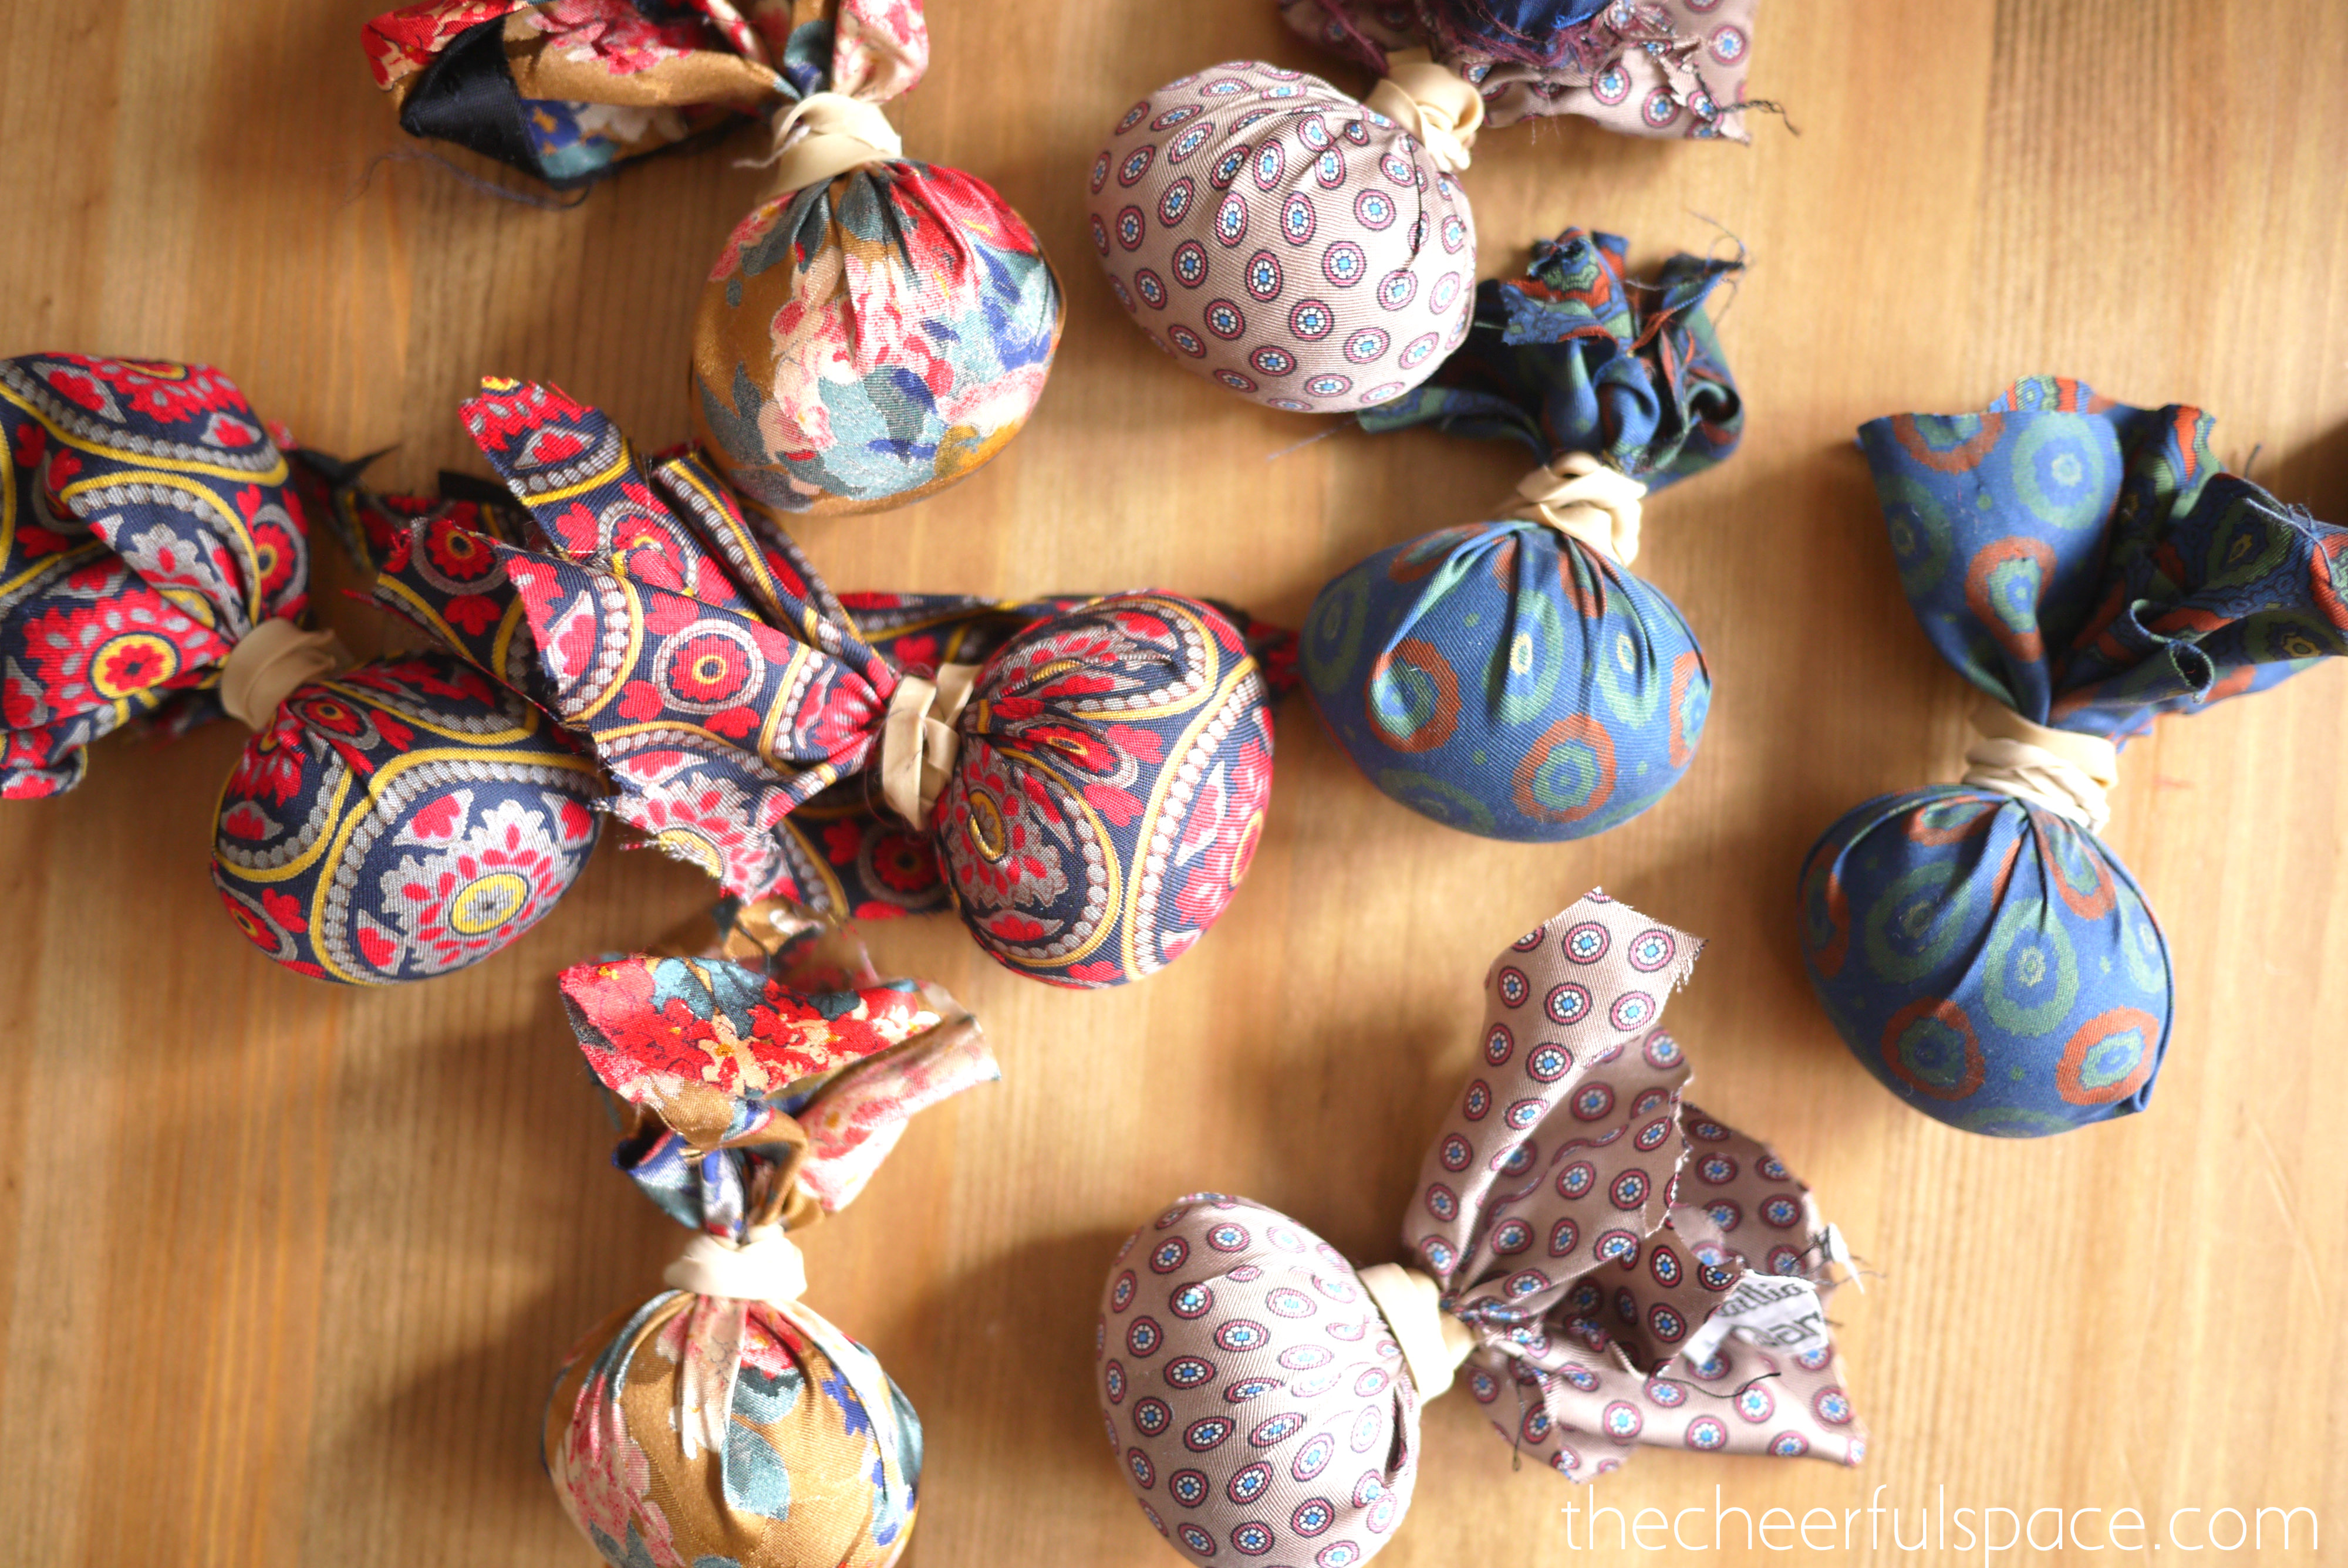
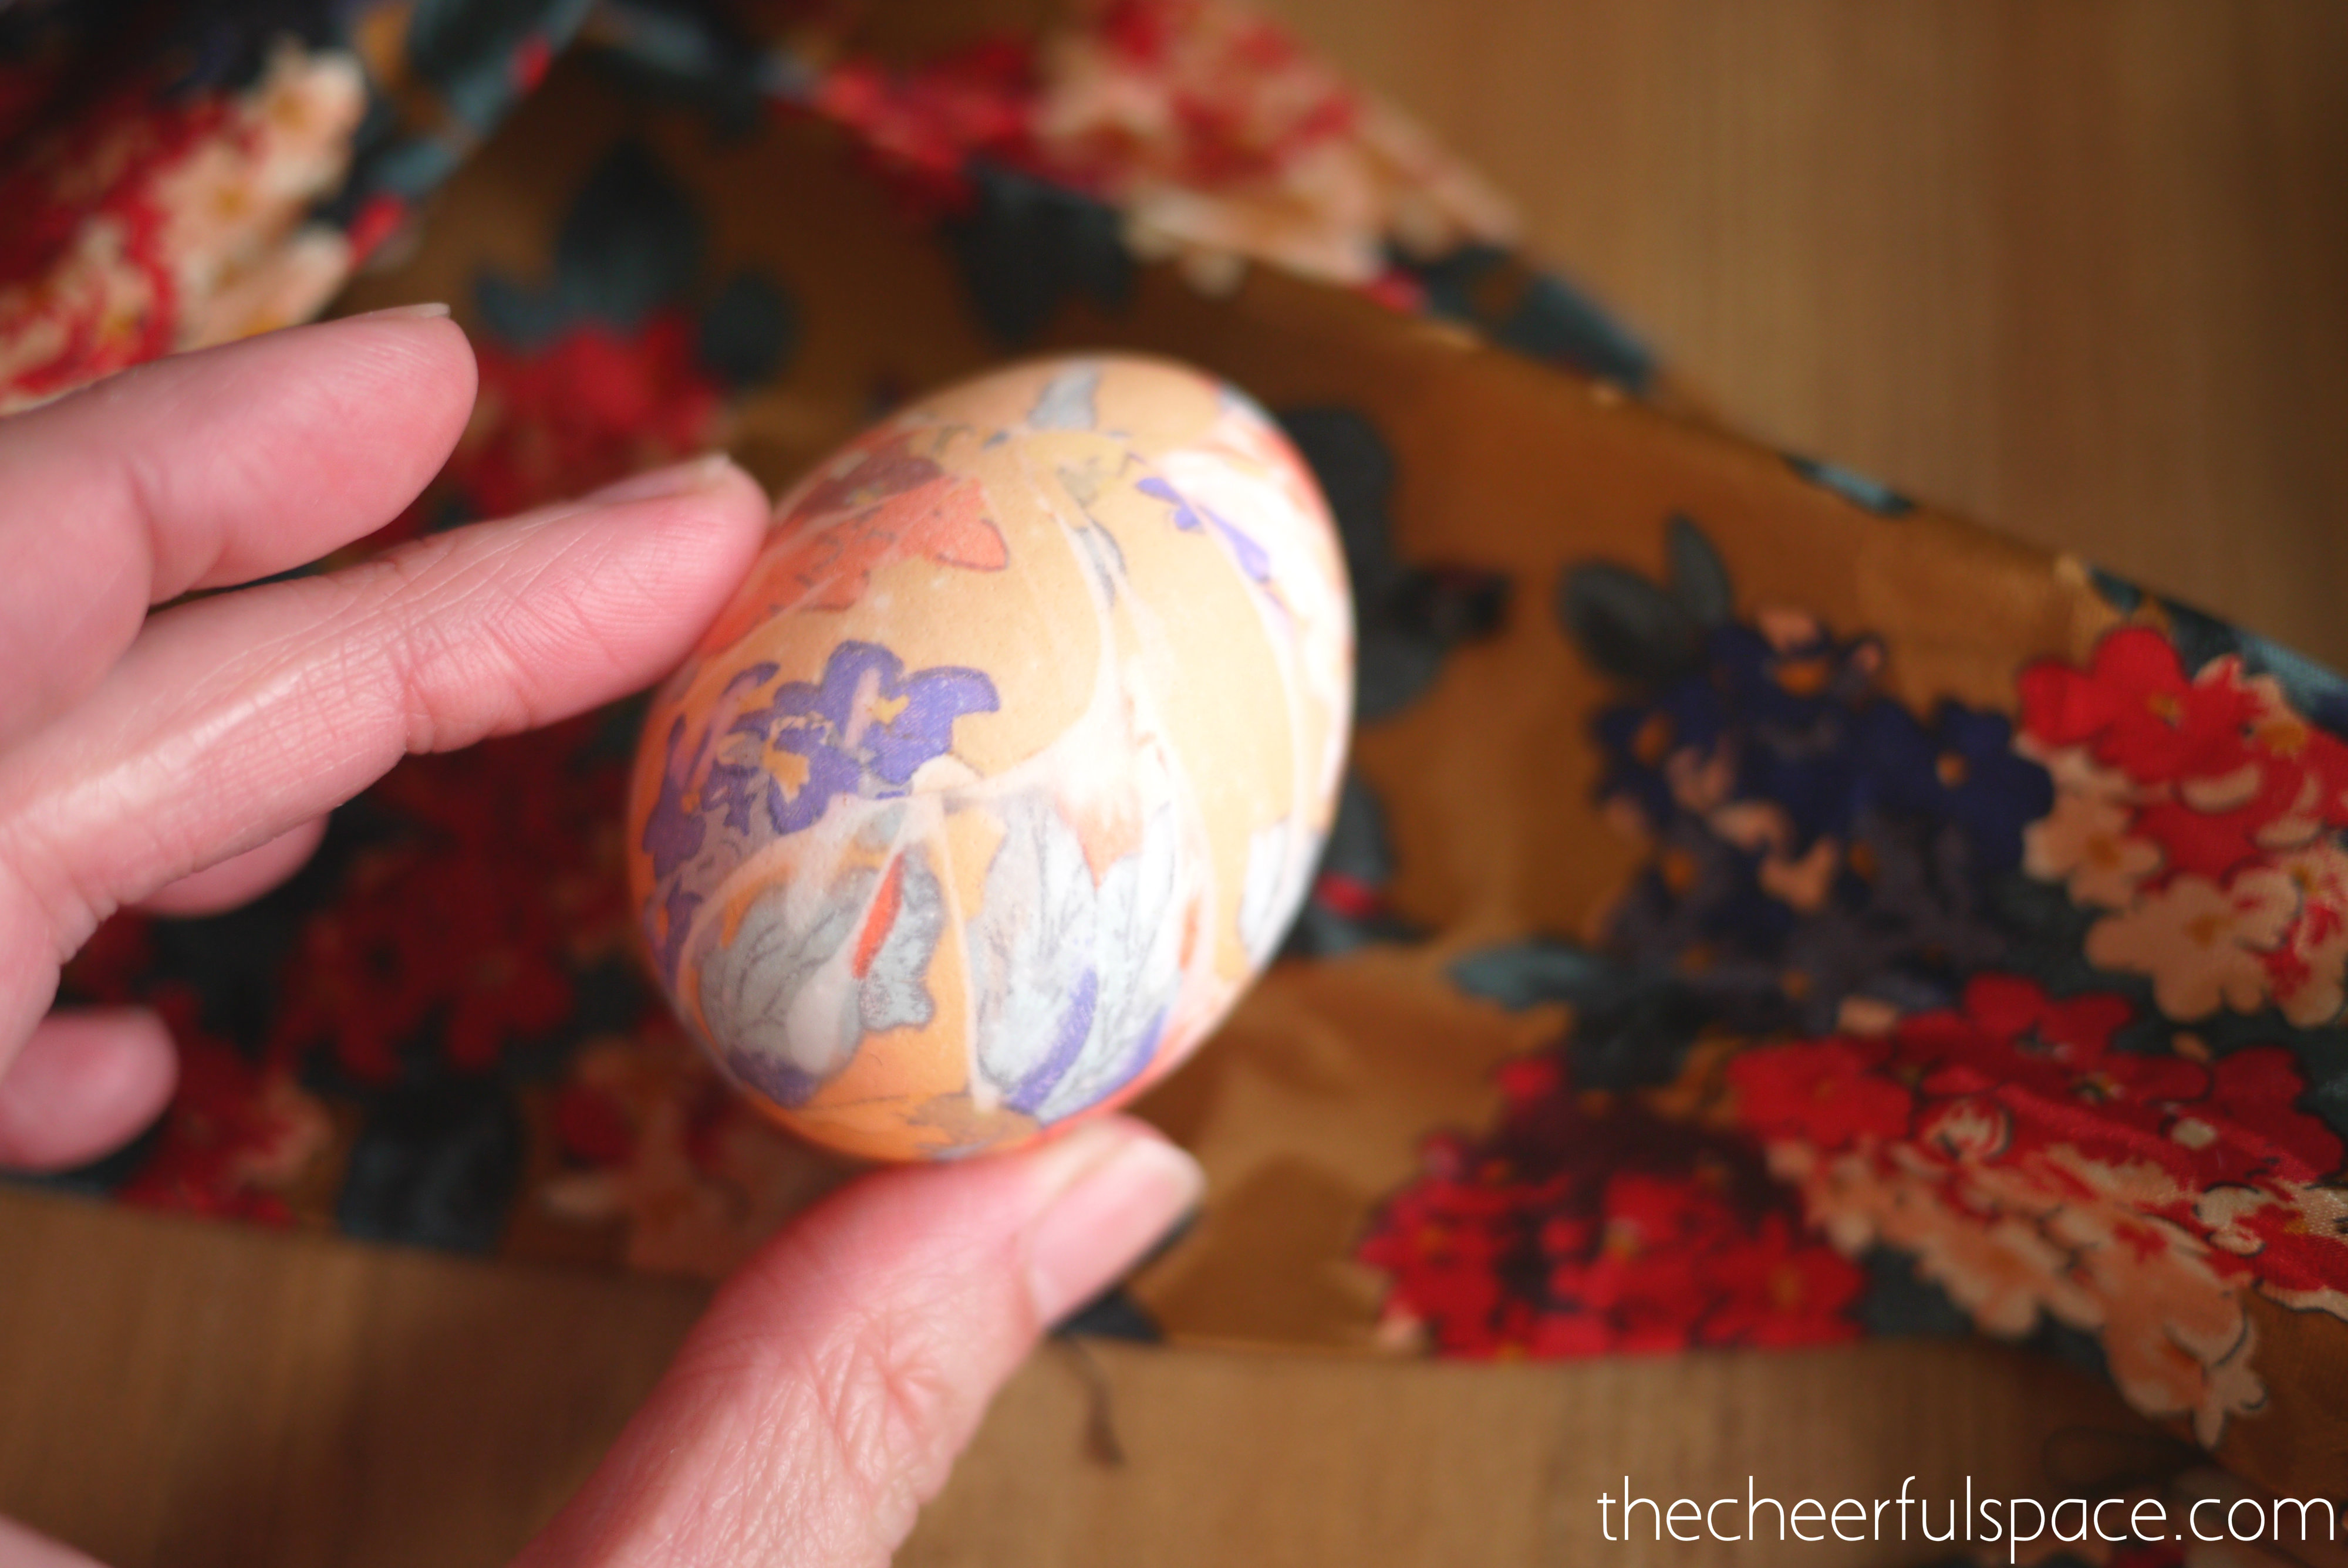
The next step is to wrap the eggs with the silk. You want to wrap them pretty tight so that the fabric is touching most of the eggs surface. You also may want to strategically place patterns on the egg like I did above.
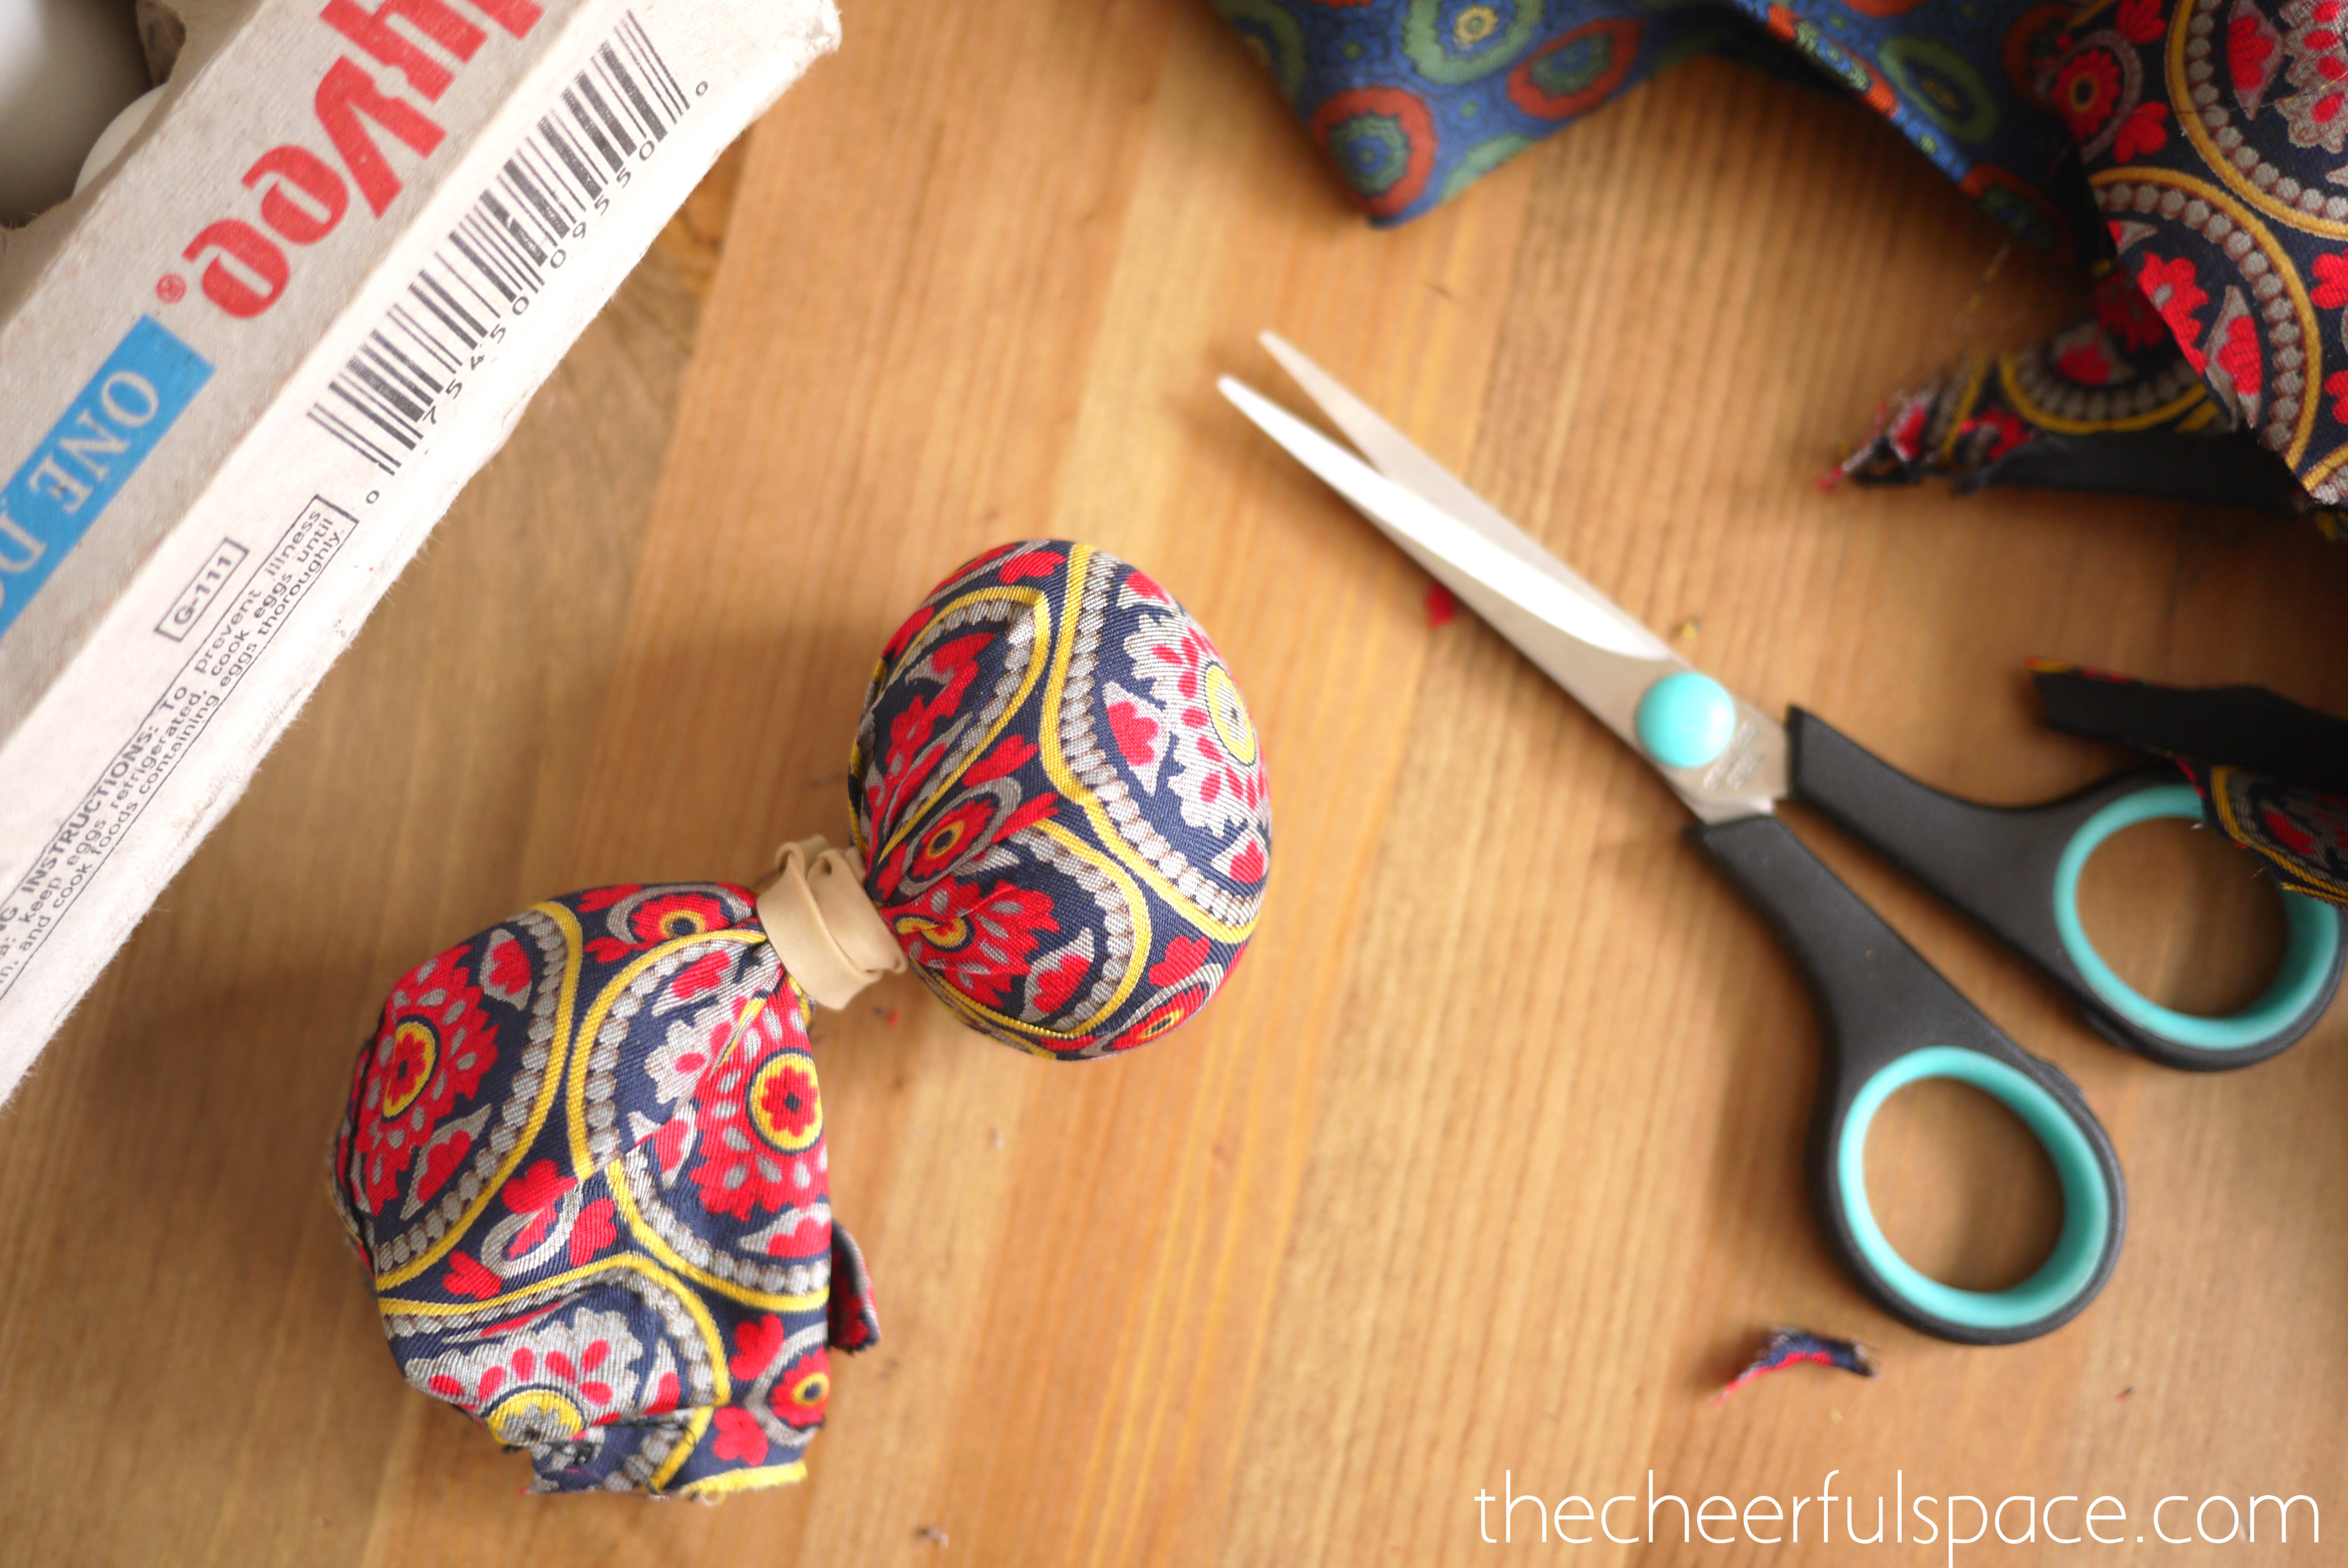
Use a rubber band or twisty tie to secure the silk.
Make sure that the “pretty” or “right” side of the fabric is touching the egg. That is the side that the dye was printed on the fabric.
After you have all of your eggs wrapped in silk. Take some white fabric (I just used an old pillowcase) and wrap each egg again in some white fabric. This is to help make sure the colors don’t bleed from one egg to another.
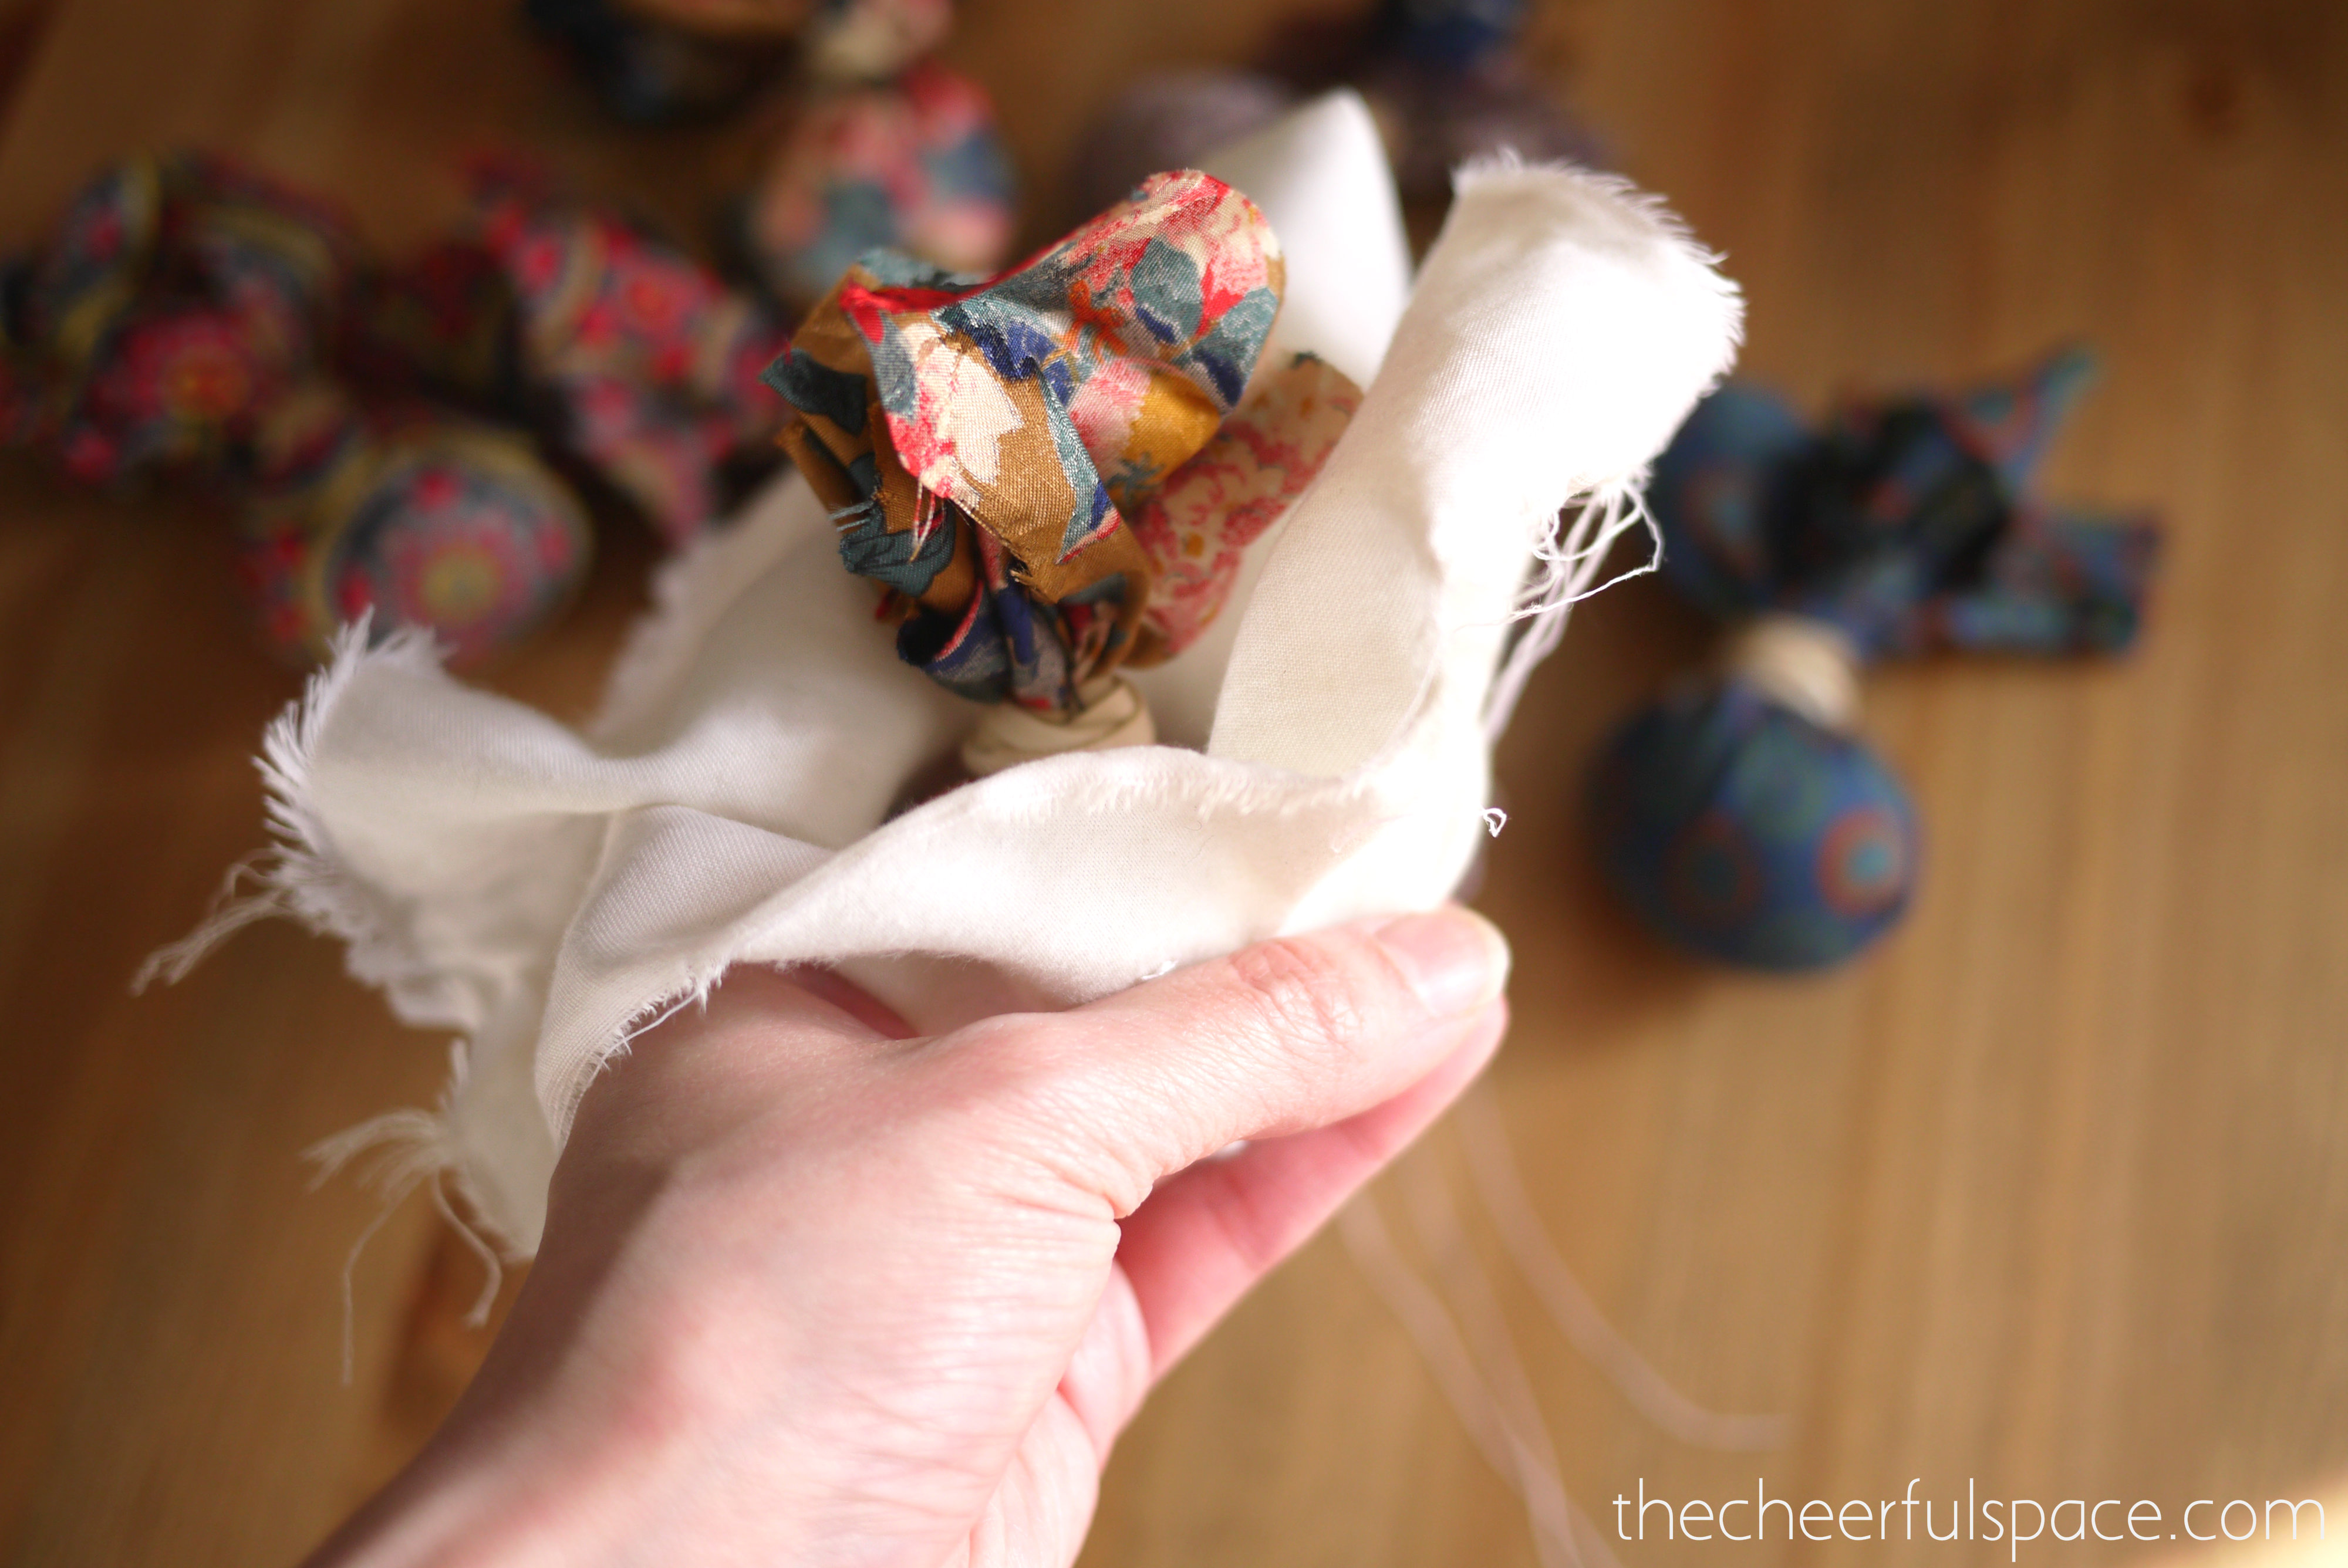
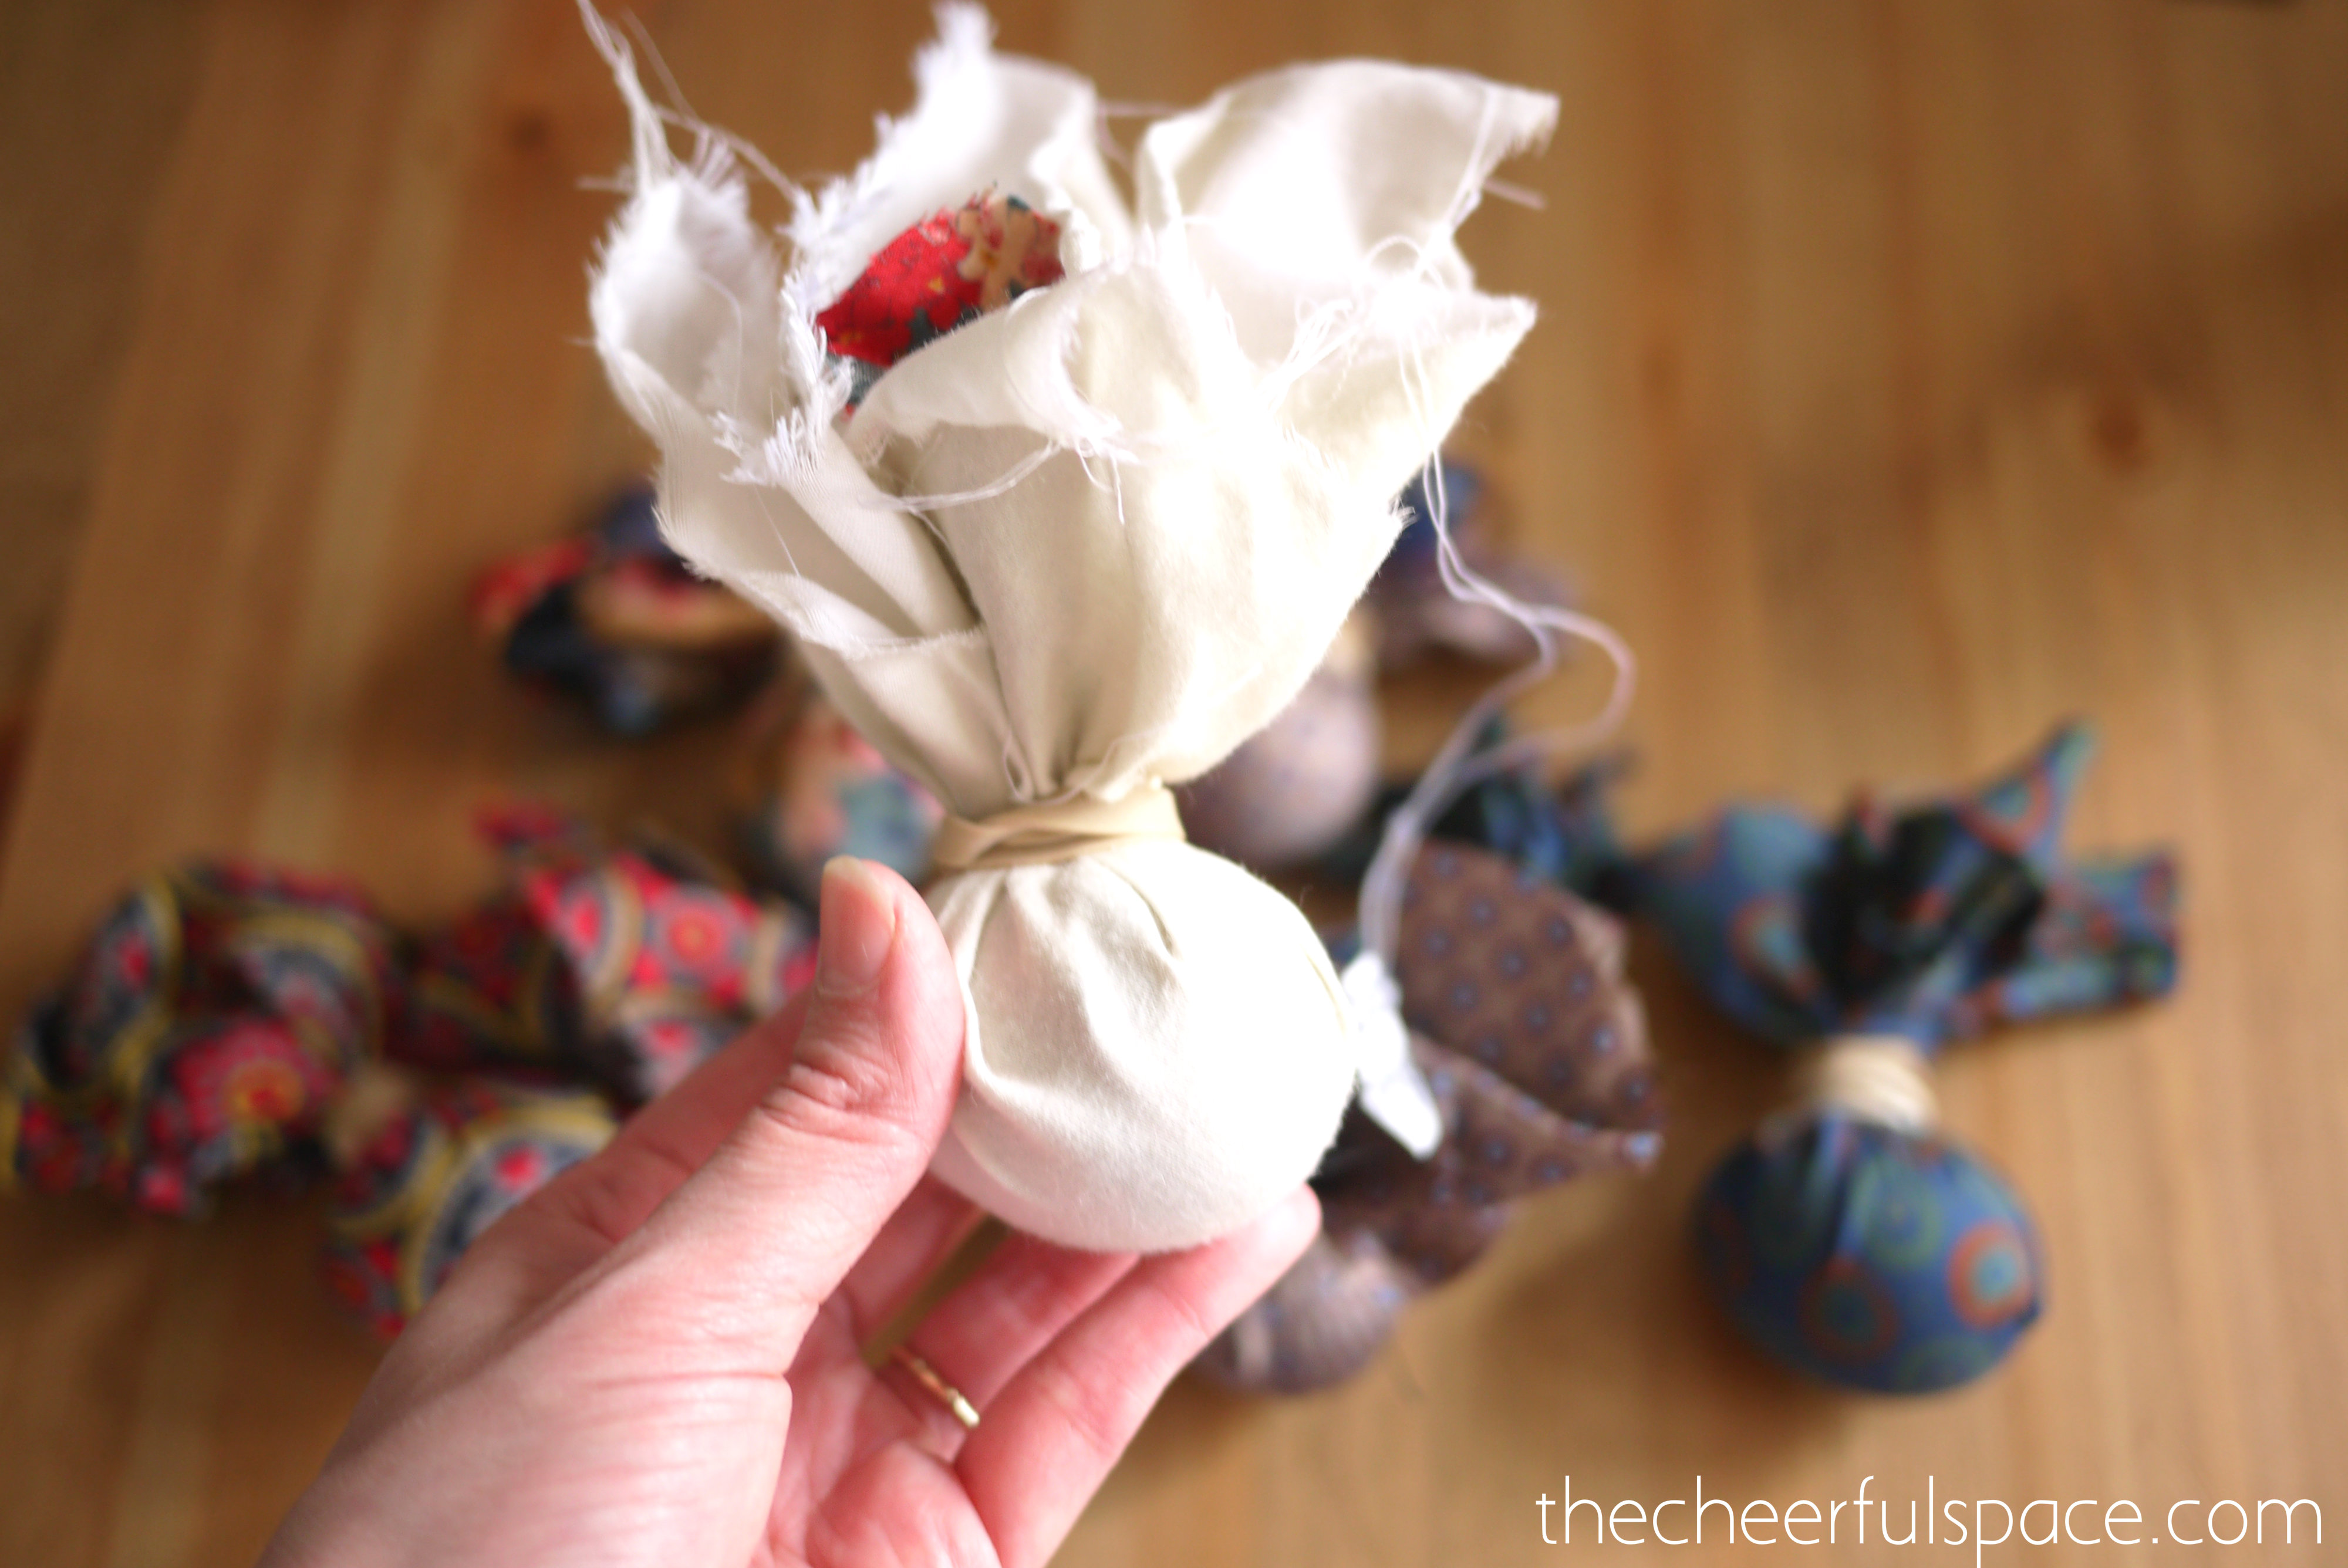
Secure the white fabric with a rubber band too.
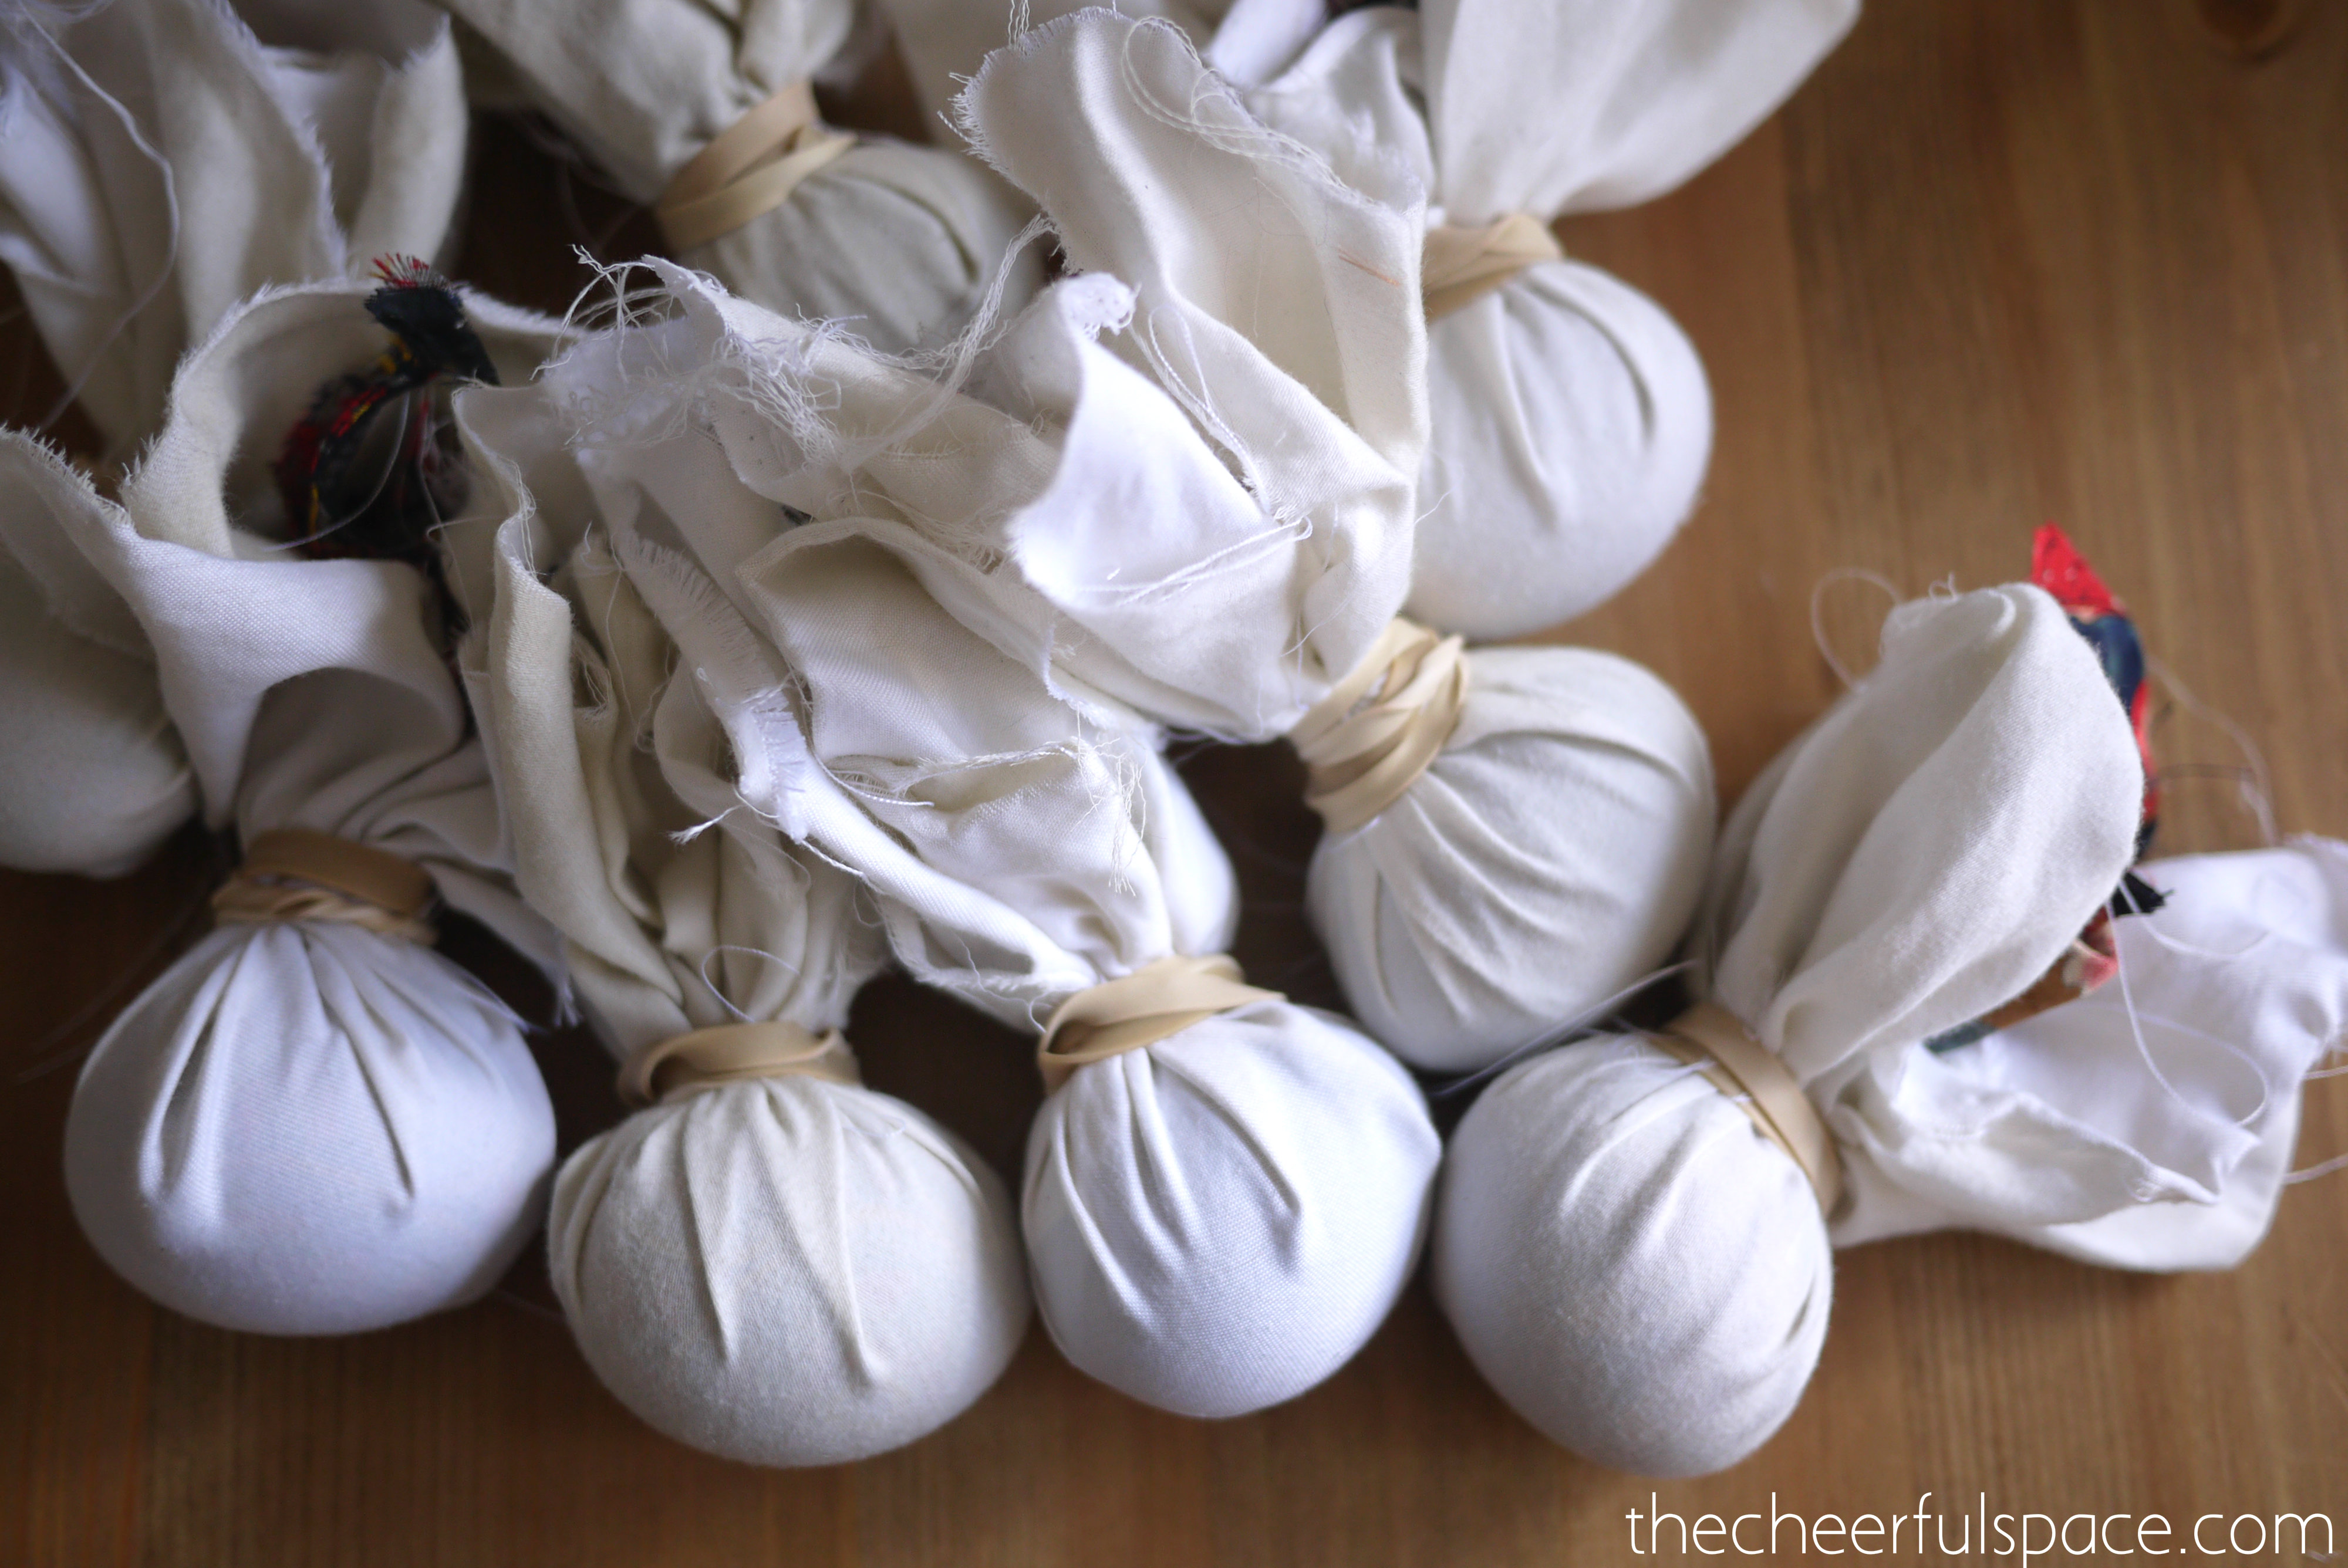
Gently place the wrapped eggs in a pot and cover them with water. The water should be about 2 inches above the eggs.
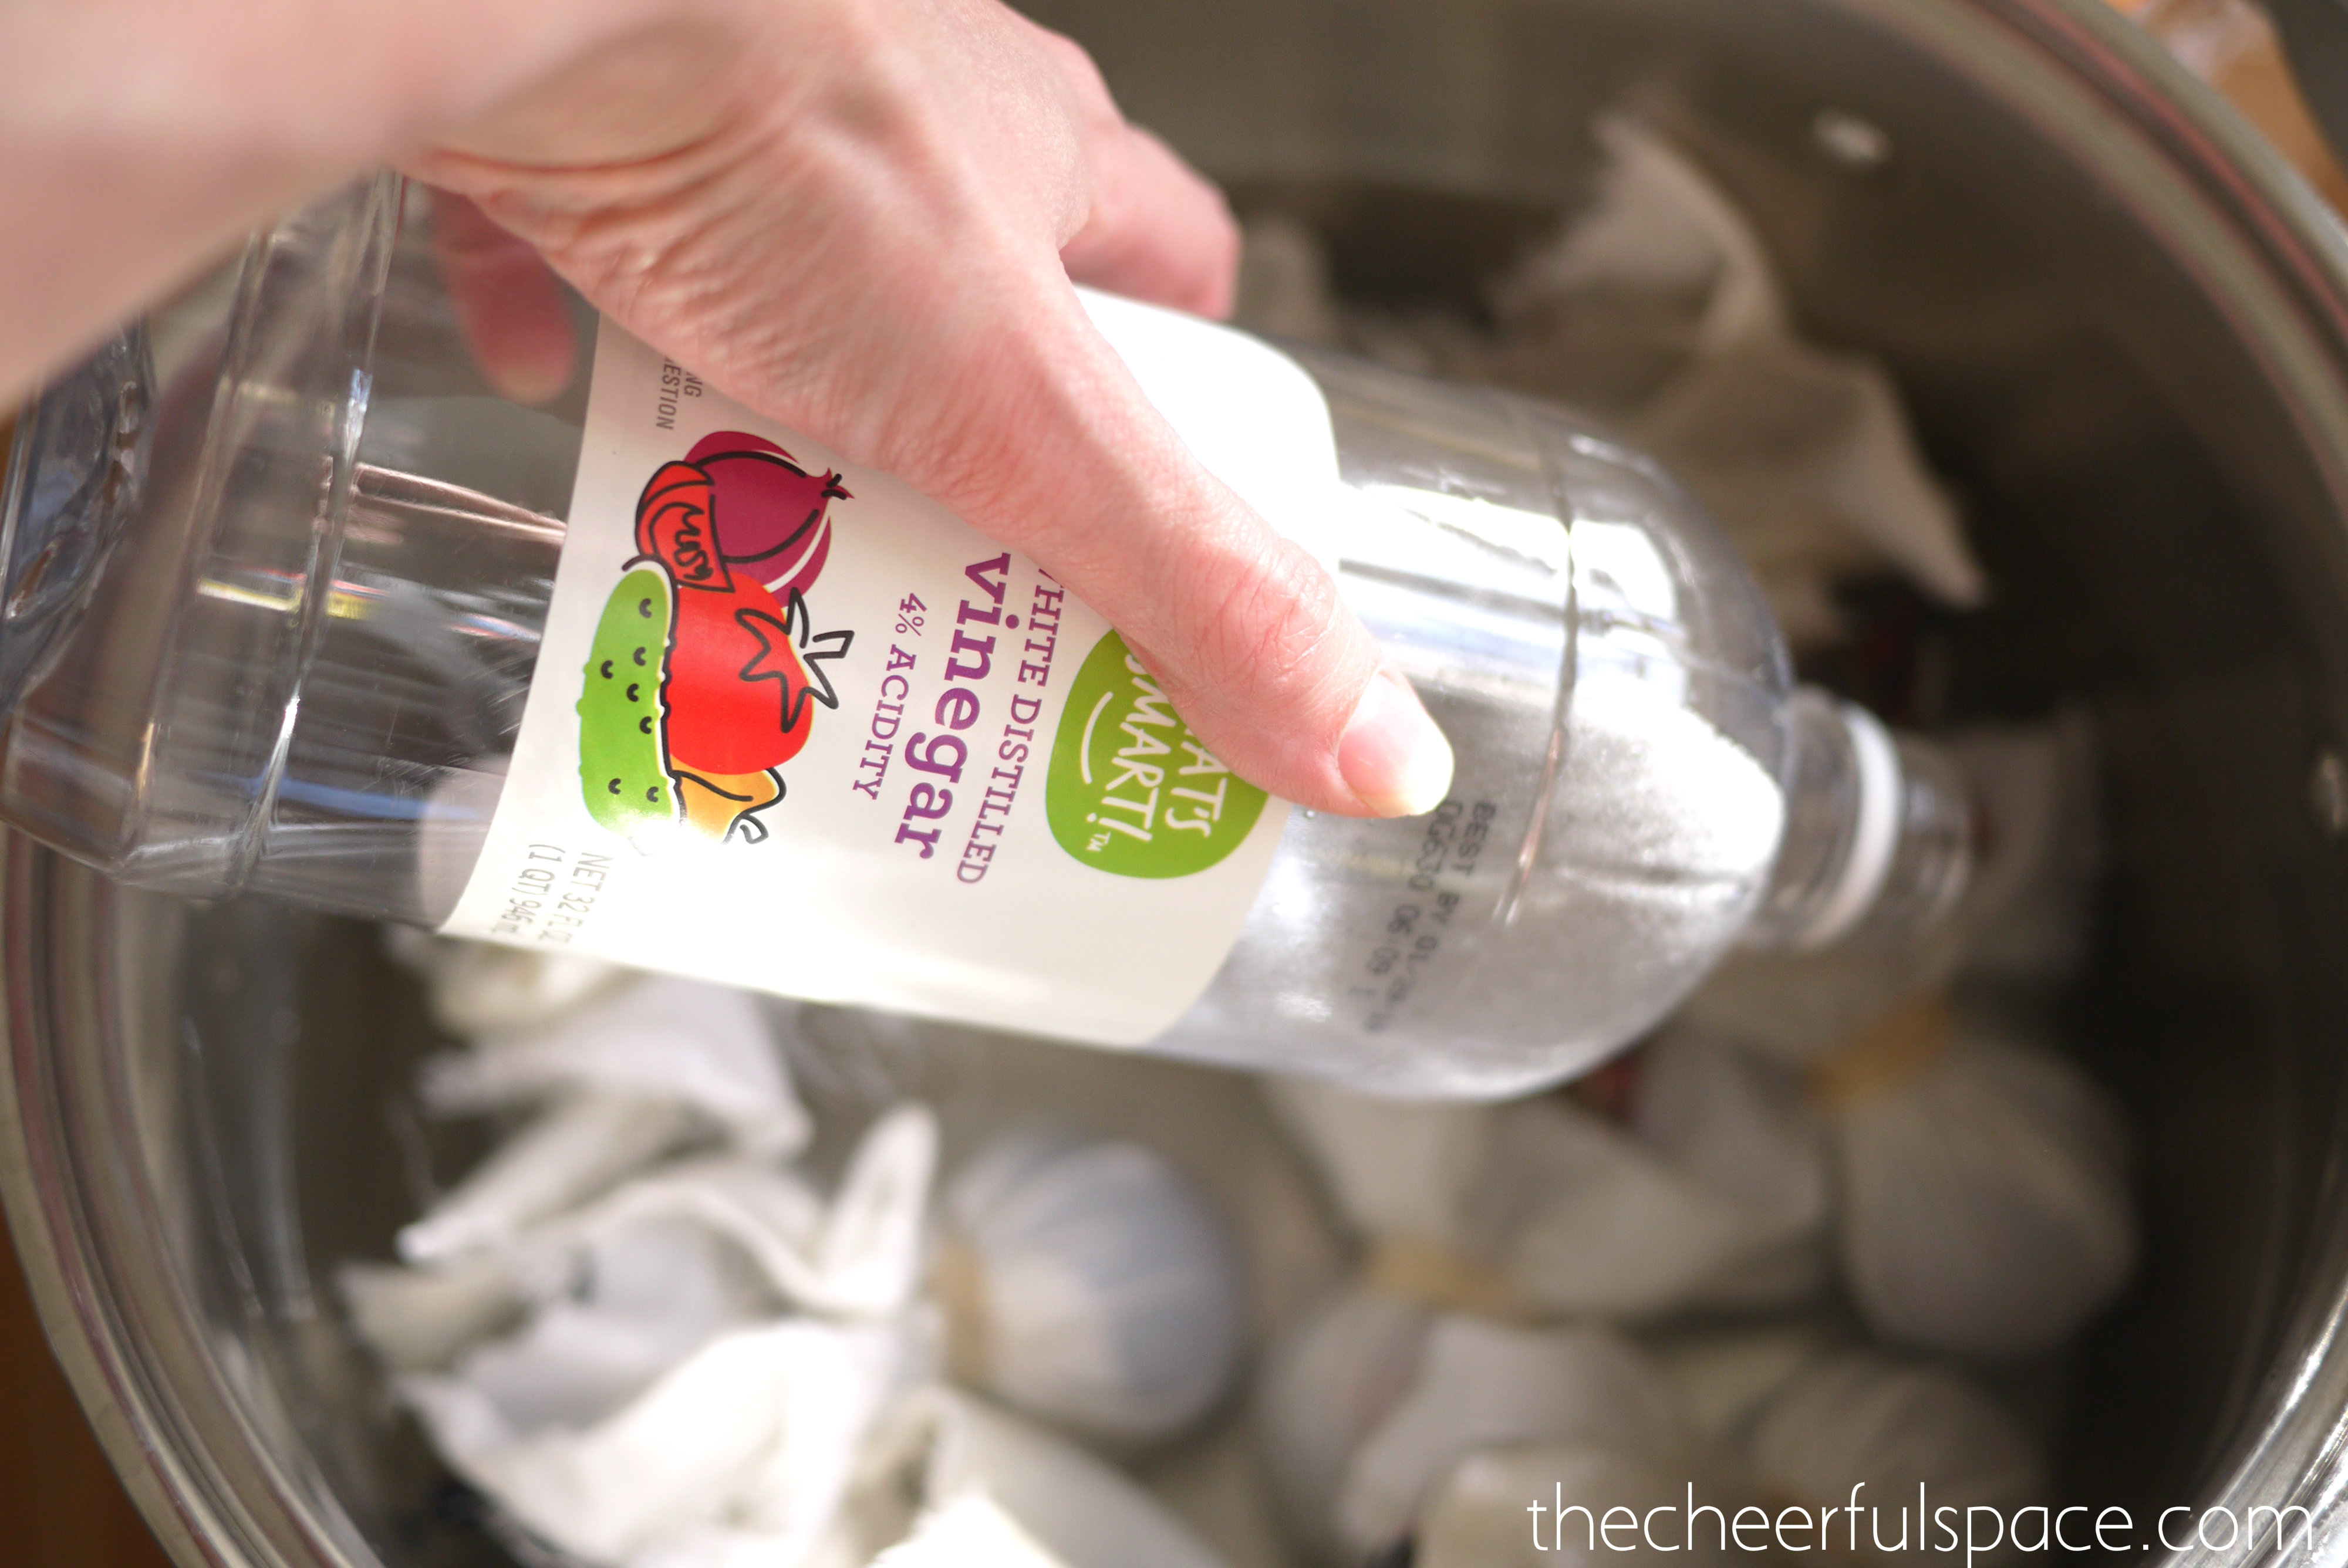
Pour in a little bit of vinegar, about 1/4 cup.
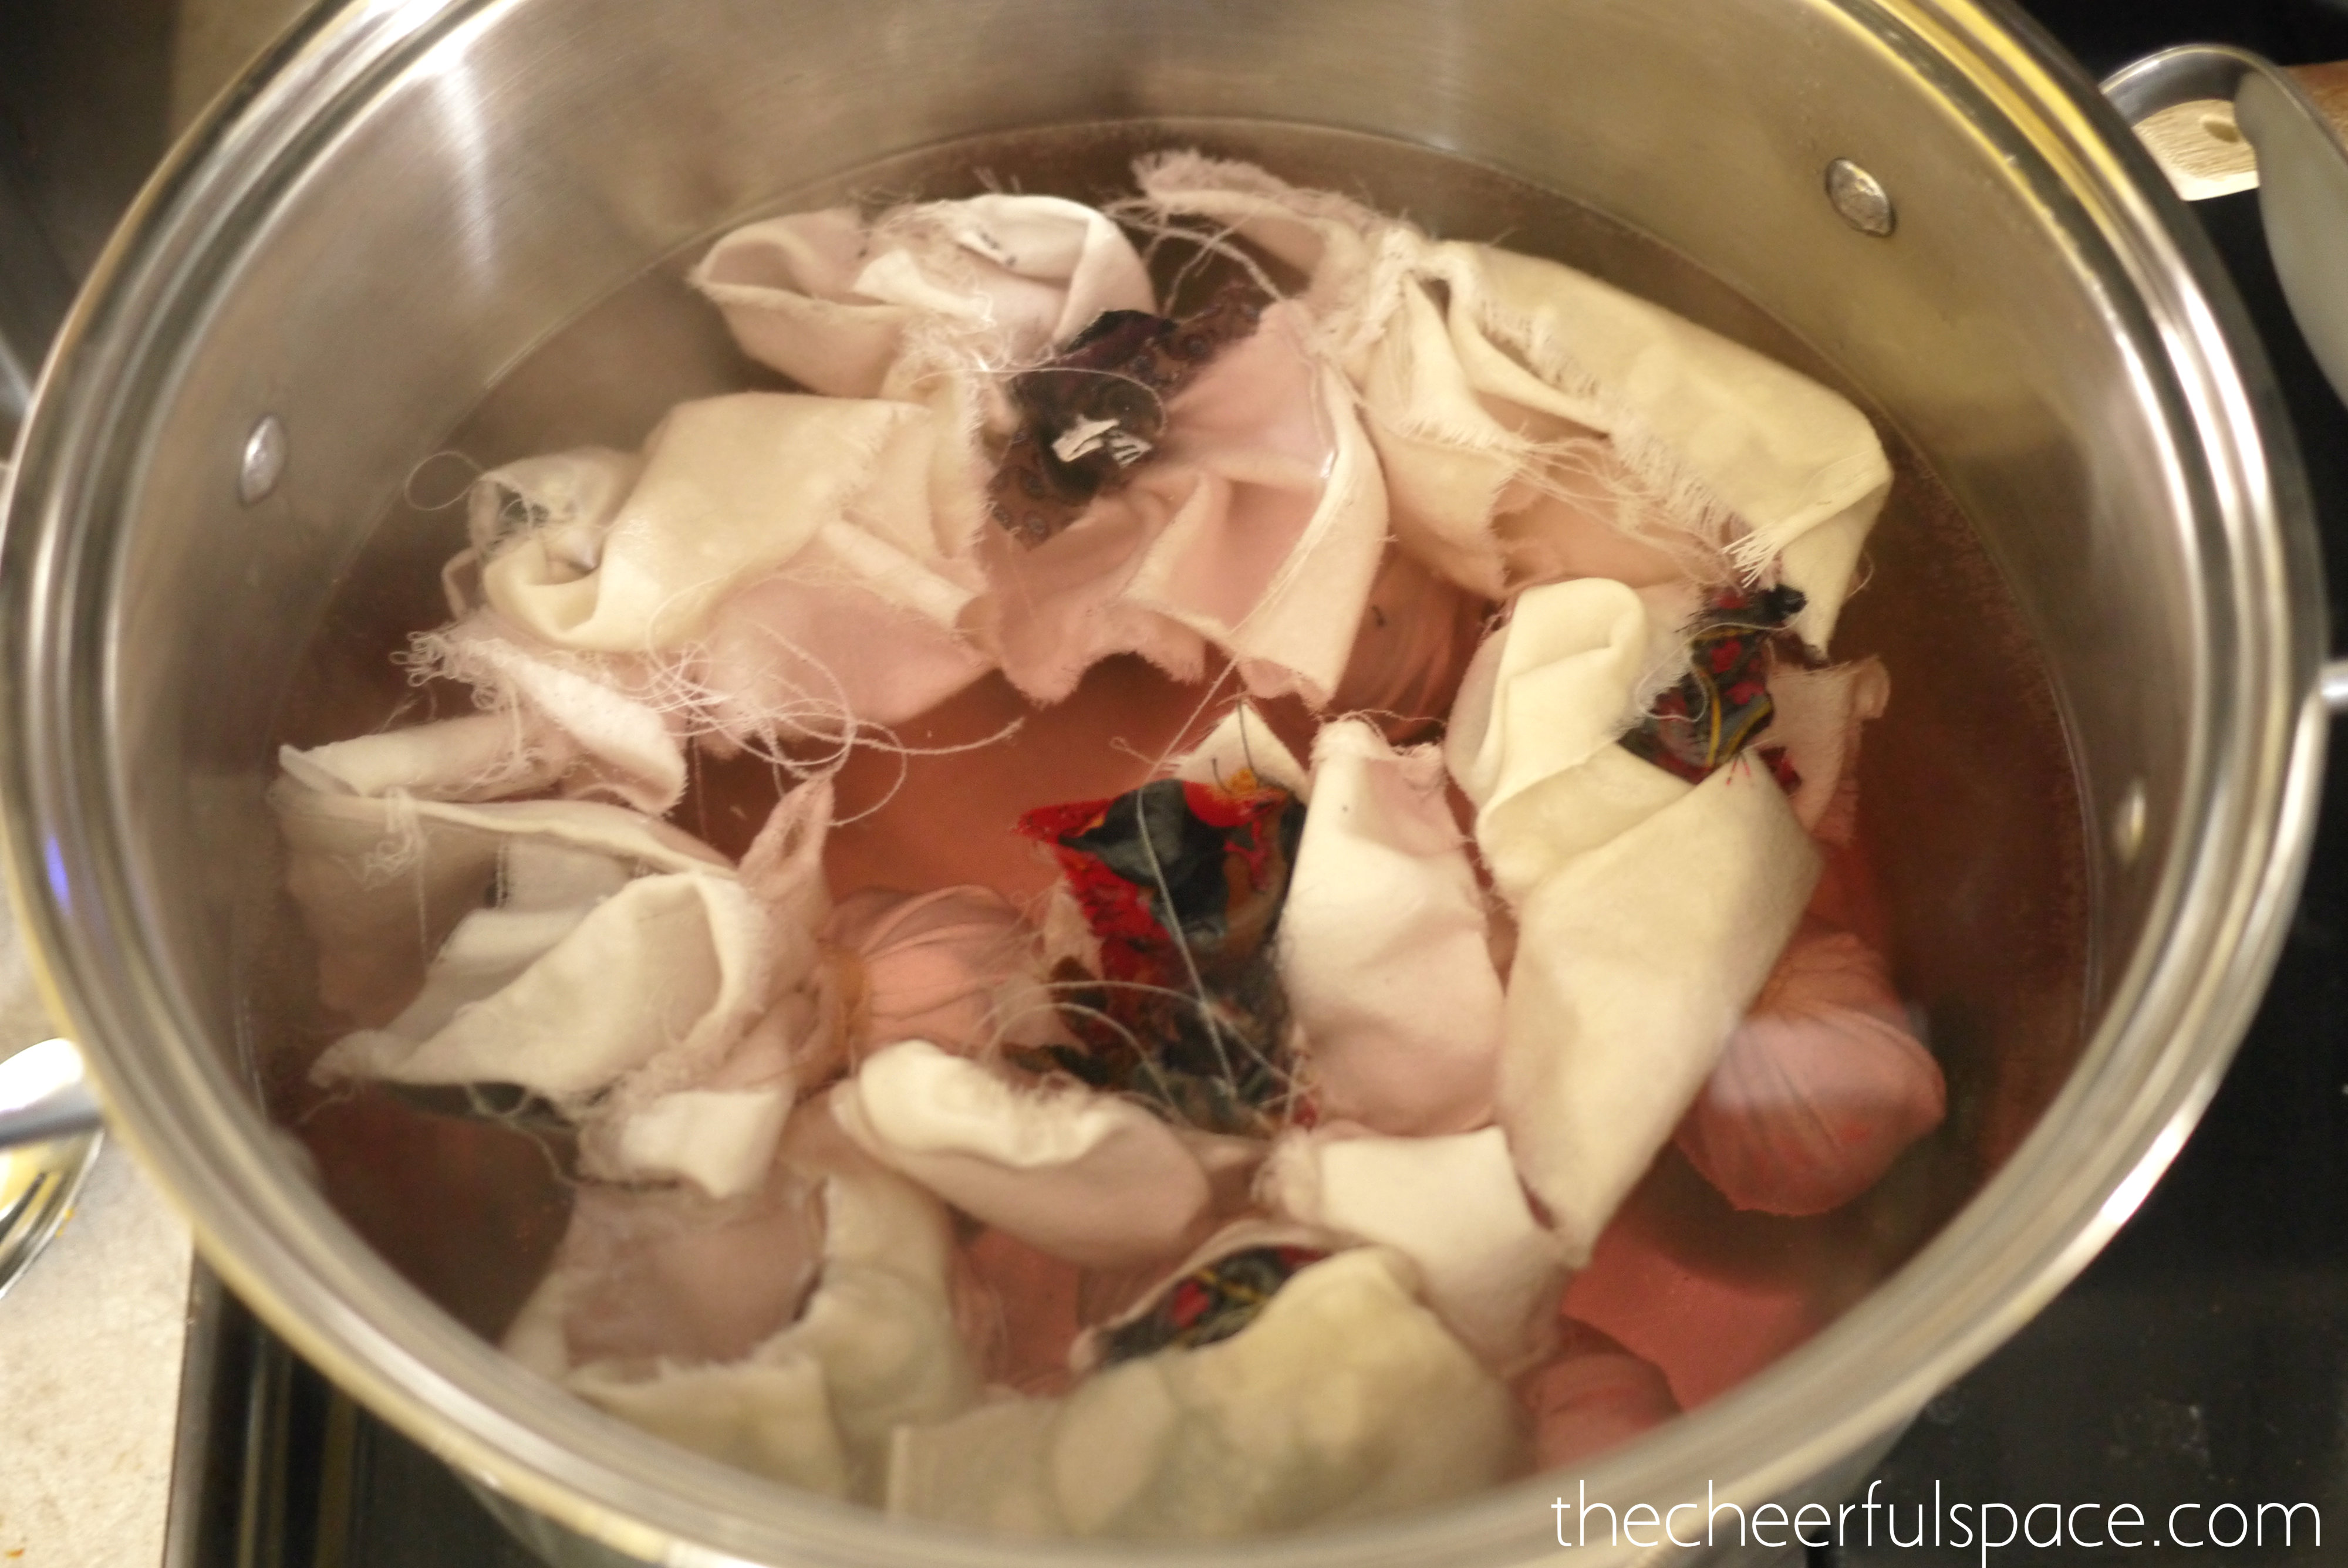
Place the pot on the stove over medium heat and let simmer for 40 minutes.
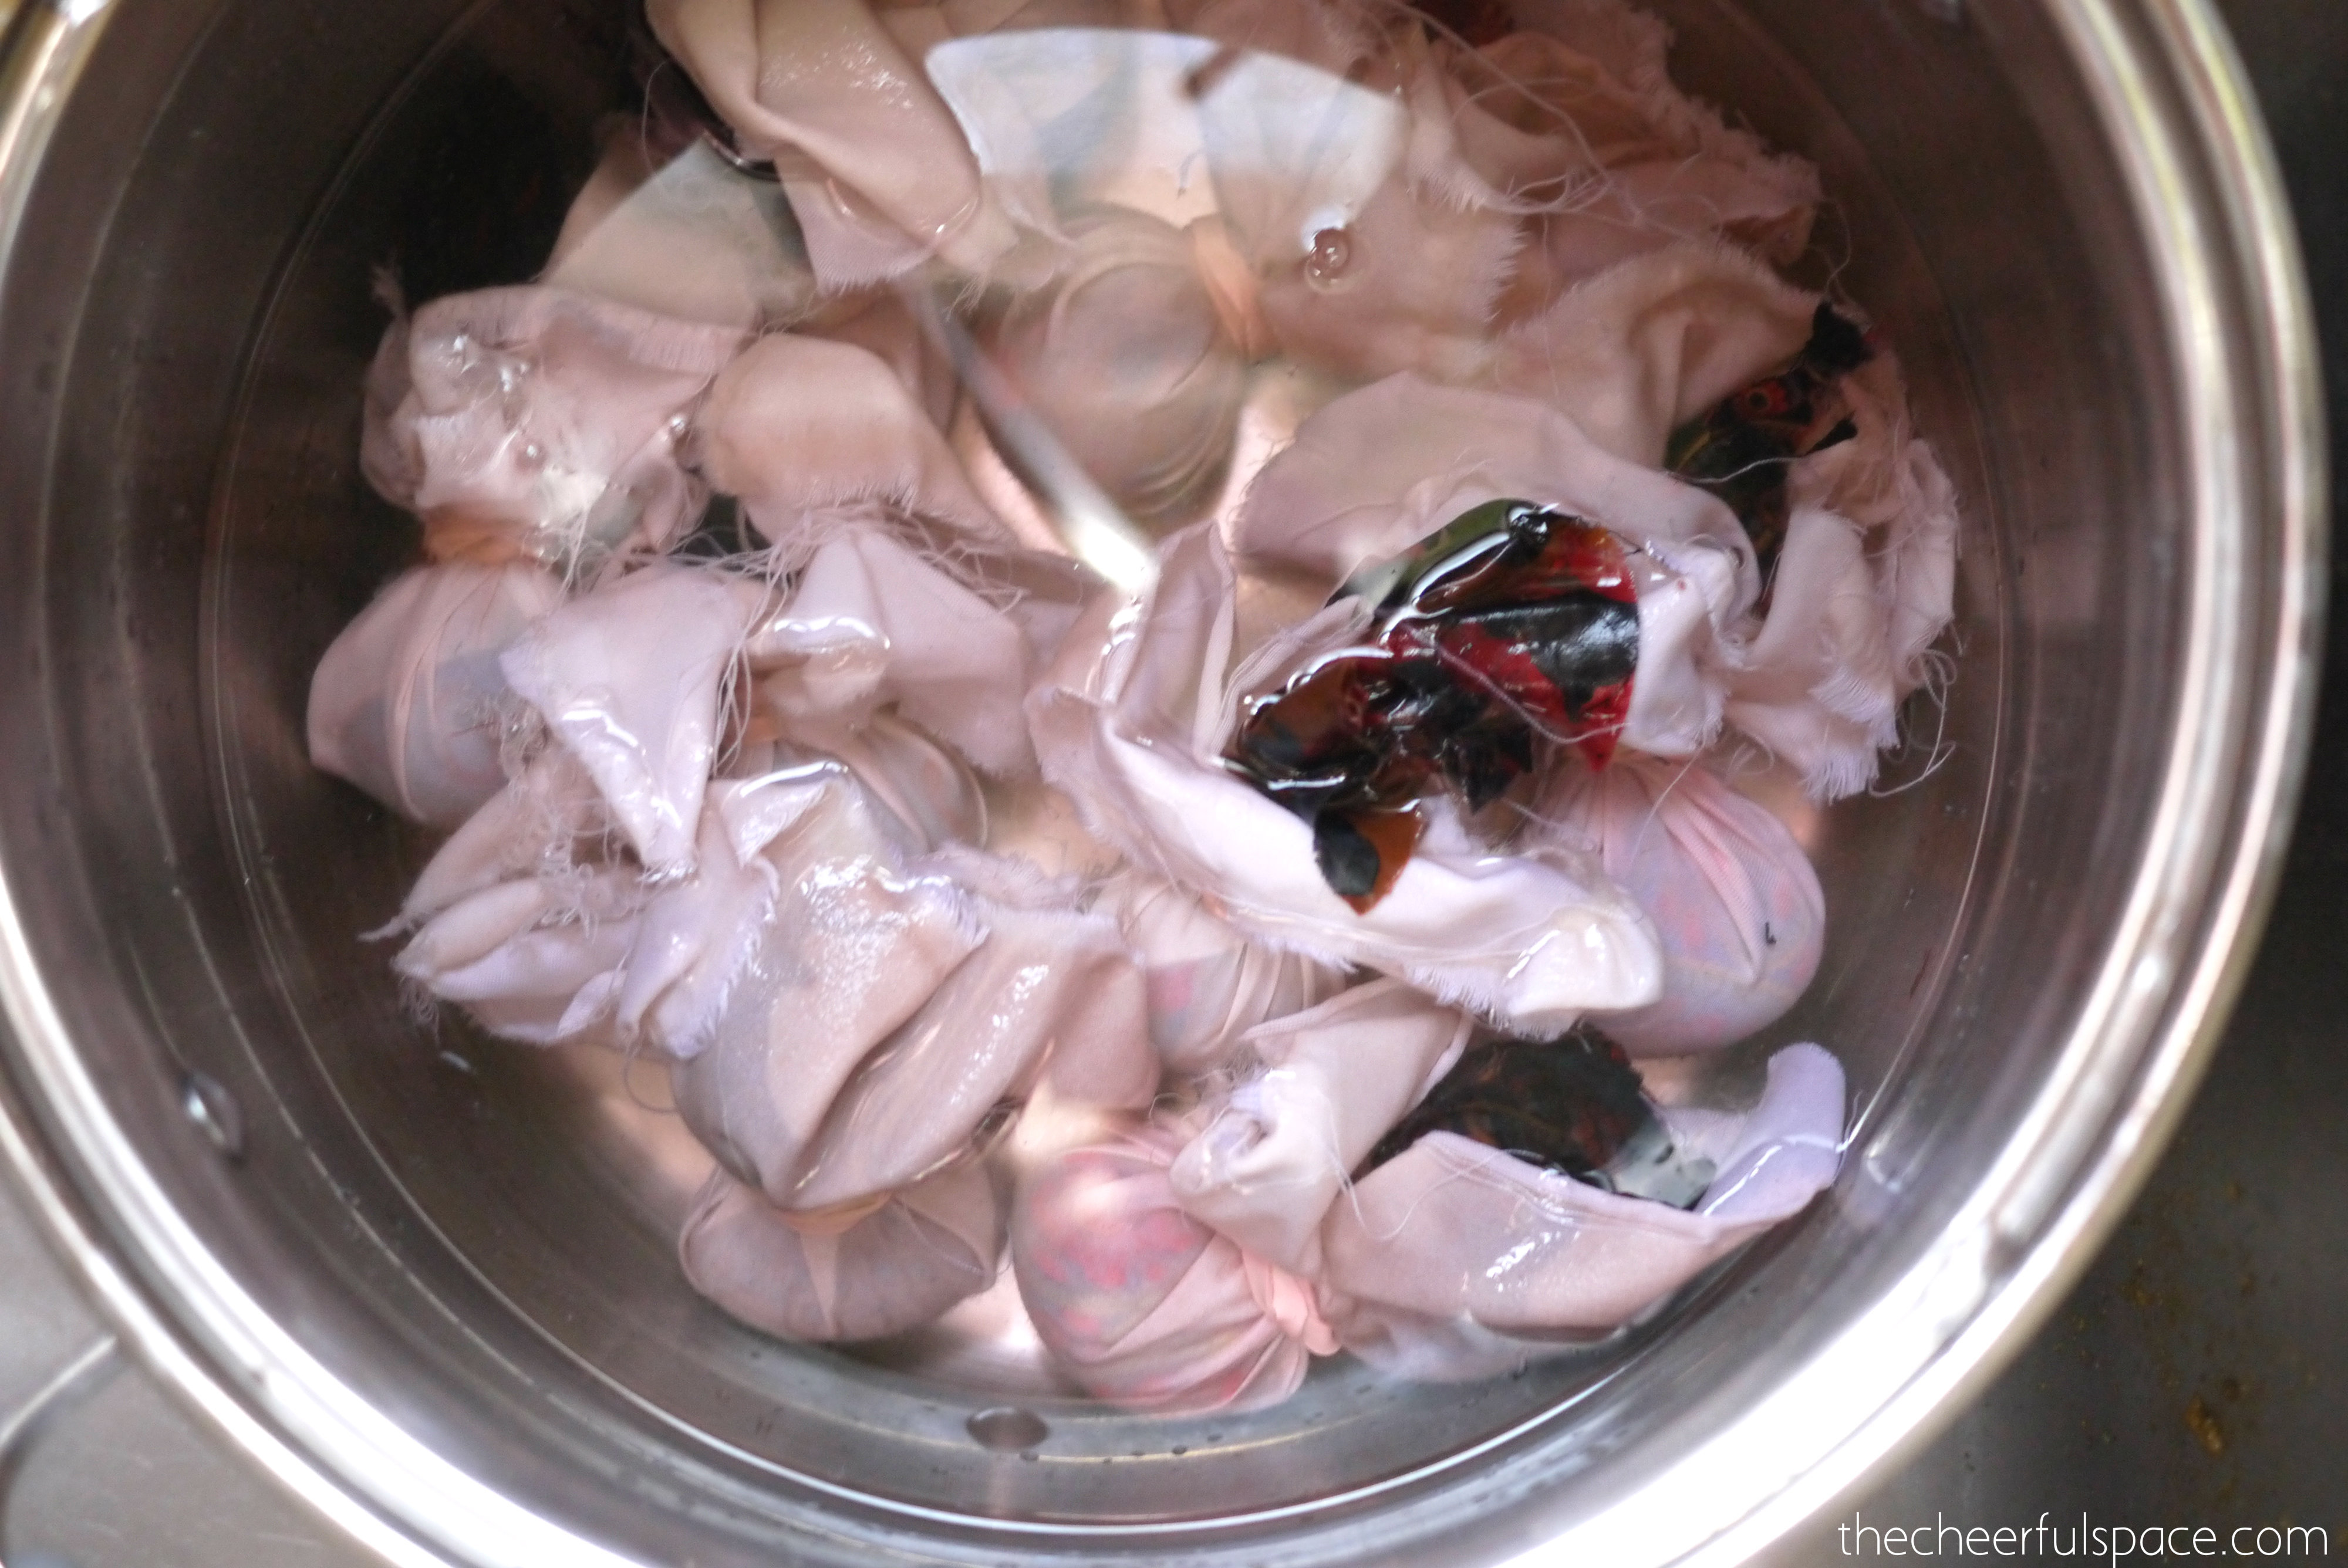
Then let the eggs cool. I ran some cold water over them for a bit.
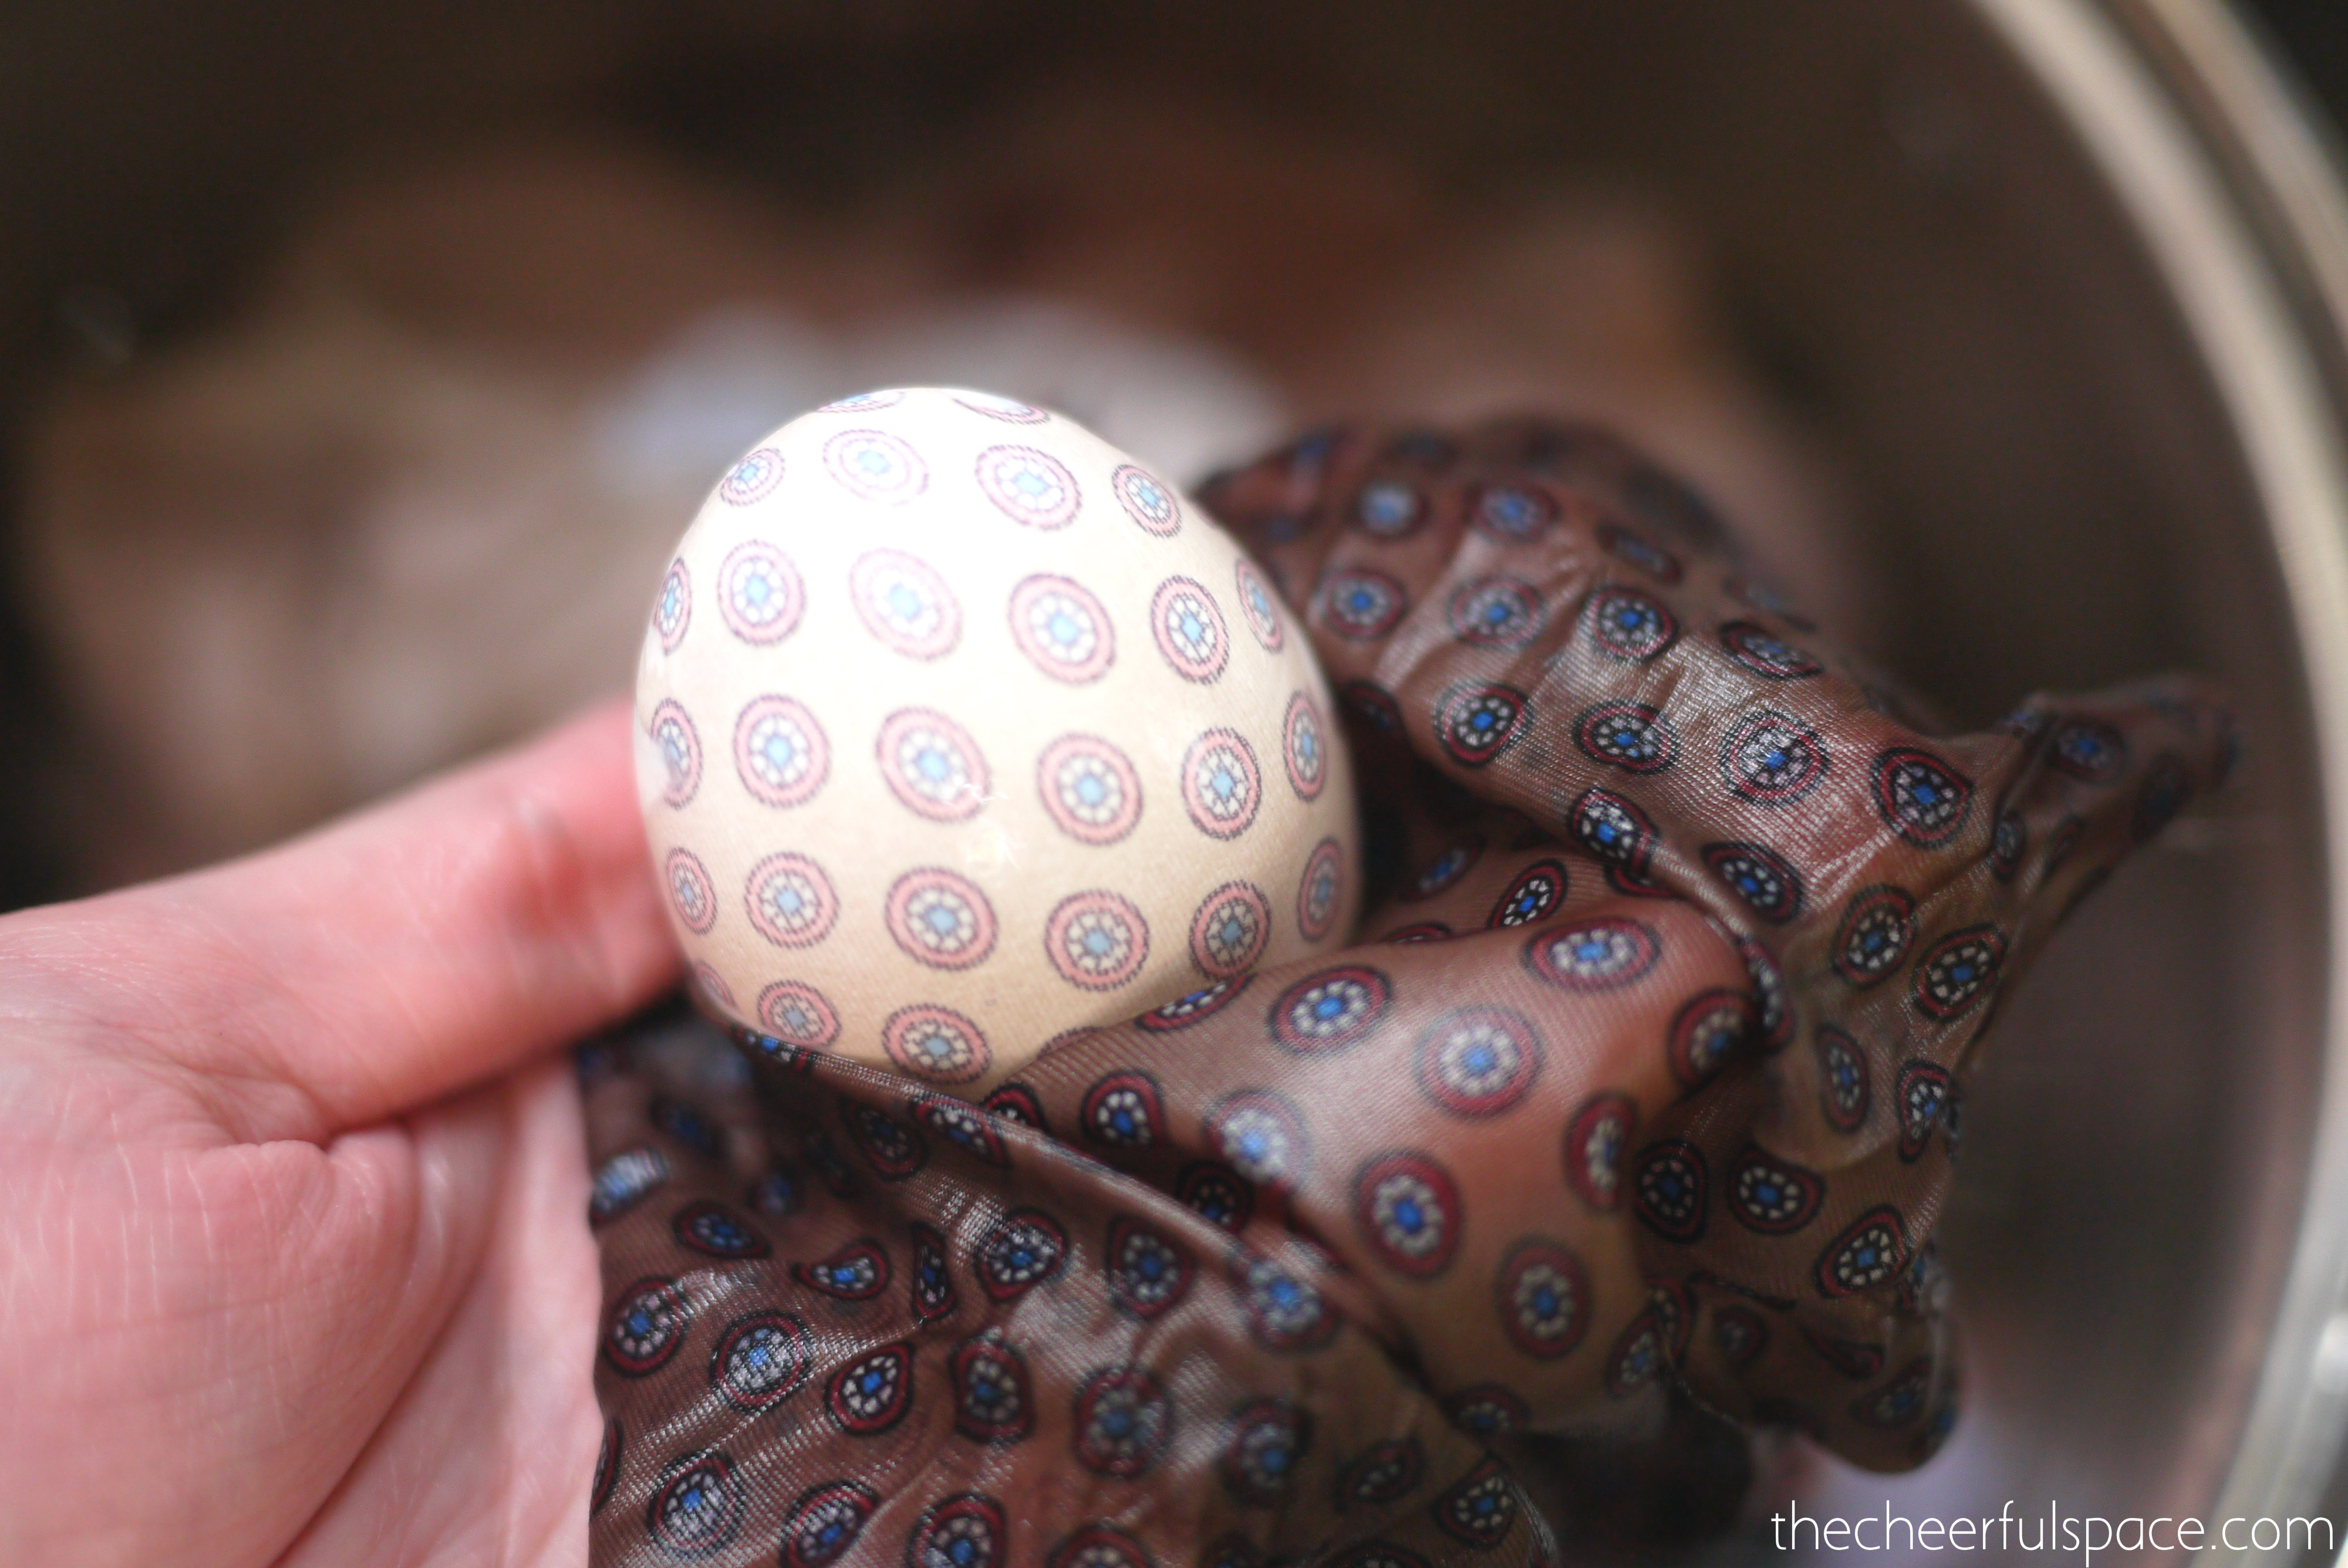
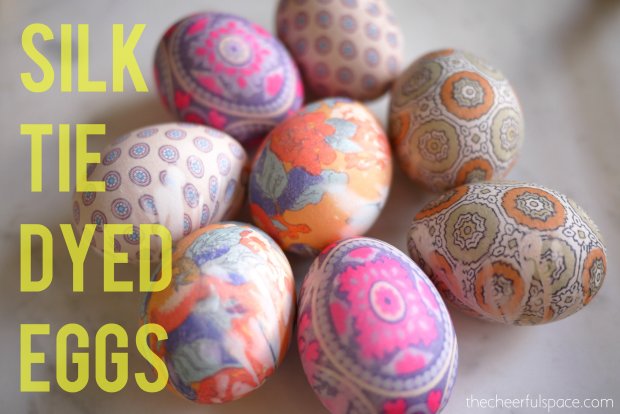
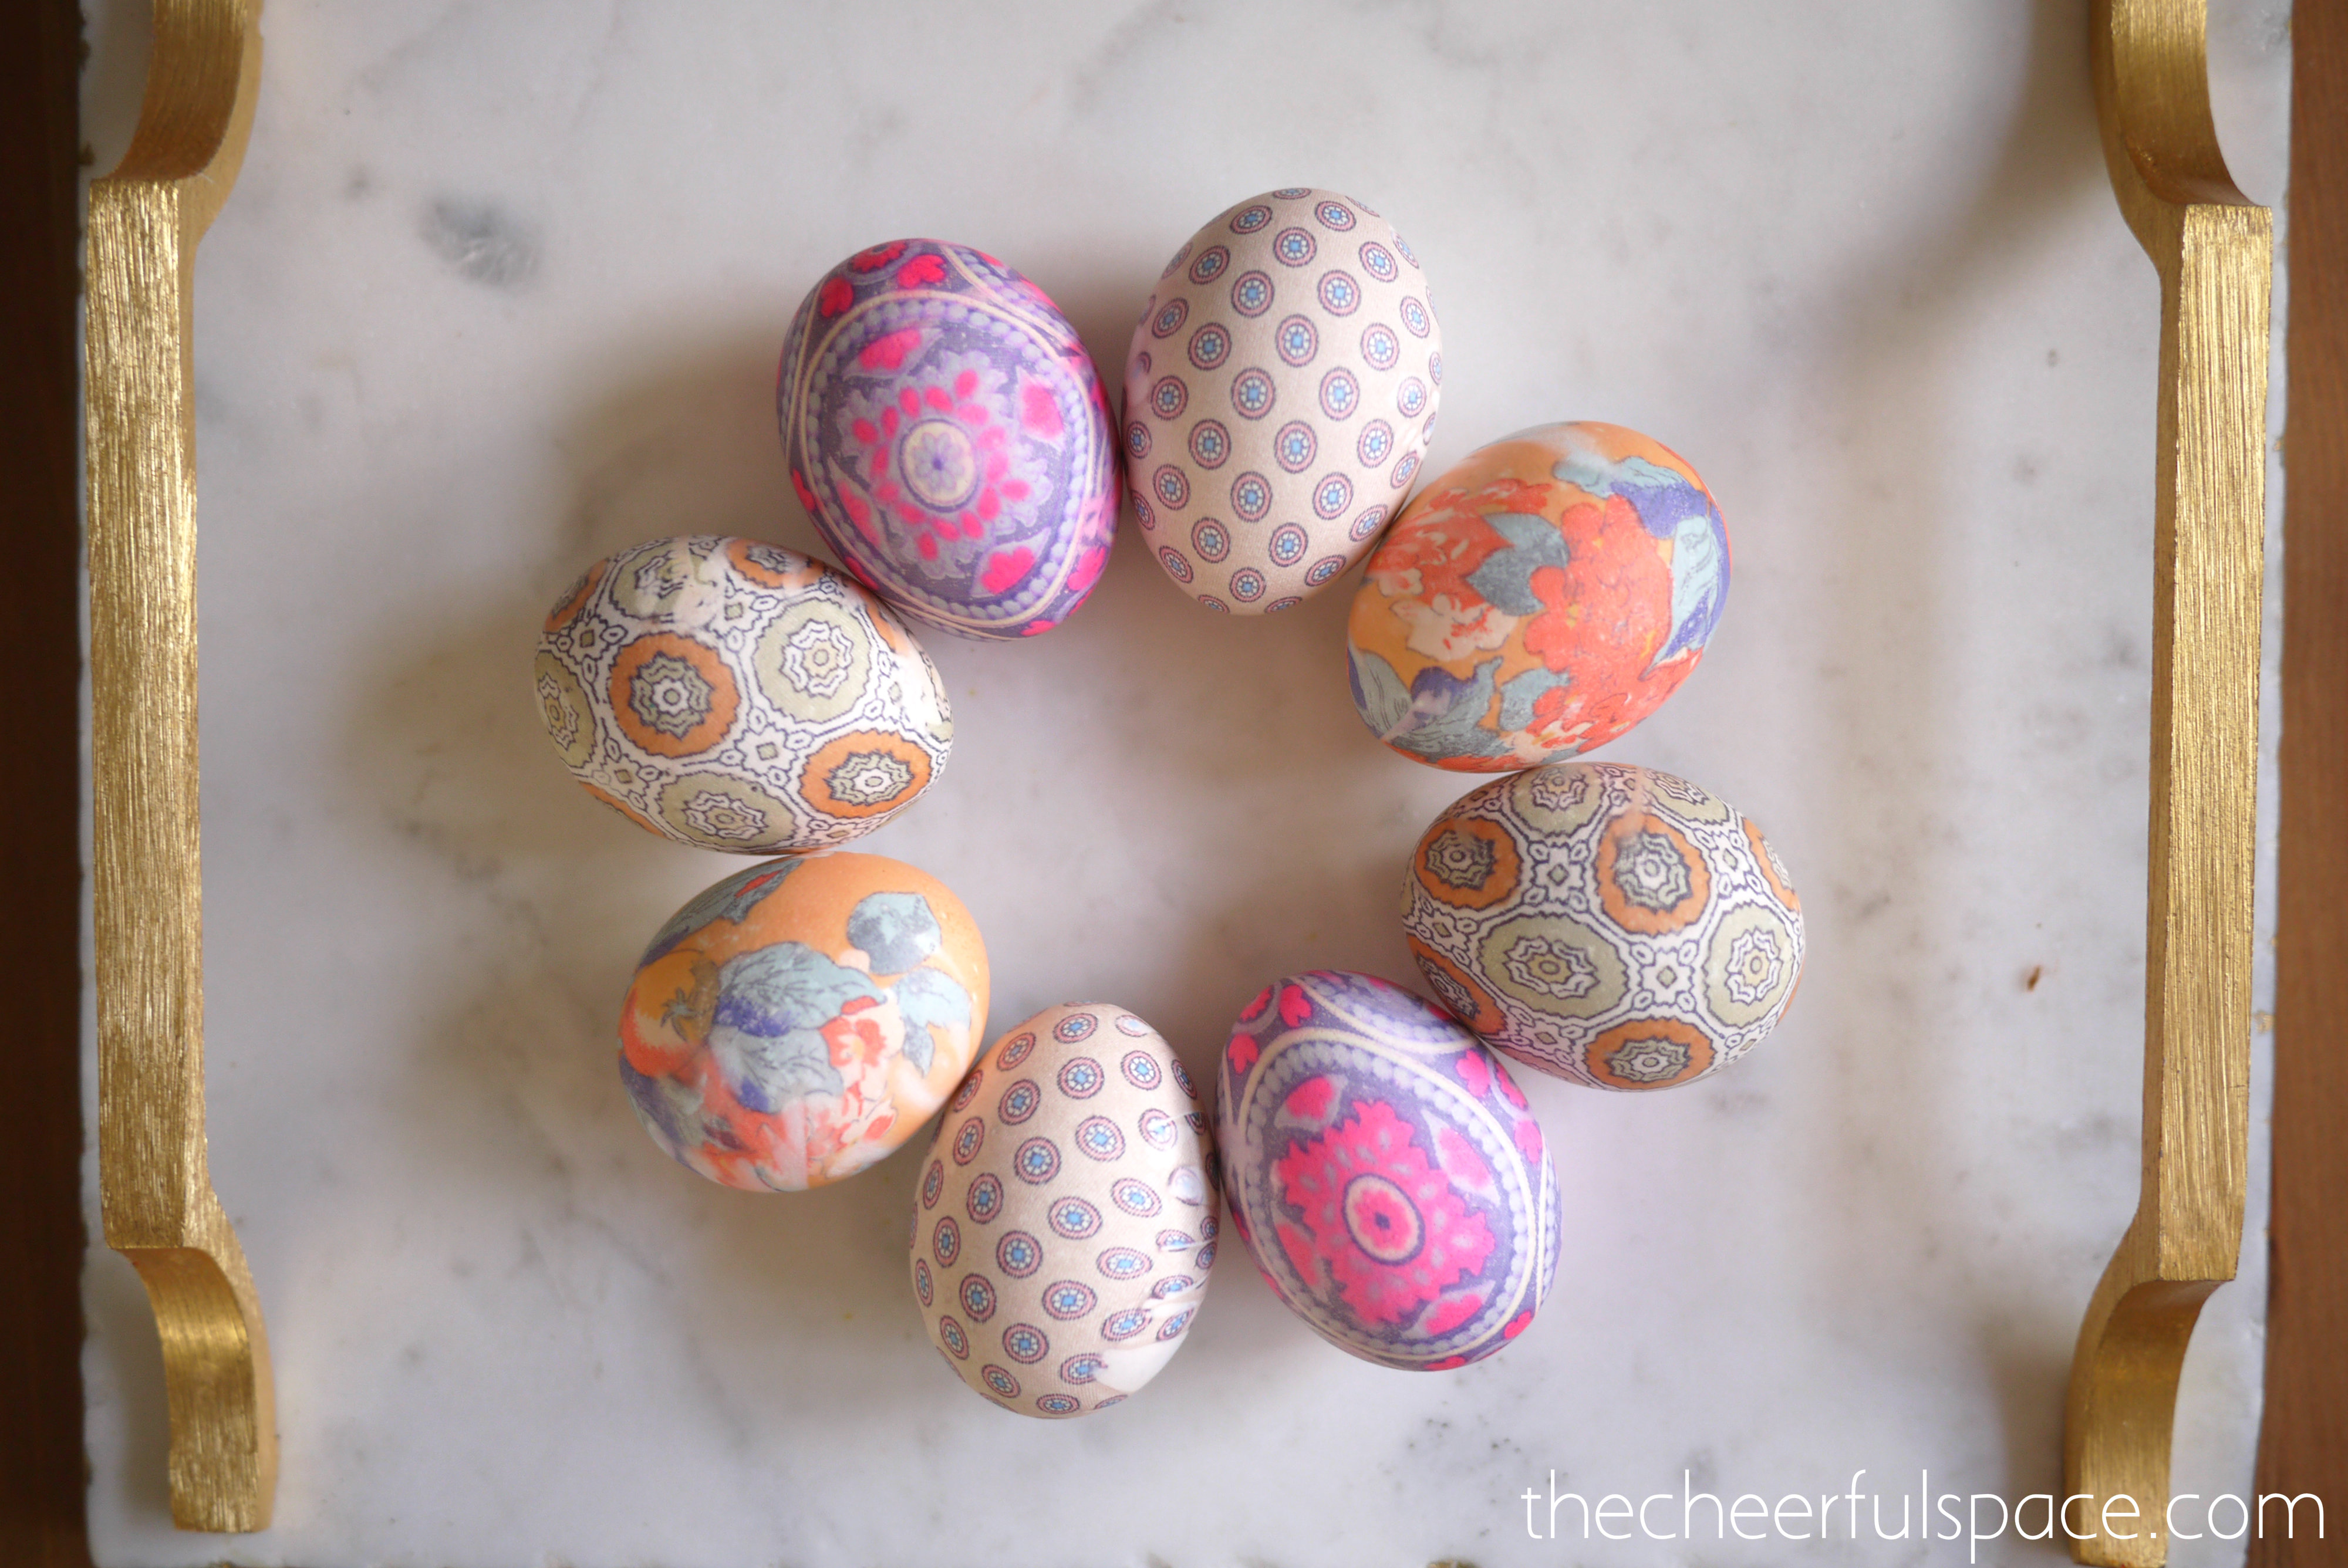
The most exciting part is unwrapping the eggs to see your designs! Below are the eggs with the original fabric that was wrapped around them.

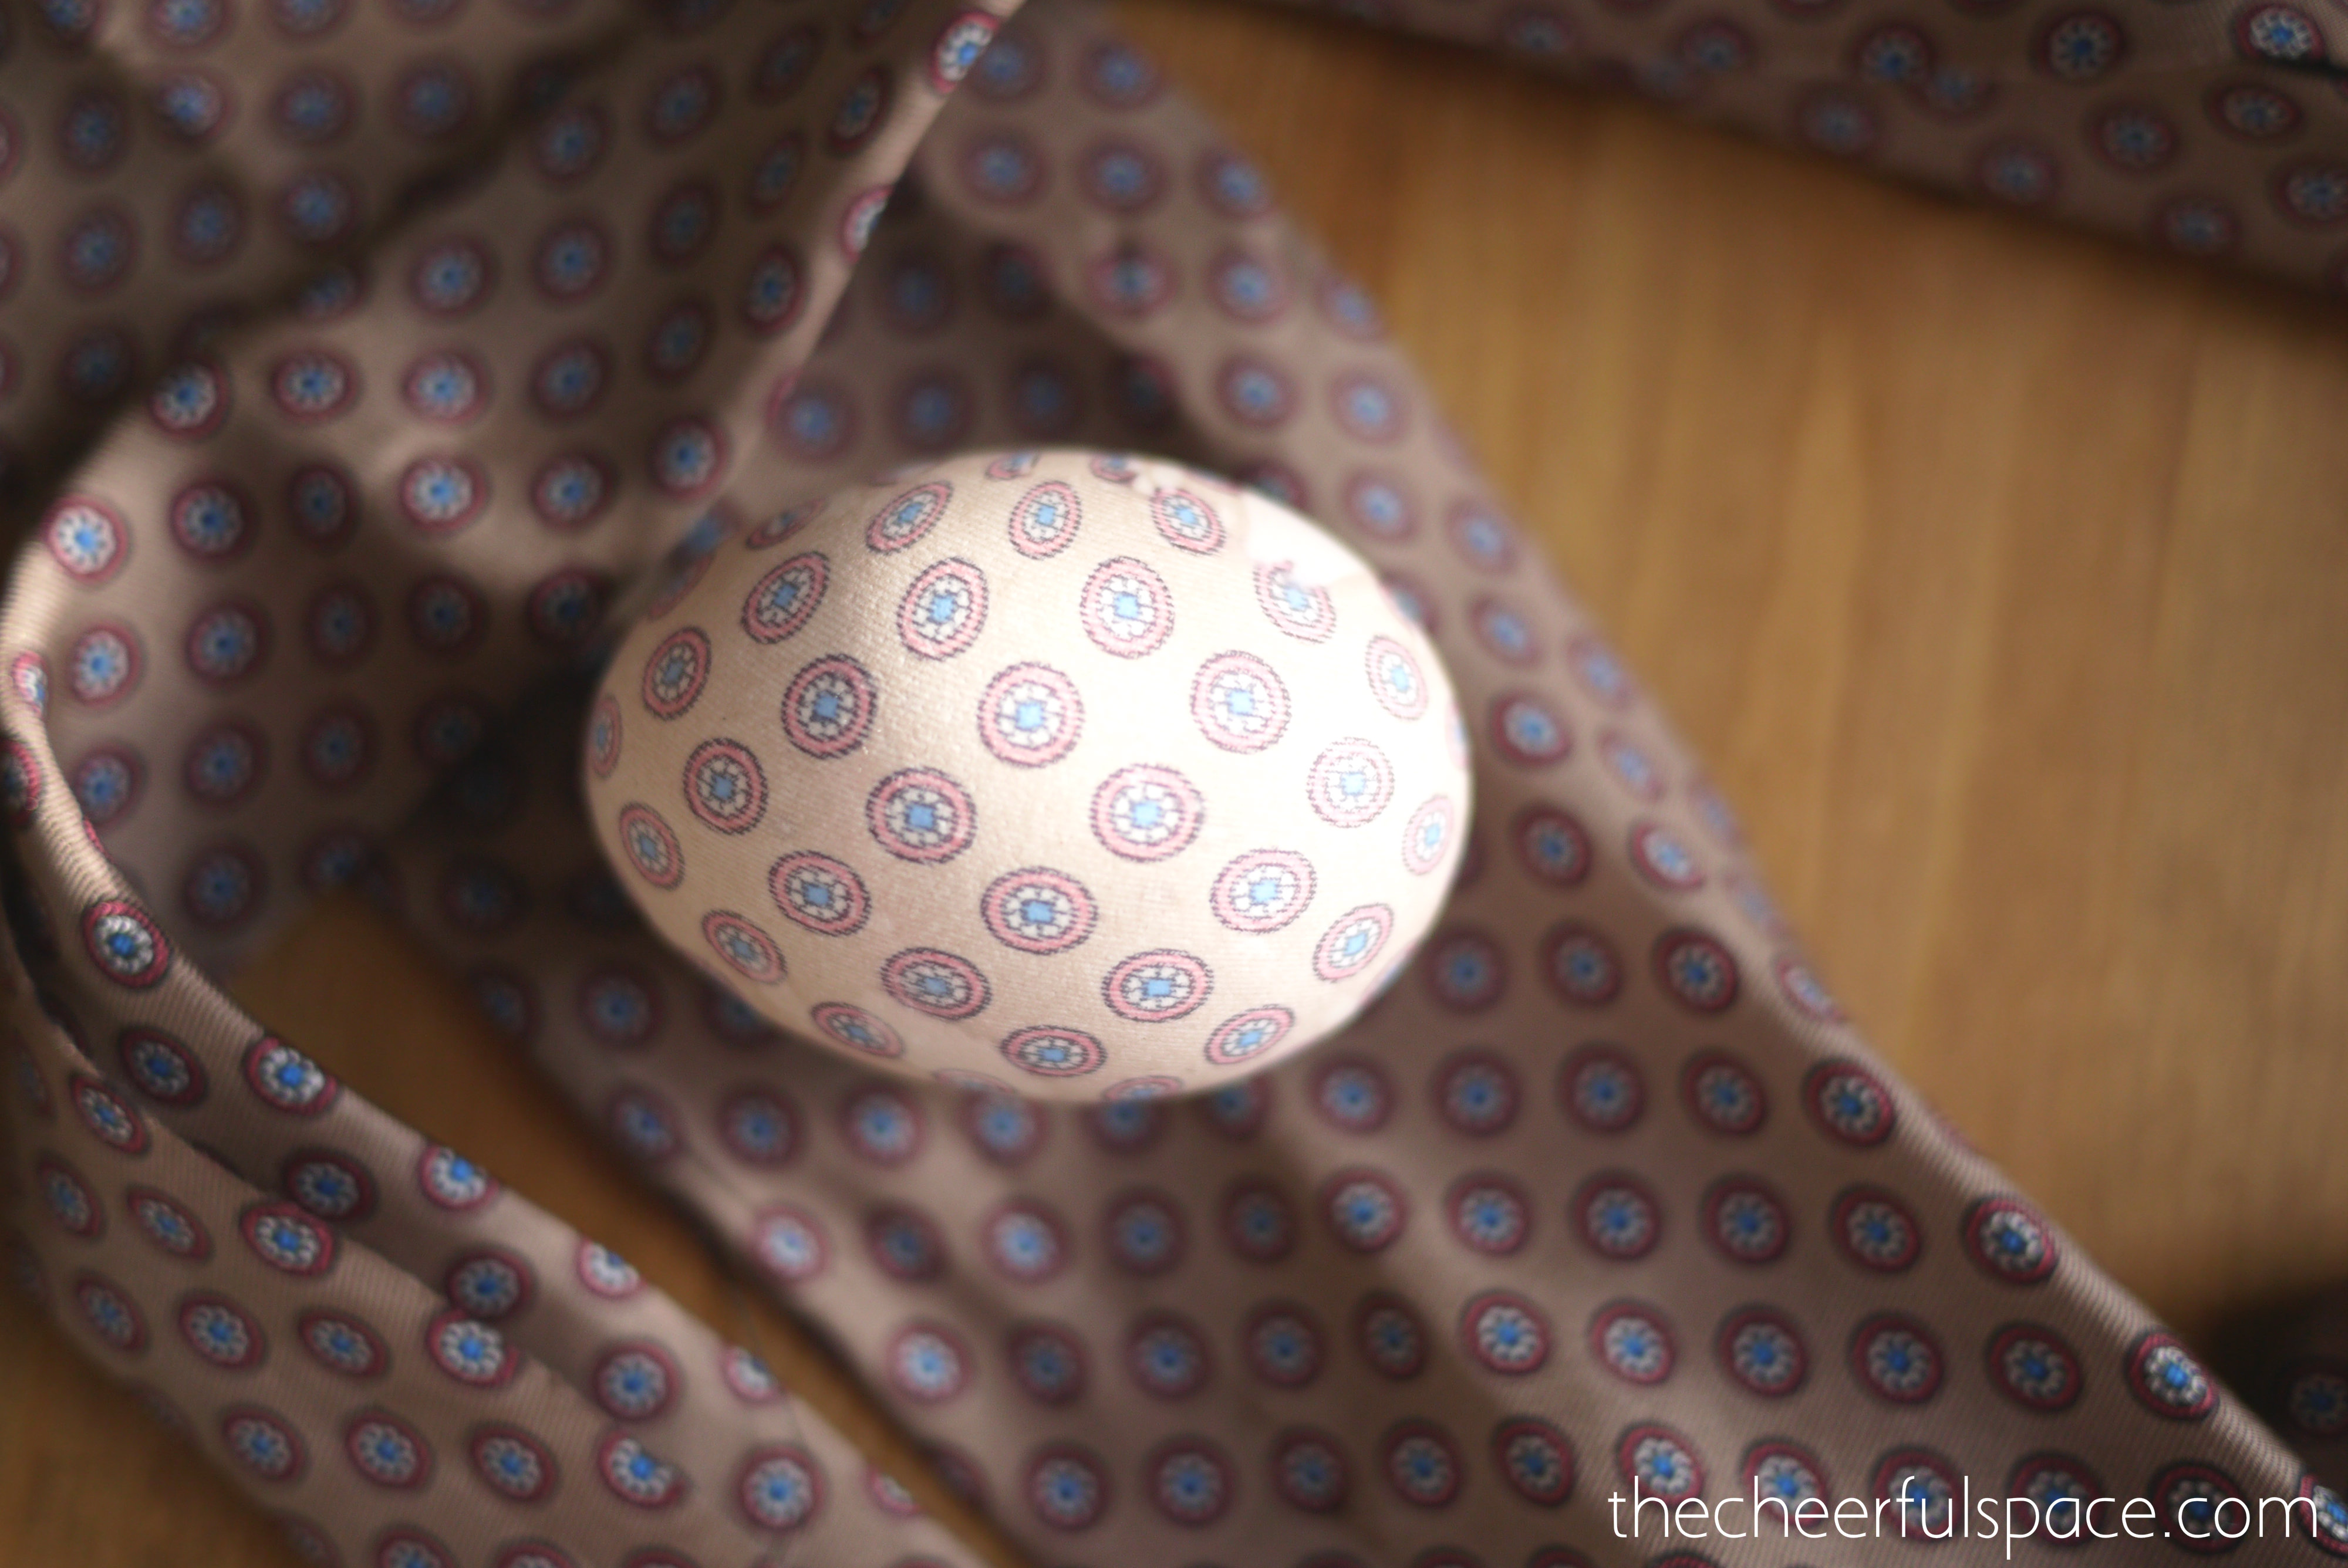
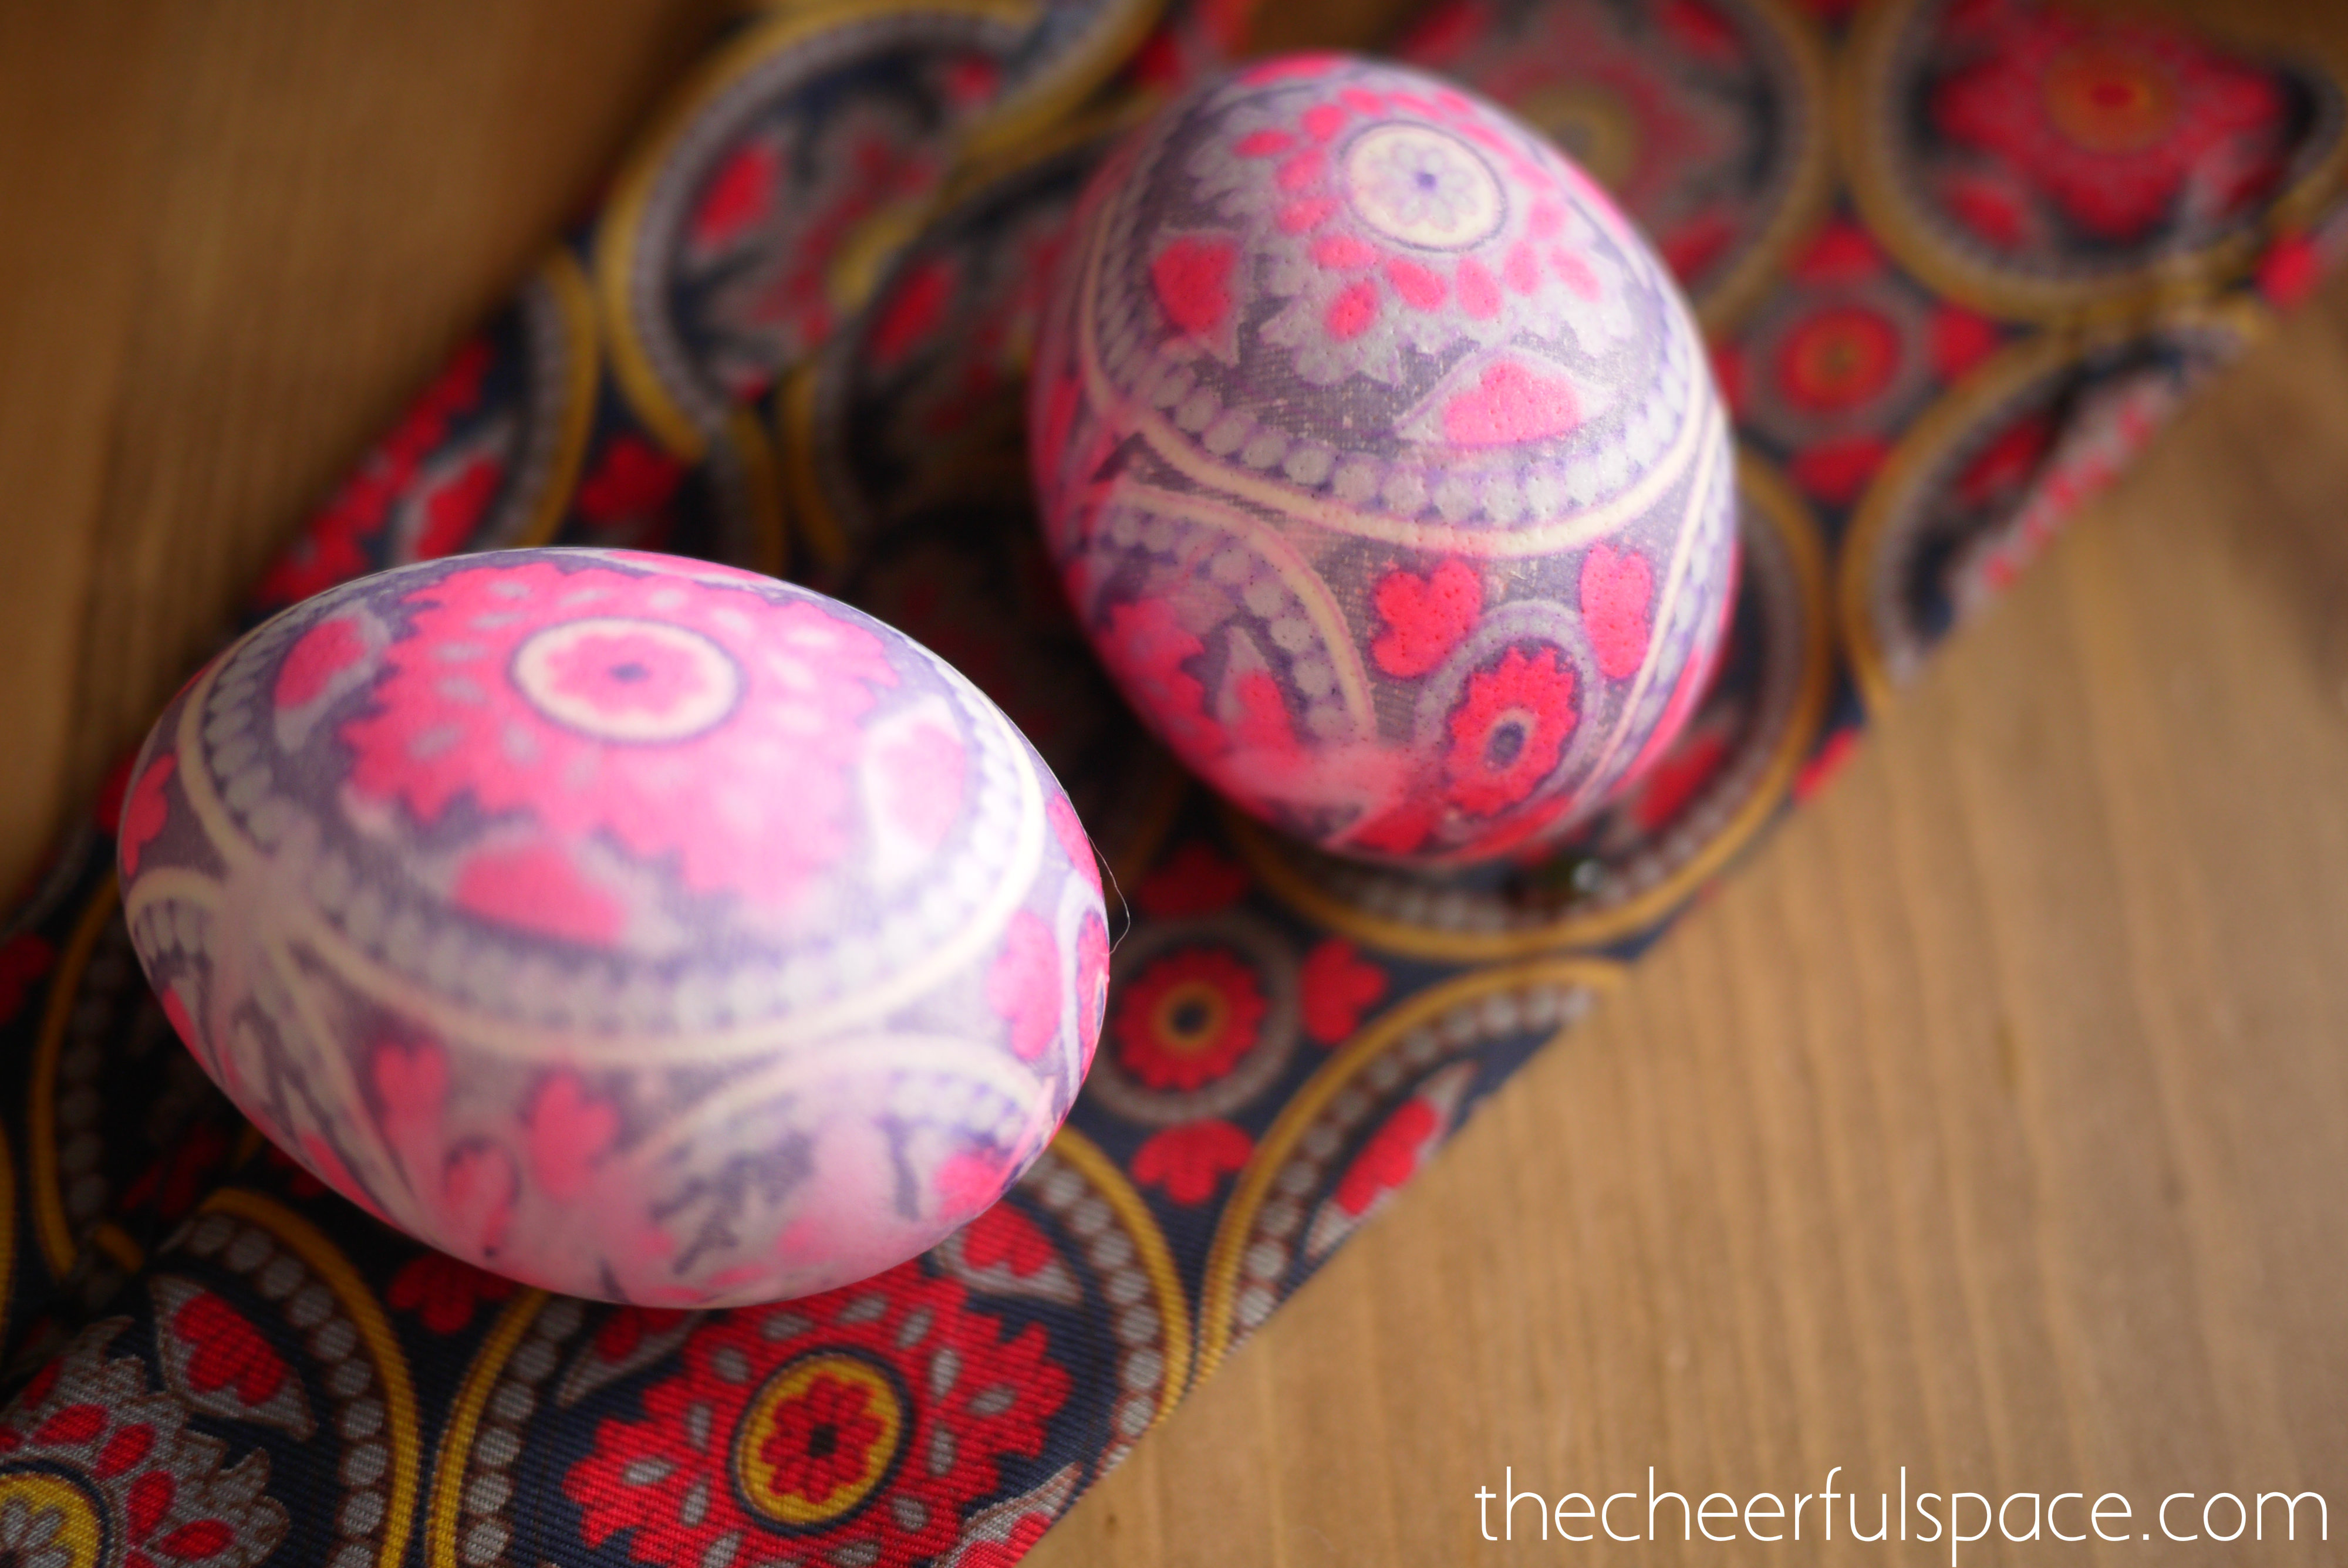
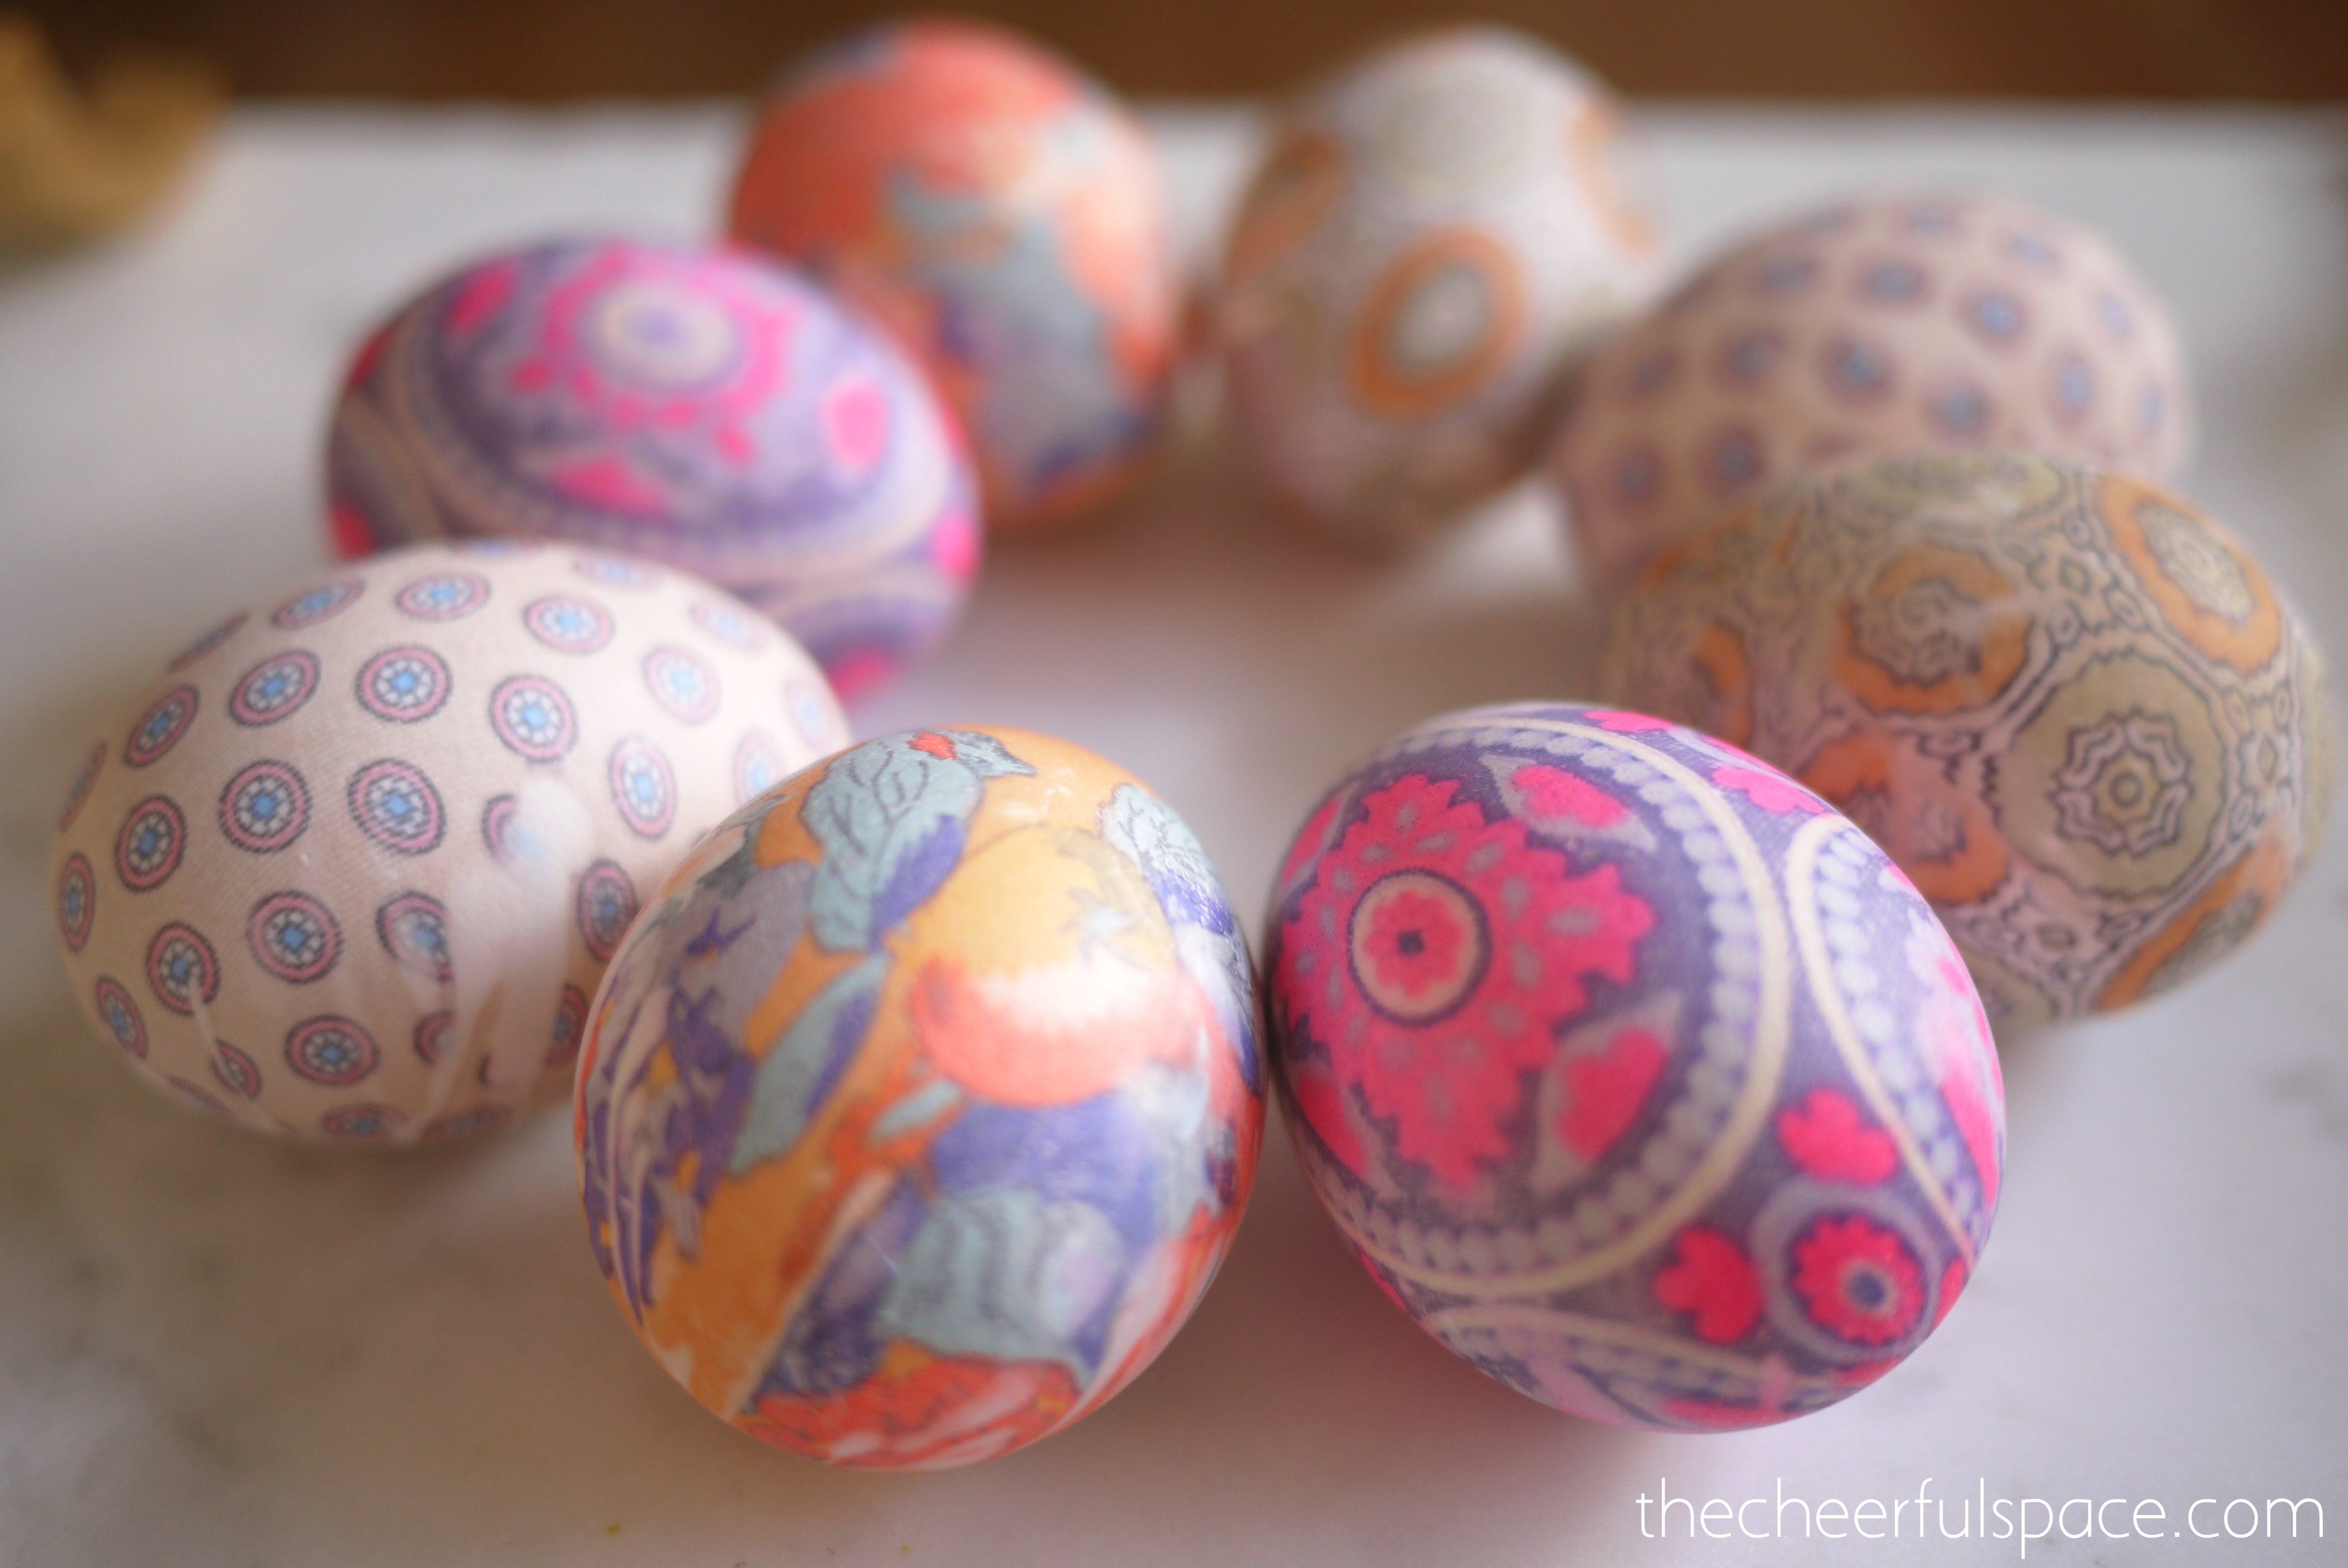
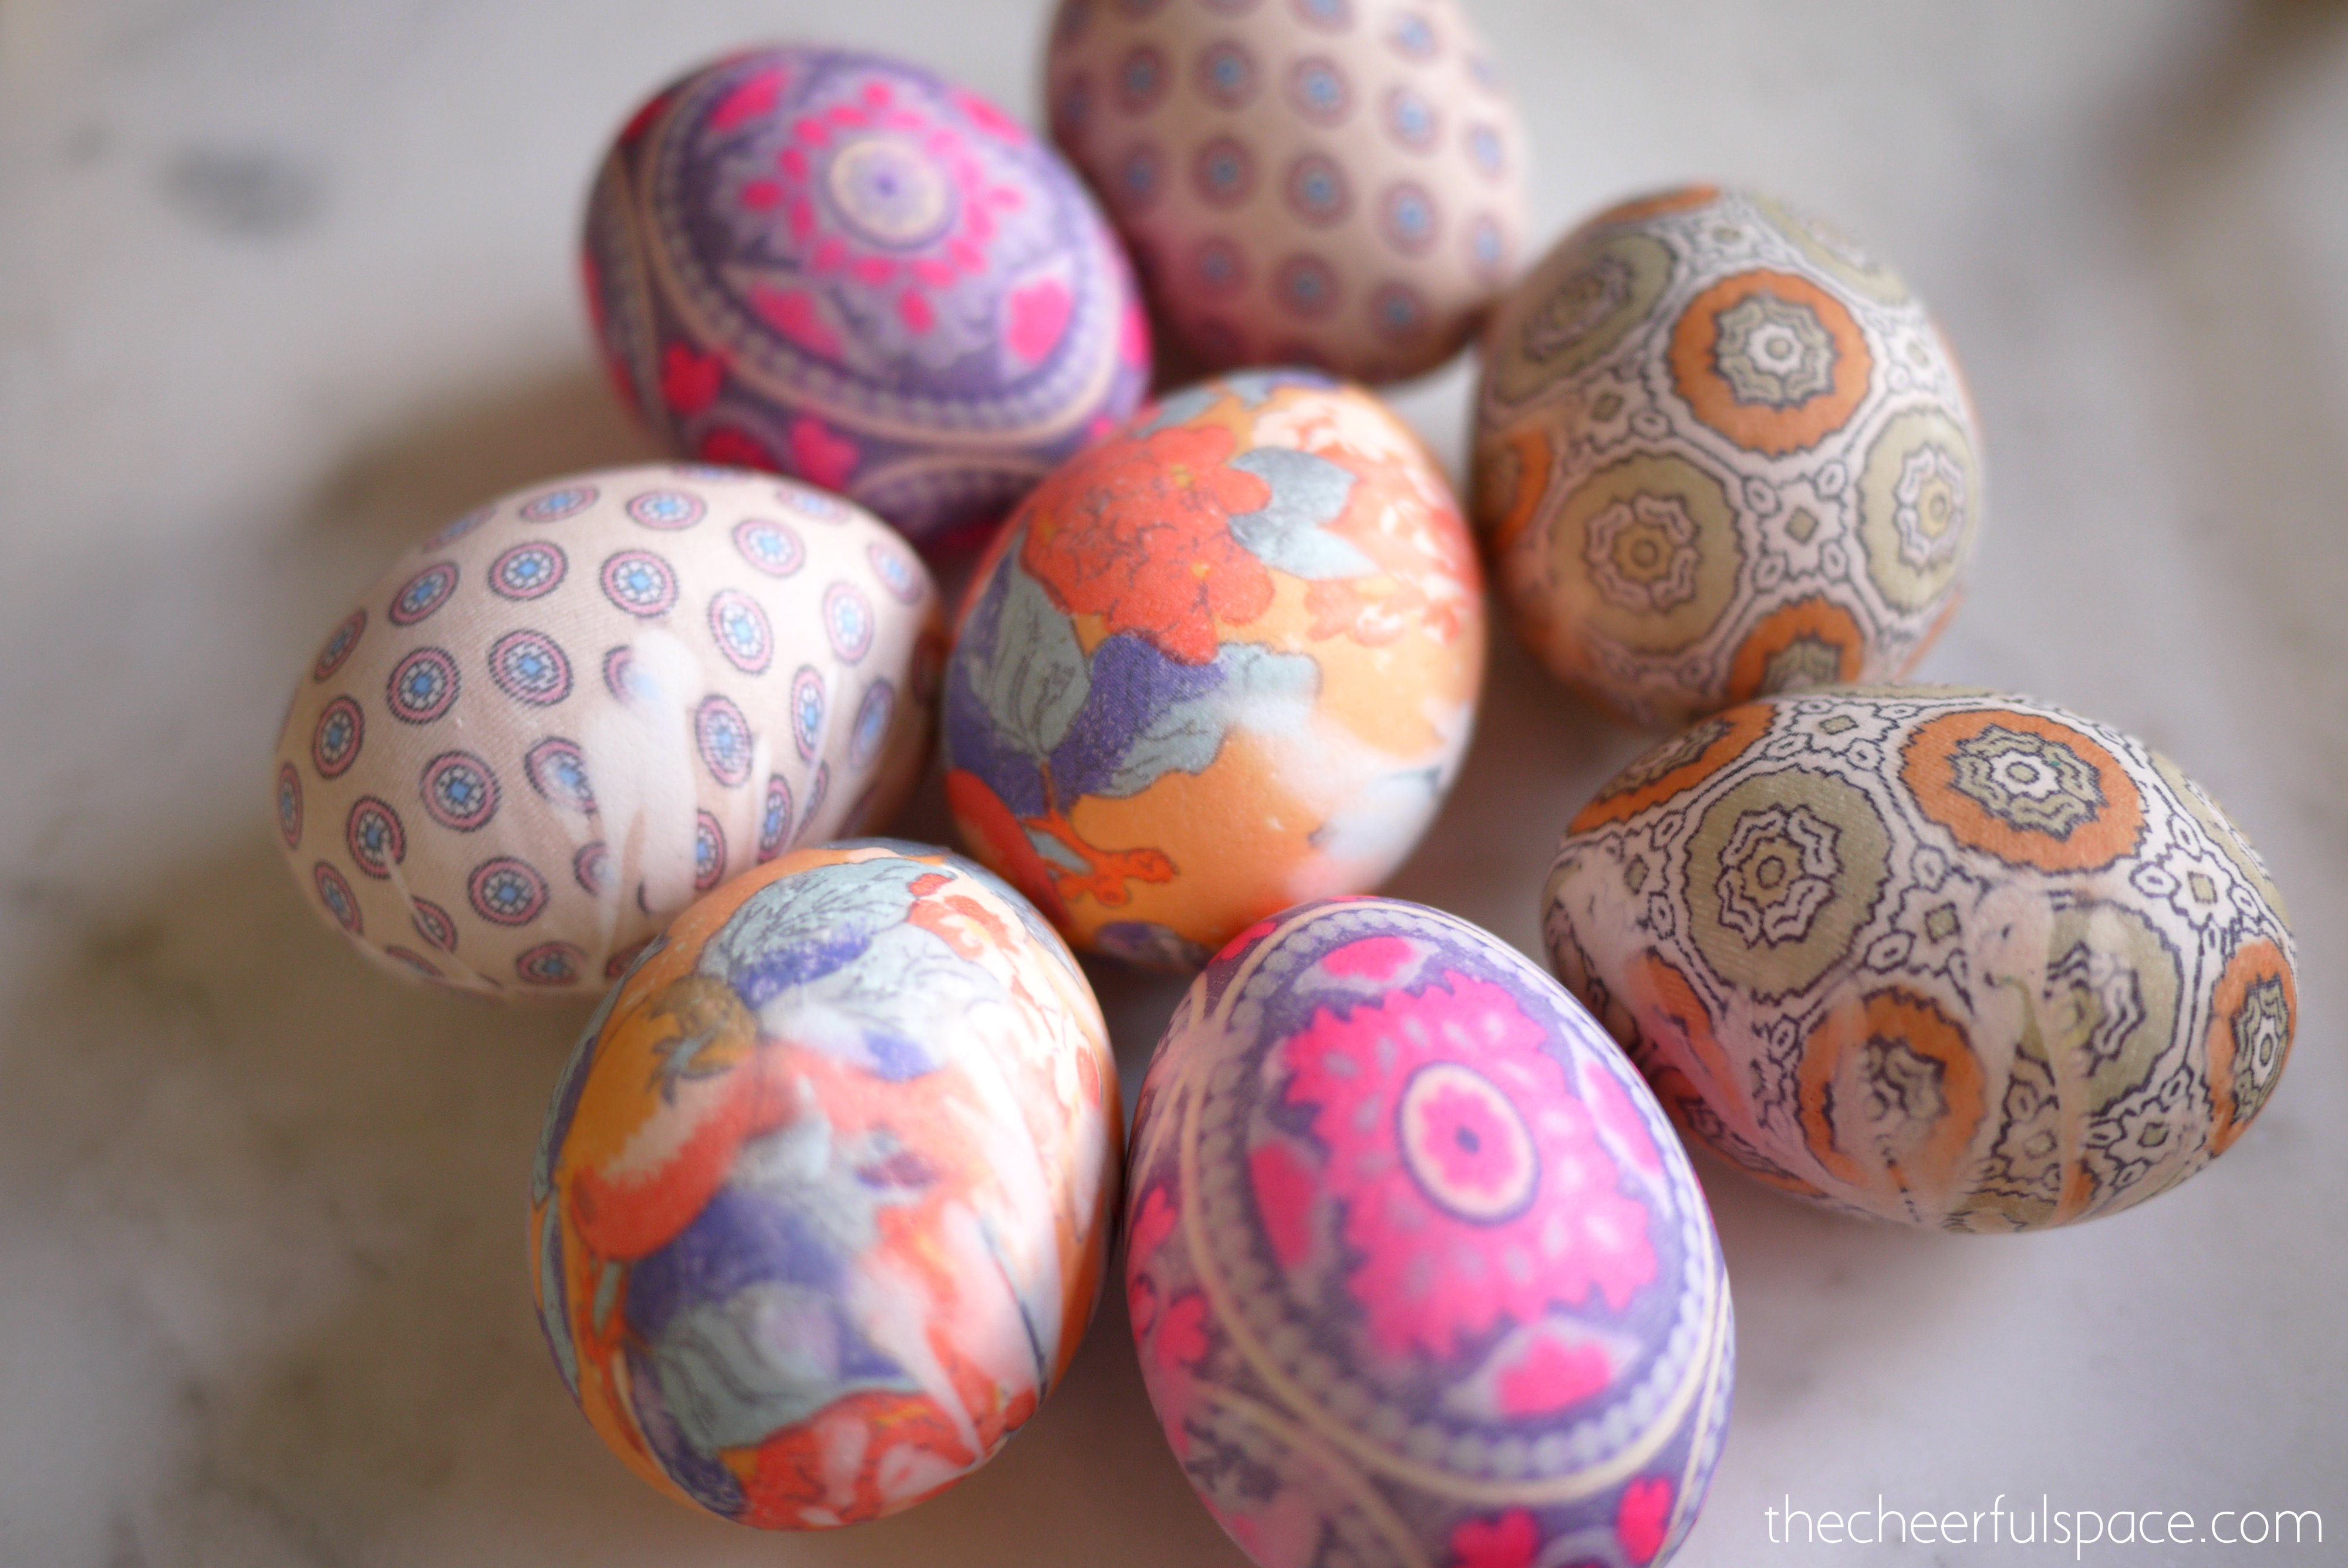
Aren’t they so beautiful? I really loved the way they turned out!
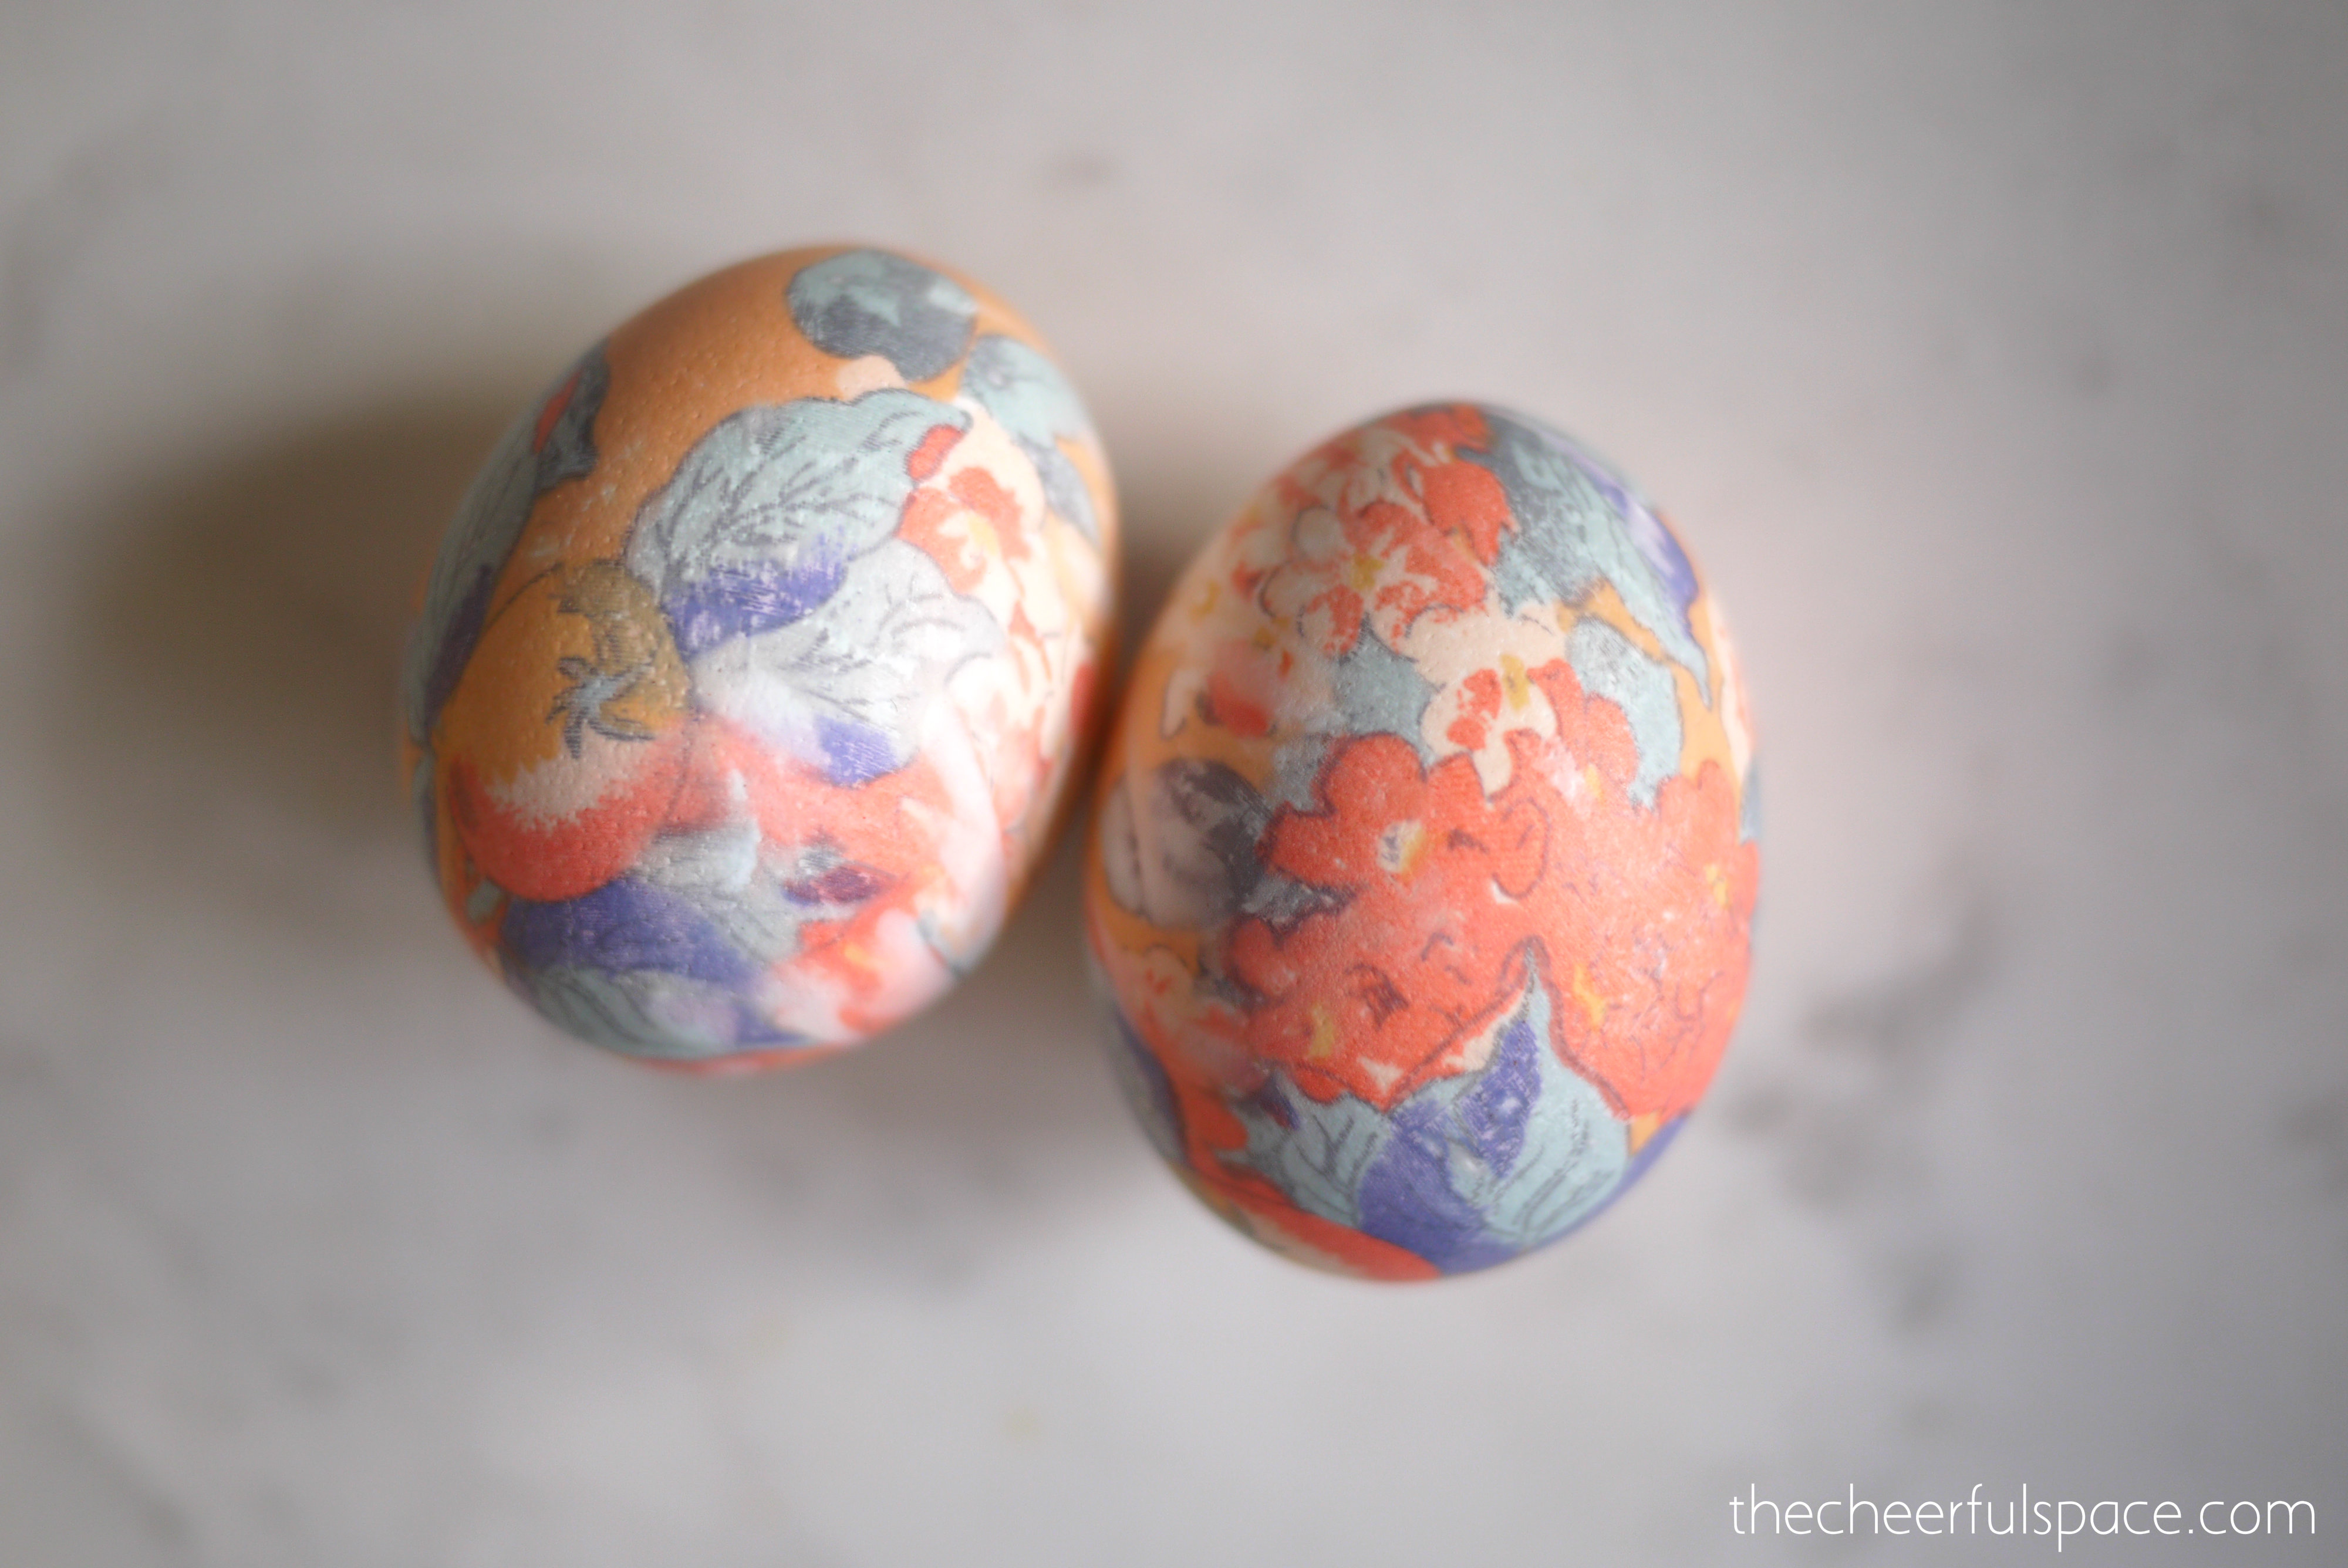
I especially loved this floral pattern!
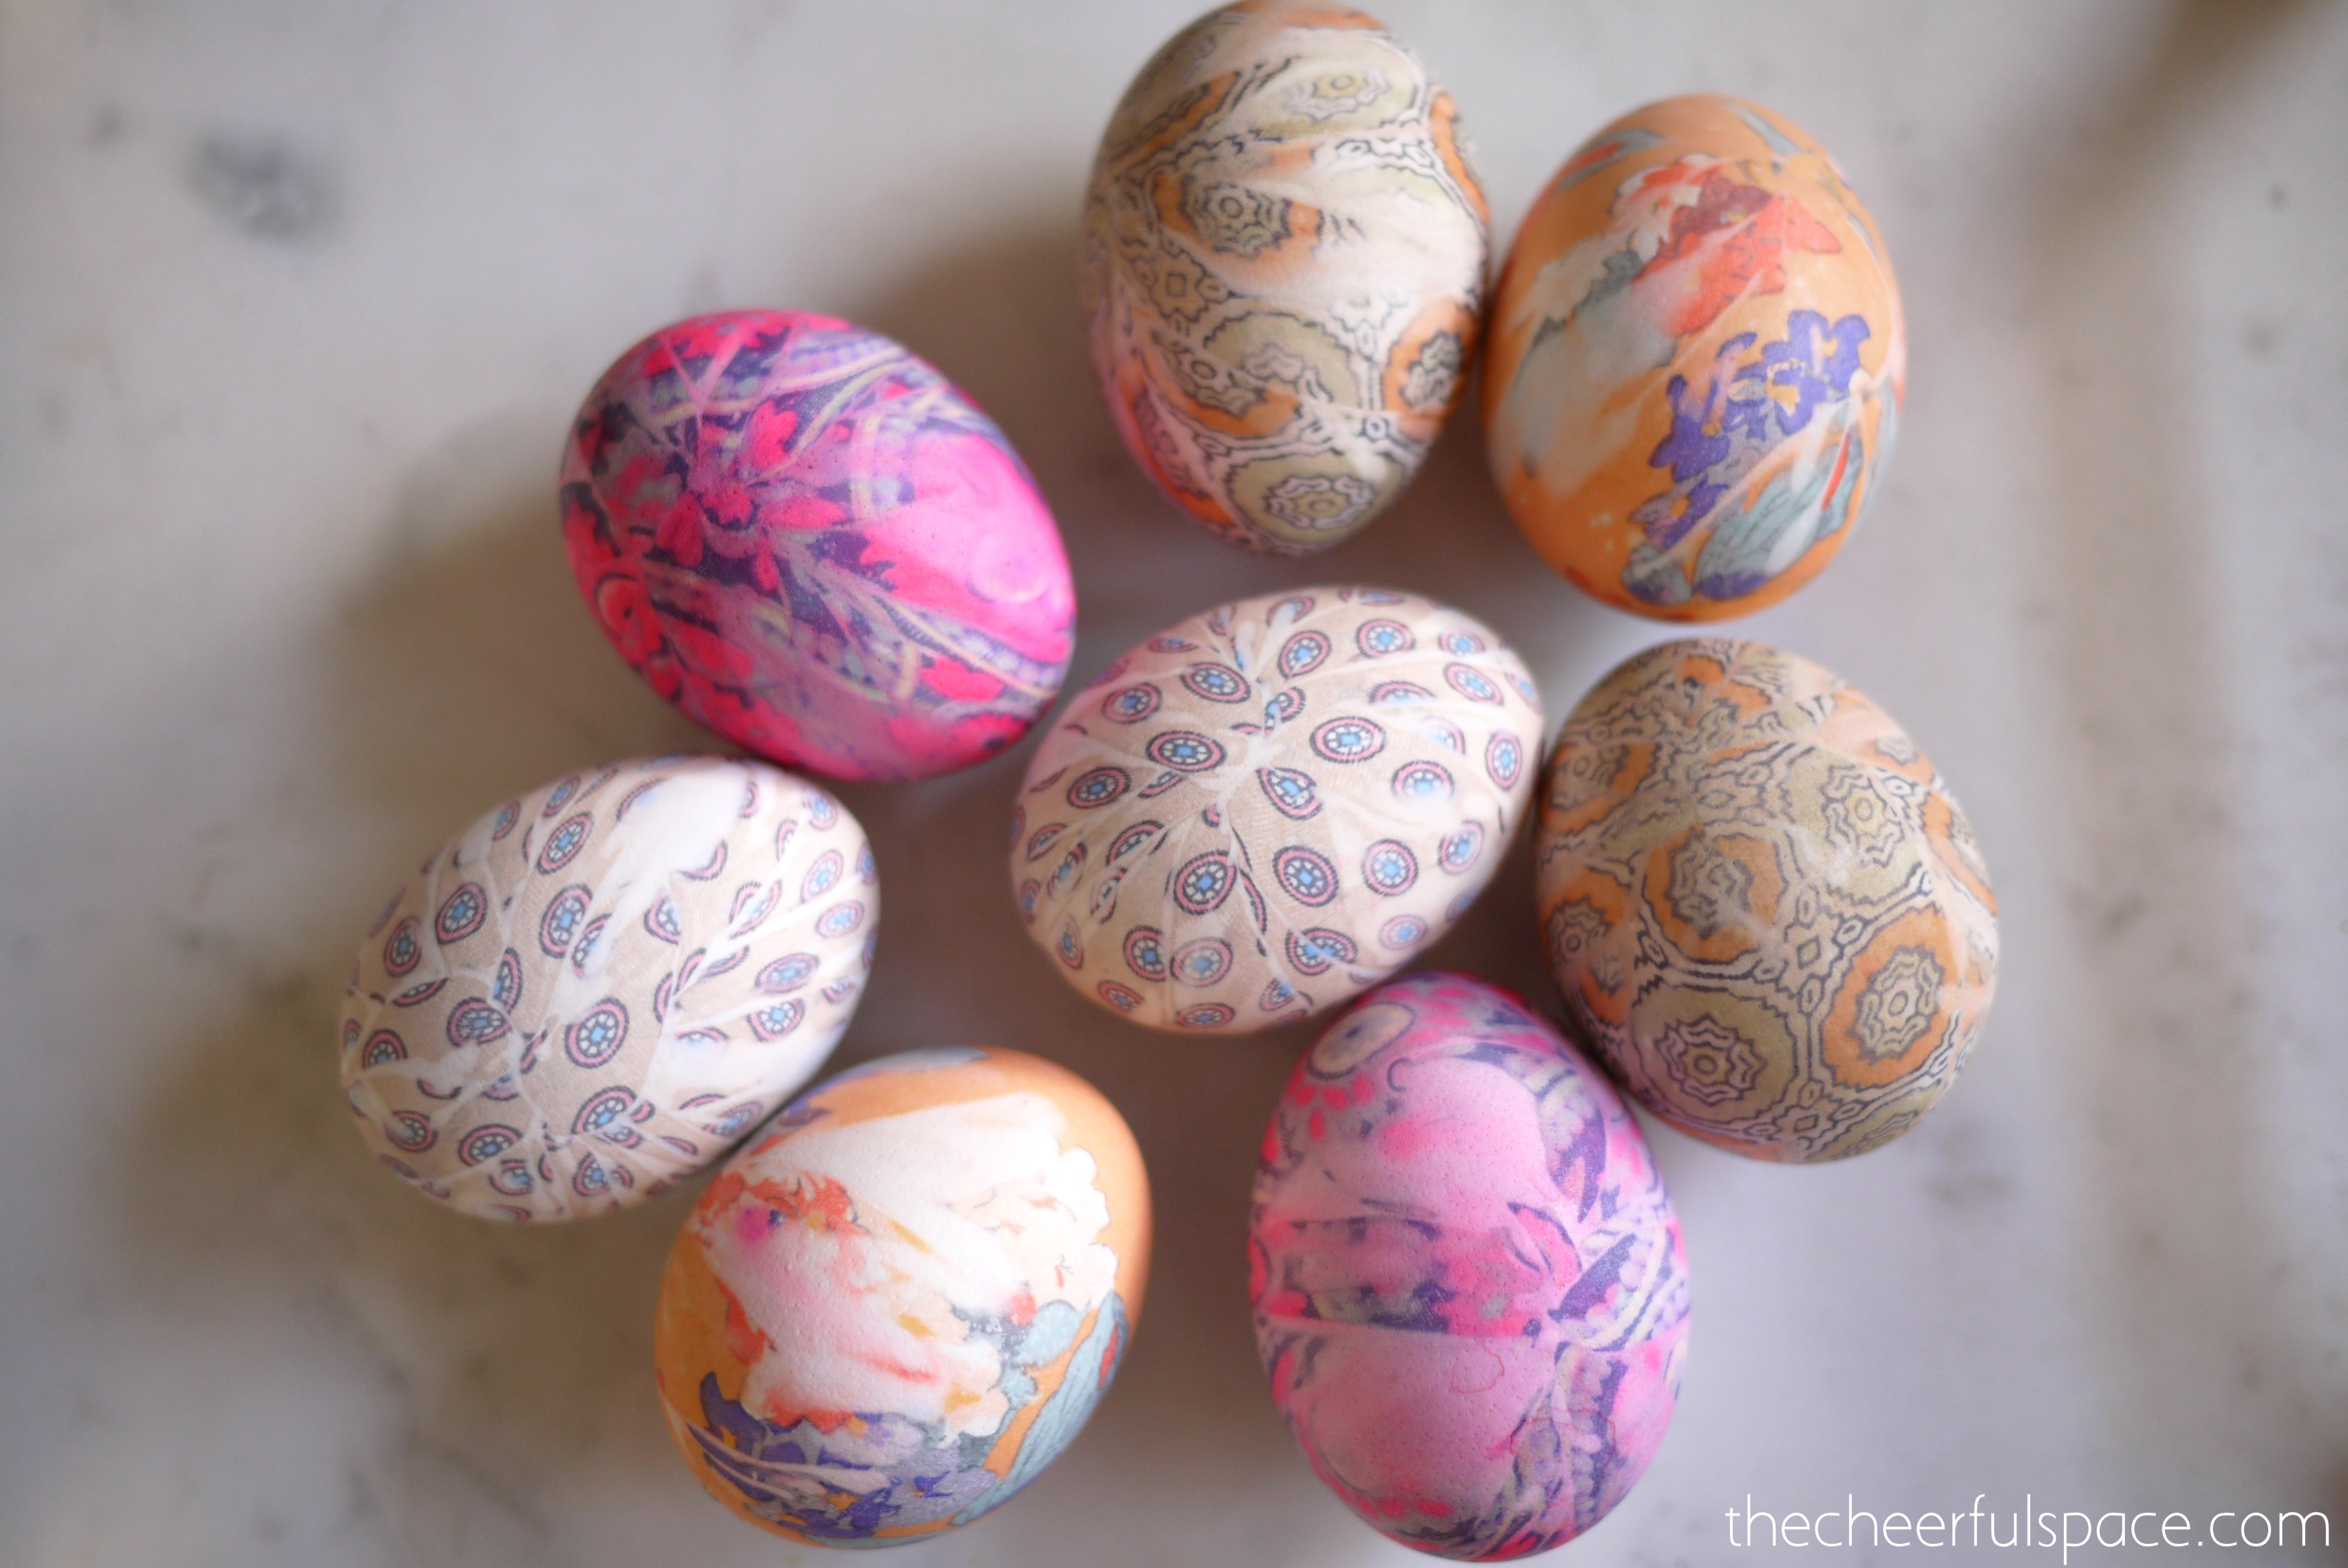
Here are the sides that had the rubber band on them, so not all of the fabric was touching the eggs here.
This might just become a new Easter tradition! Thanks for reading! 🙂
The Cheerful Space Amazon Affiliate Links
WeiShang Lot 6 PCS Classic Men’s 100% Silk Tie Necktie Woven JACQUARD Neck Ties
Wehug Lot 6 PCS Men’s Ties 100% Silk Tie Woven Slim Necktie Jacquard Neck Ties


Soo so gorgeous! I love the designs! 😍😊
https://busybeeblogweb.wordpress.com
LikeLike
Thank you!
LikeLiked by 1 person
This is so cool! Thank you for the easy step-by-step with pics. Can’t wait to try this.
LikeLike
Thanks! Good luck! I’m sure you will love them!
LikeLike
Are they still edible?
LikeLike
Hi Lisa! Yes they are, although they are pretty “well done” hard boiled eggs if you let them simmer for the entire 40 minutes. We ate them and they were fine. You could simmer them for only 20 minutes which might leave you with a better tasting egg, with the possibility of less color transfer from your silk to your egg! Good luck!
LikeLike
These are so fun! Love all the patterns. Sharing on FB & Pinned. Thank you for sharing on Merry Monday! Have a great week!
Kim
LikeLiked by 1 person
Thank you Kim! 🙂
LikeLike
These are splendid! Must try!
LikeLike
I have always wanted to try this. Thanks for sharing at Family Joy Blog Link Up Party this week! You are going to be featured next week! Yay!
LikeLike
Yay! Thank you Charlene!
LikeLike
Thanks for sharing on the Pleasures of the NW’s DIY Party!
LikeLike
I have never seen anything like this, they look amazing!! Thank you for sharing at Creative Mondays last week, you will be one of my features tomorrow at the blog hop.
LikeLike
Thank you so much for the feature!
xoxo Christina
LikeLike
Great idea Christina, you are very resourceful. I am gonna try it. !
LikeLike
Thank you Aunt MaryLou! They are so easy and fun to do!
LikeLike