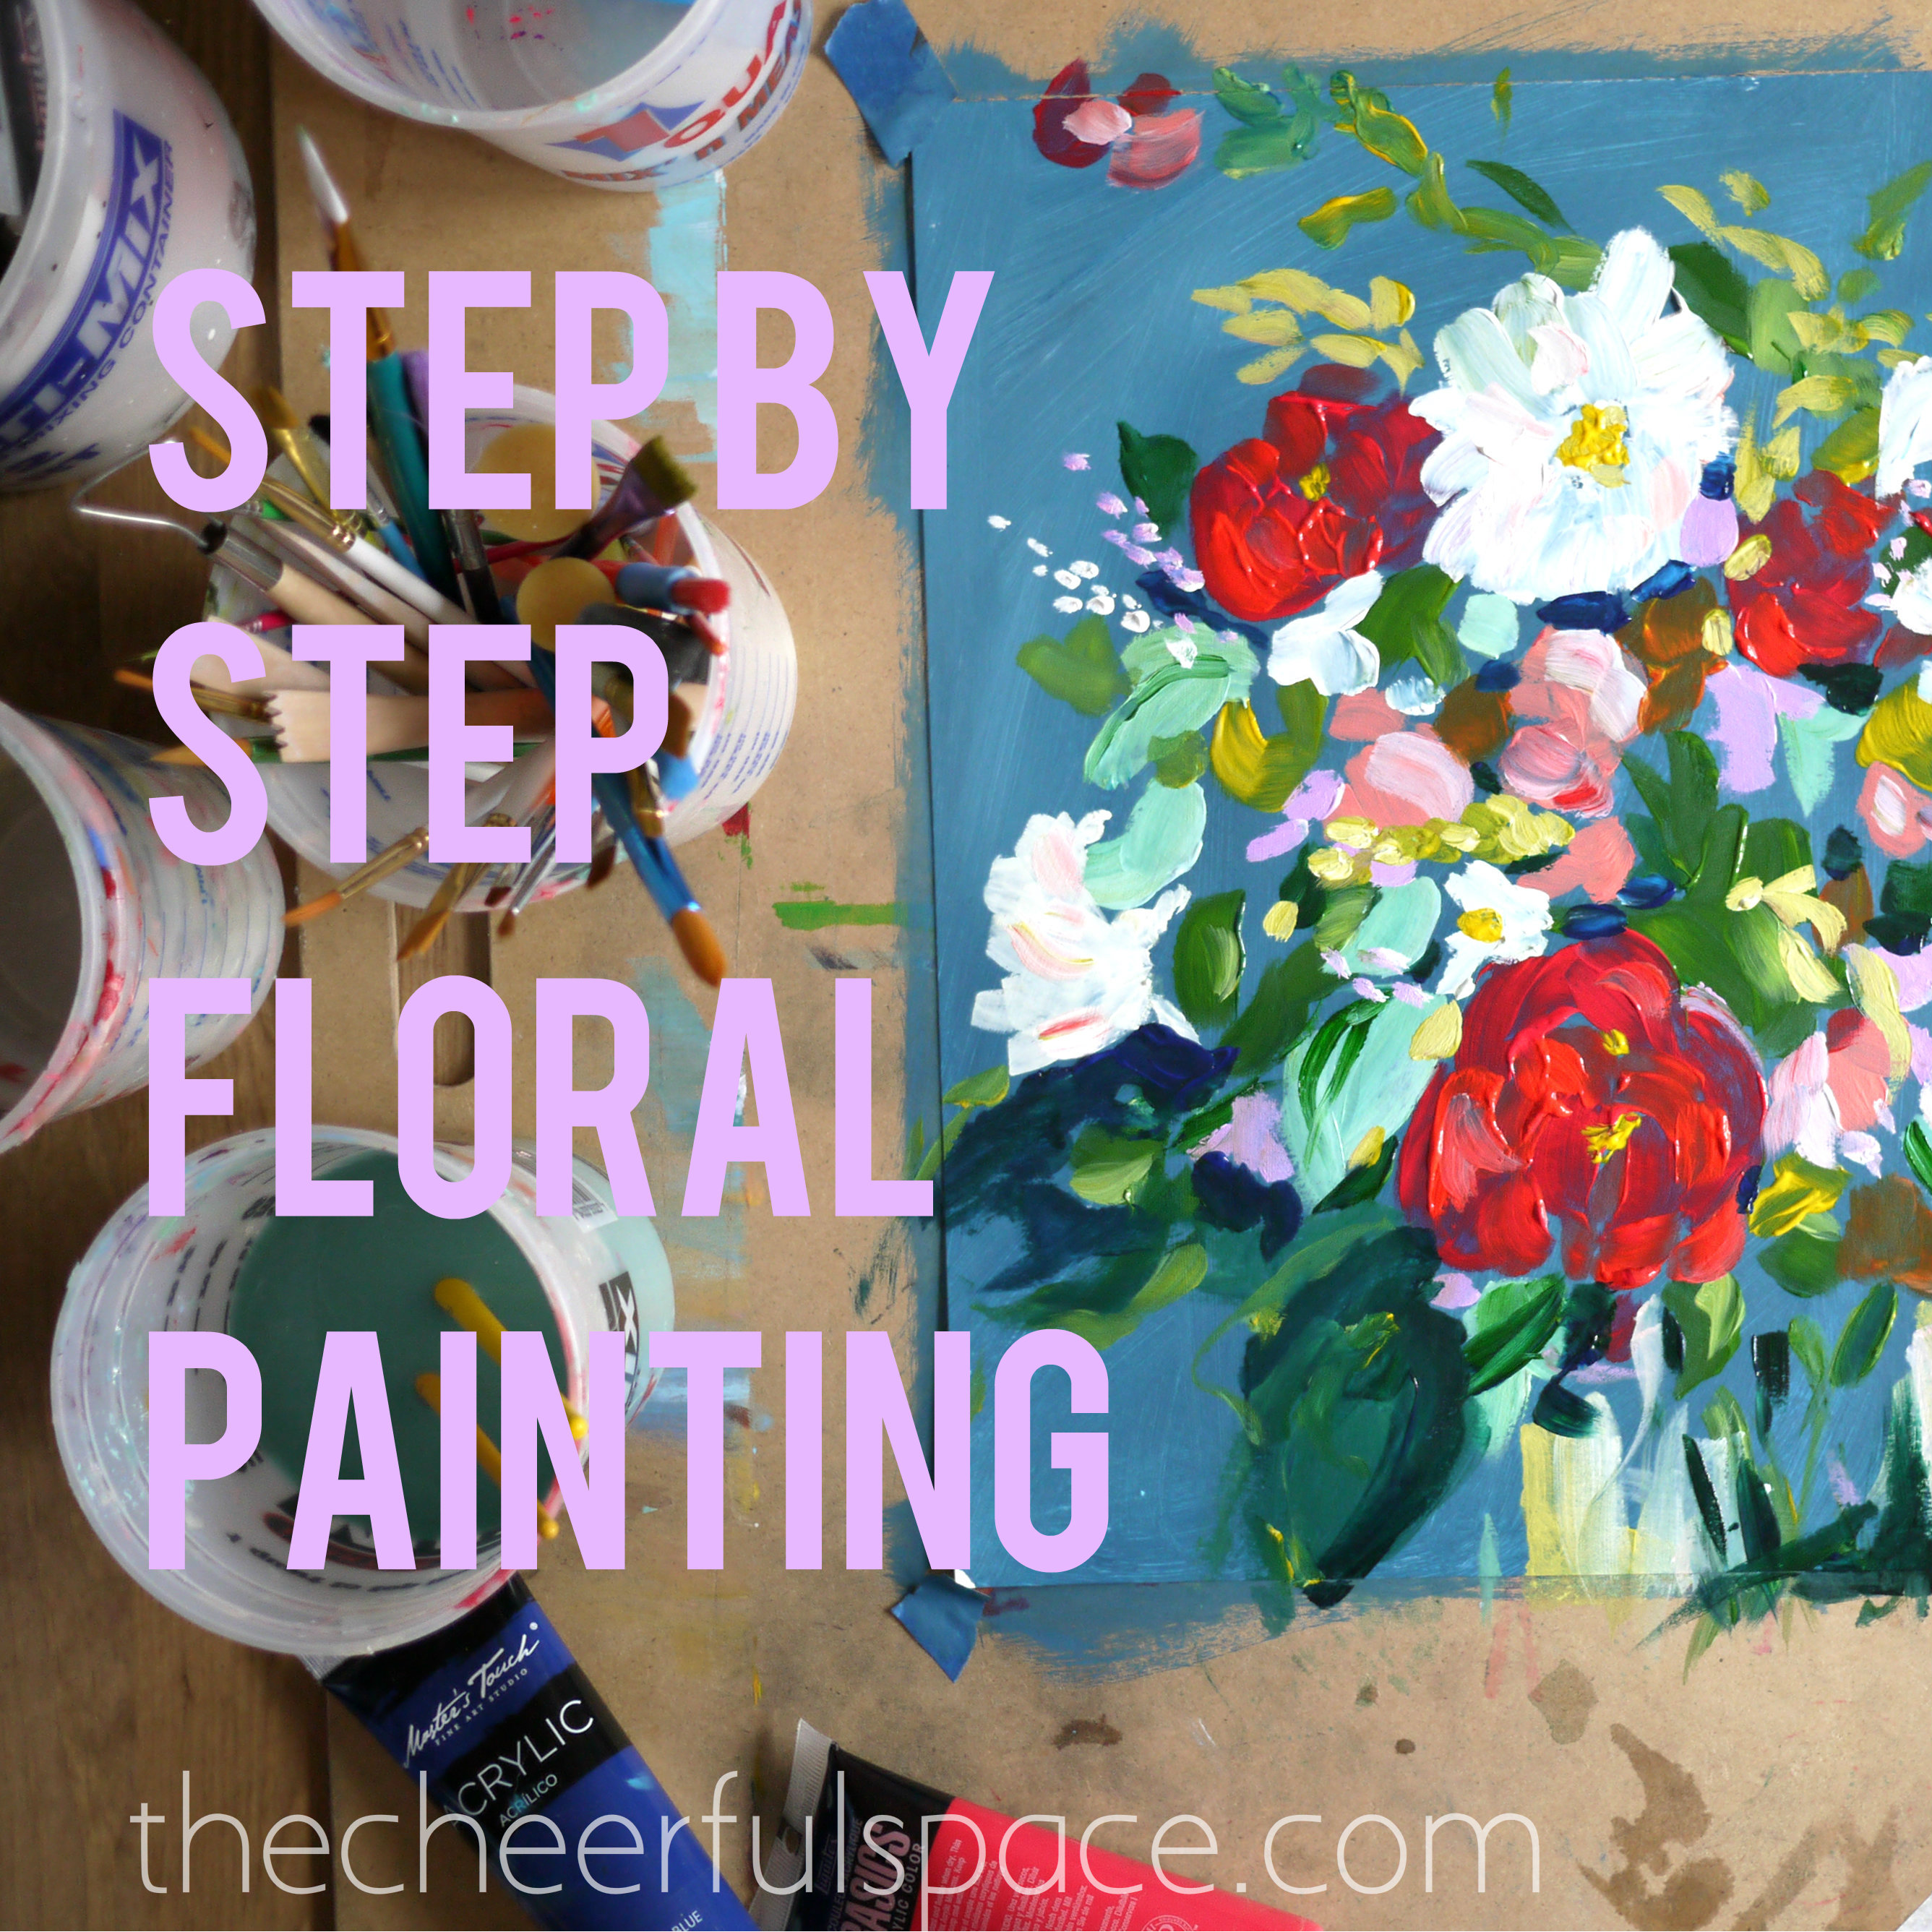
Hi friends! Today I want to share some steps to create a floral painting for your home. A few weeks ago, I did some practice paintings for a wine and paint party that a friend asked me to teach. The party was a blast and the paintings came out so lovely. I thought I’d break down the steps in case you want to try and make your own painting!
What you need:
Good Paper: Look for paper that is at least 90 lb. For this painting, I used a heavy watercolor paper.
Acrylic Paints: I used a mix of student grade (like liquitex basics) and some higher quality paint. I actually got a huge bucket of acrylic paints from an estate sale for $5. You mostly want a red, yellow, blue, white, magenta, and then a blue/green color.
Brushes:(a variety of sizes) I have a bunch of brushes I have collected over time, some are low quality craft brushes and I have a few that are nicer. Just use what you have! The main point is to have a few different sizes and maybe a mix of flat and round brushes to create different strokes. 🙂
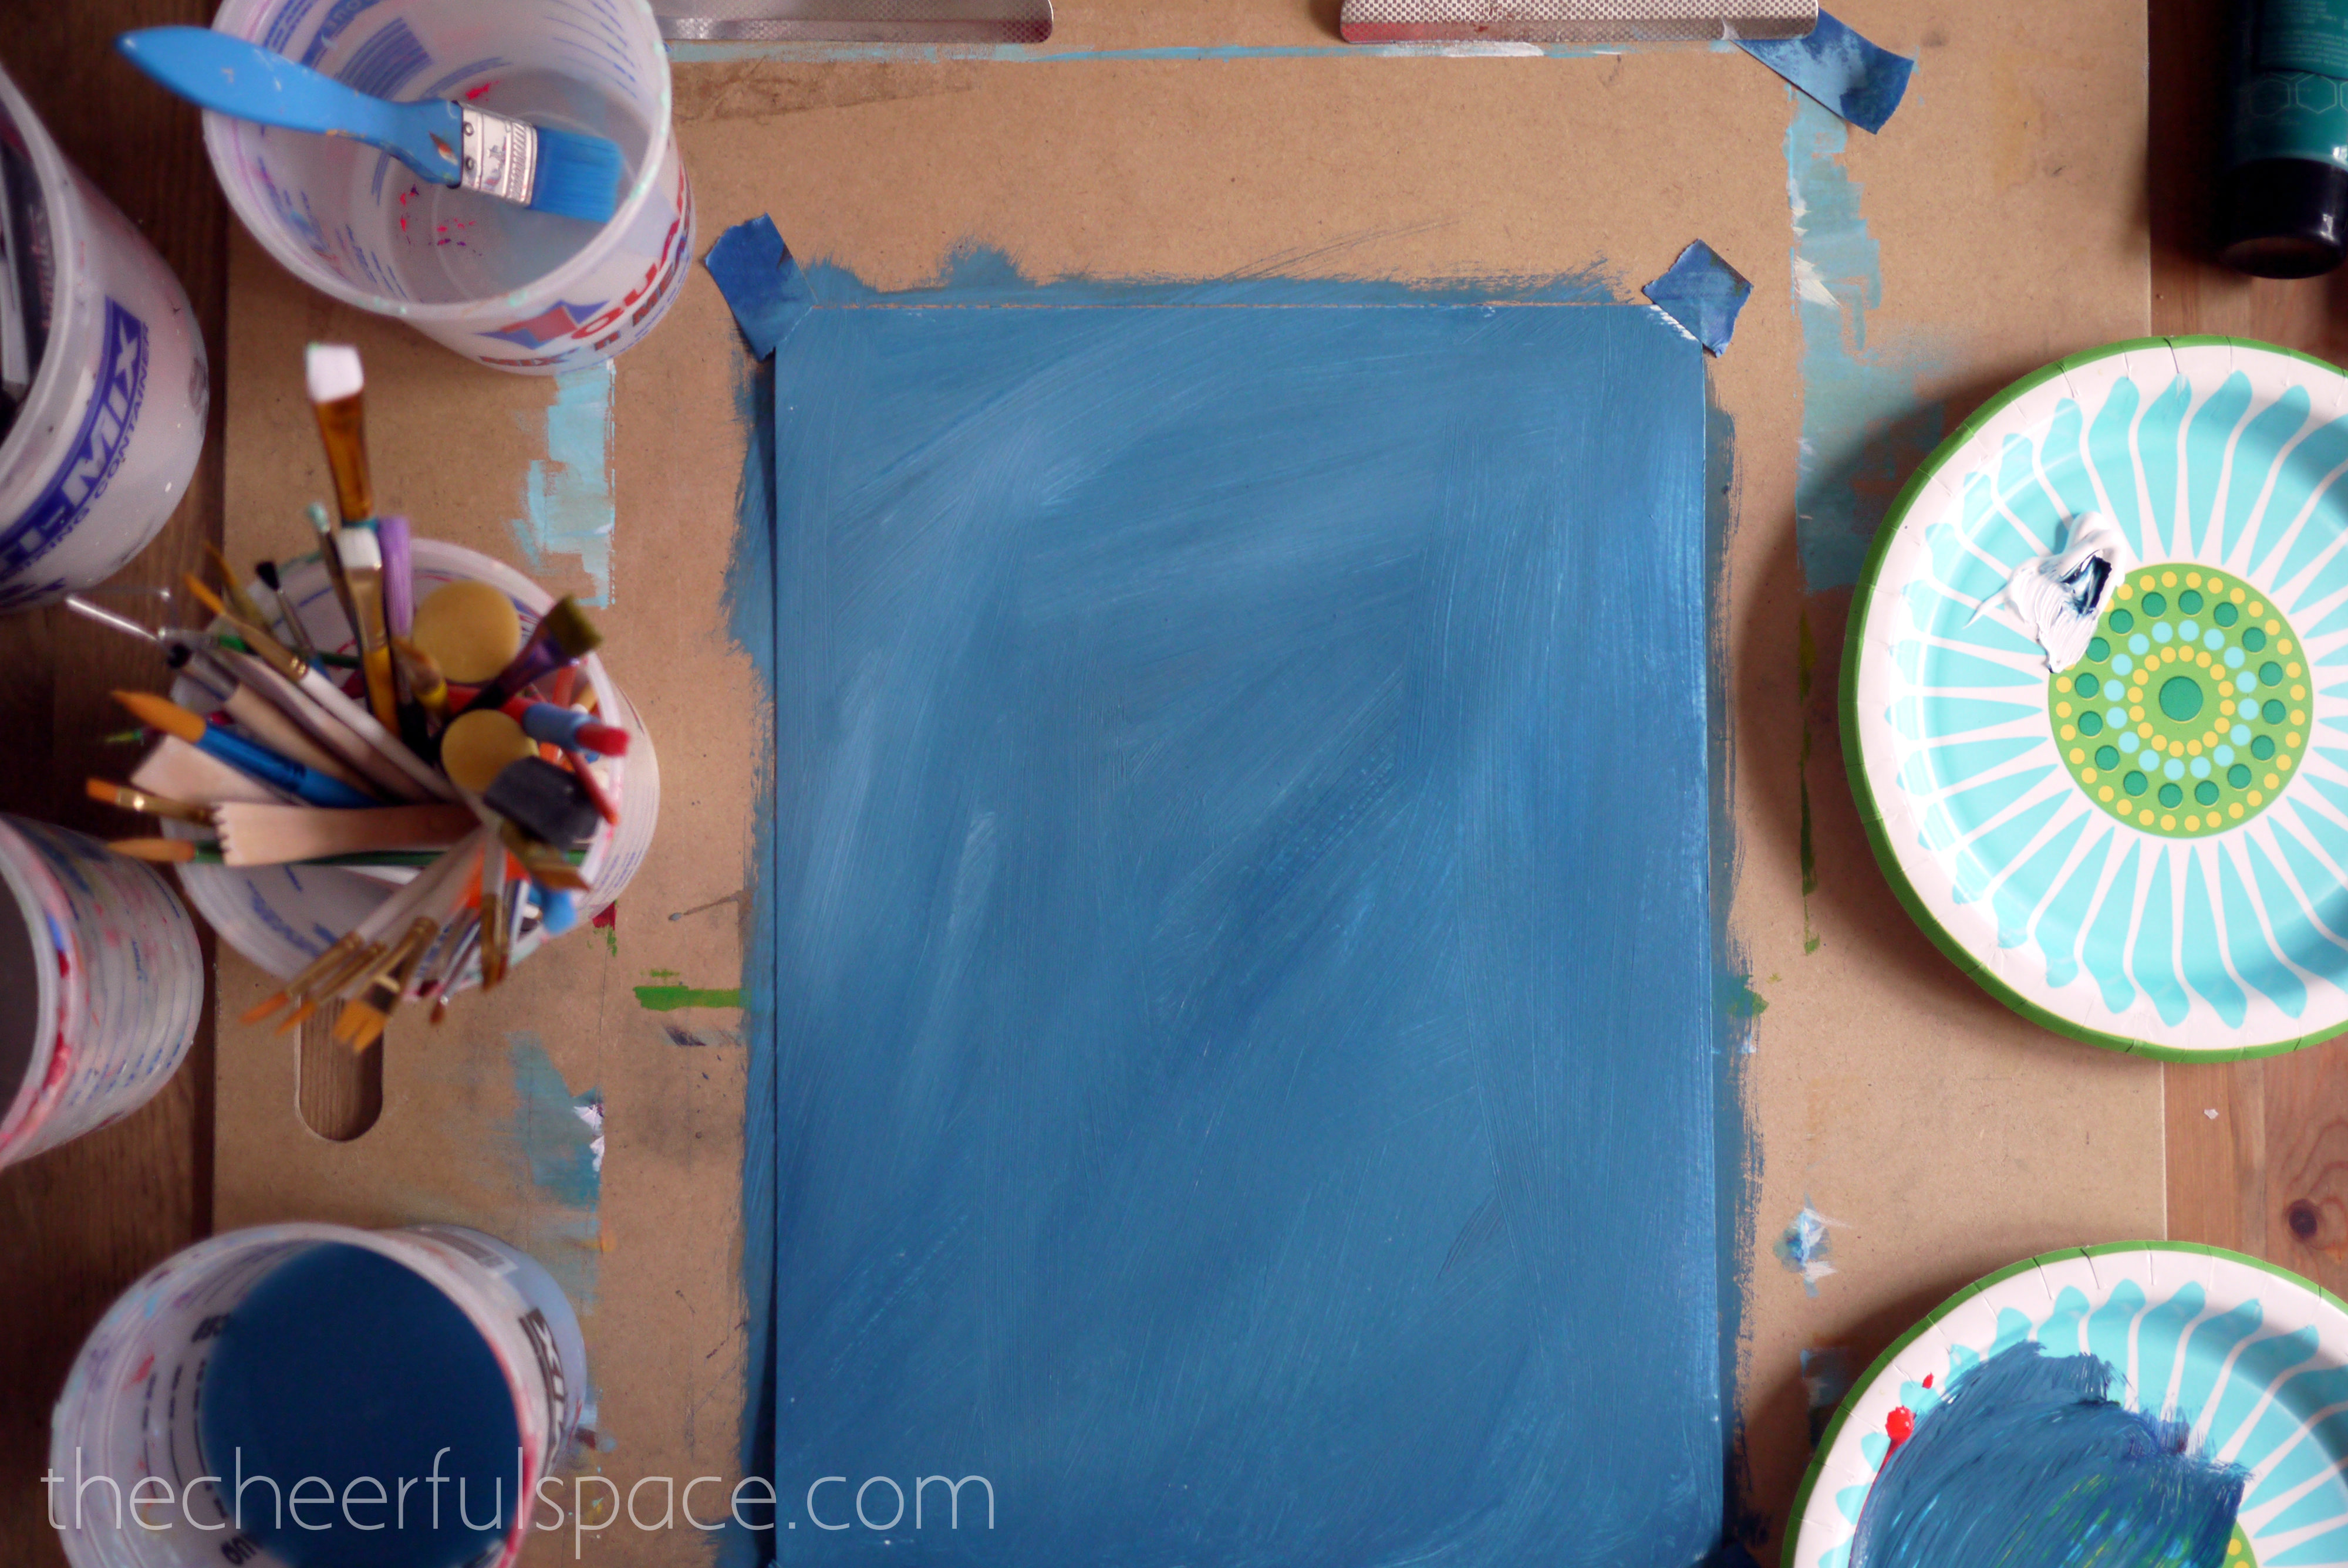
I always start a painting by covering the entire page (background). I find it so intimidating to start on a white page, but once I cover it, I’m good to go! I made a dark blueish grey with some blue, a little bit of orange, and white. Don’t try to make yours exactly like mine, mix up a color you like and go for it!
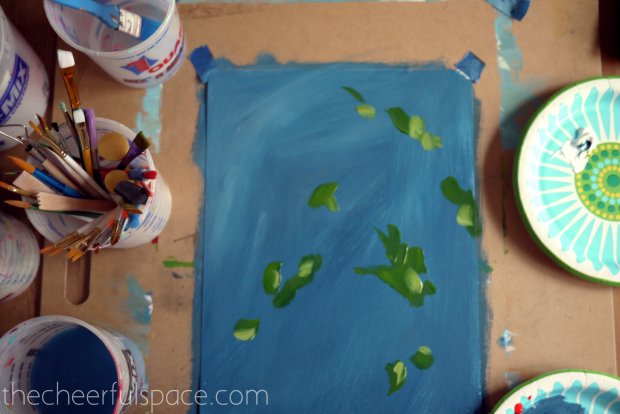
Next, I started placing some green (leaves) around the page. Don’t get too detailed here, just some quick brushstrokes will do. When I make a color, I like to put that color on the page in several places, it helps the eye to move around the painting. After I made the first green, I added a little bit of white and yellow in to make a lighter tone, and placed some little highlights over the darker green!
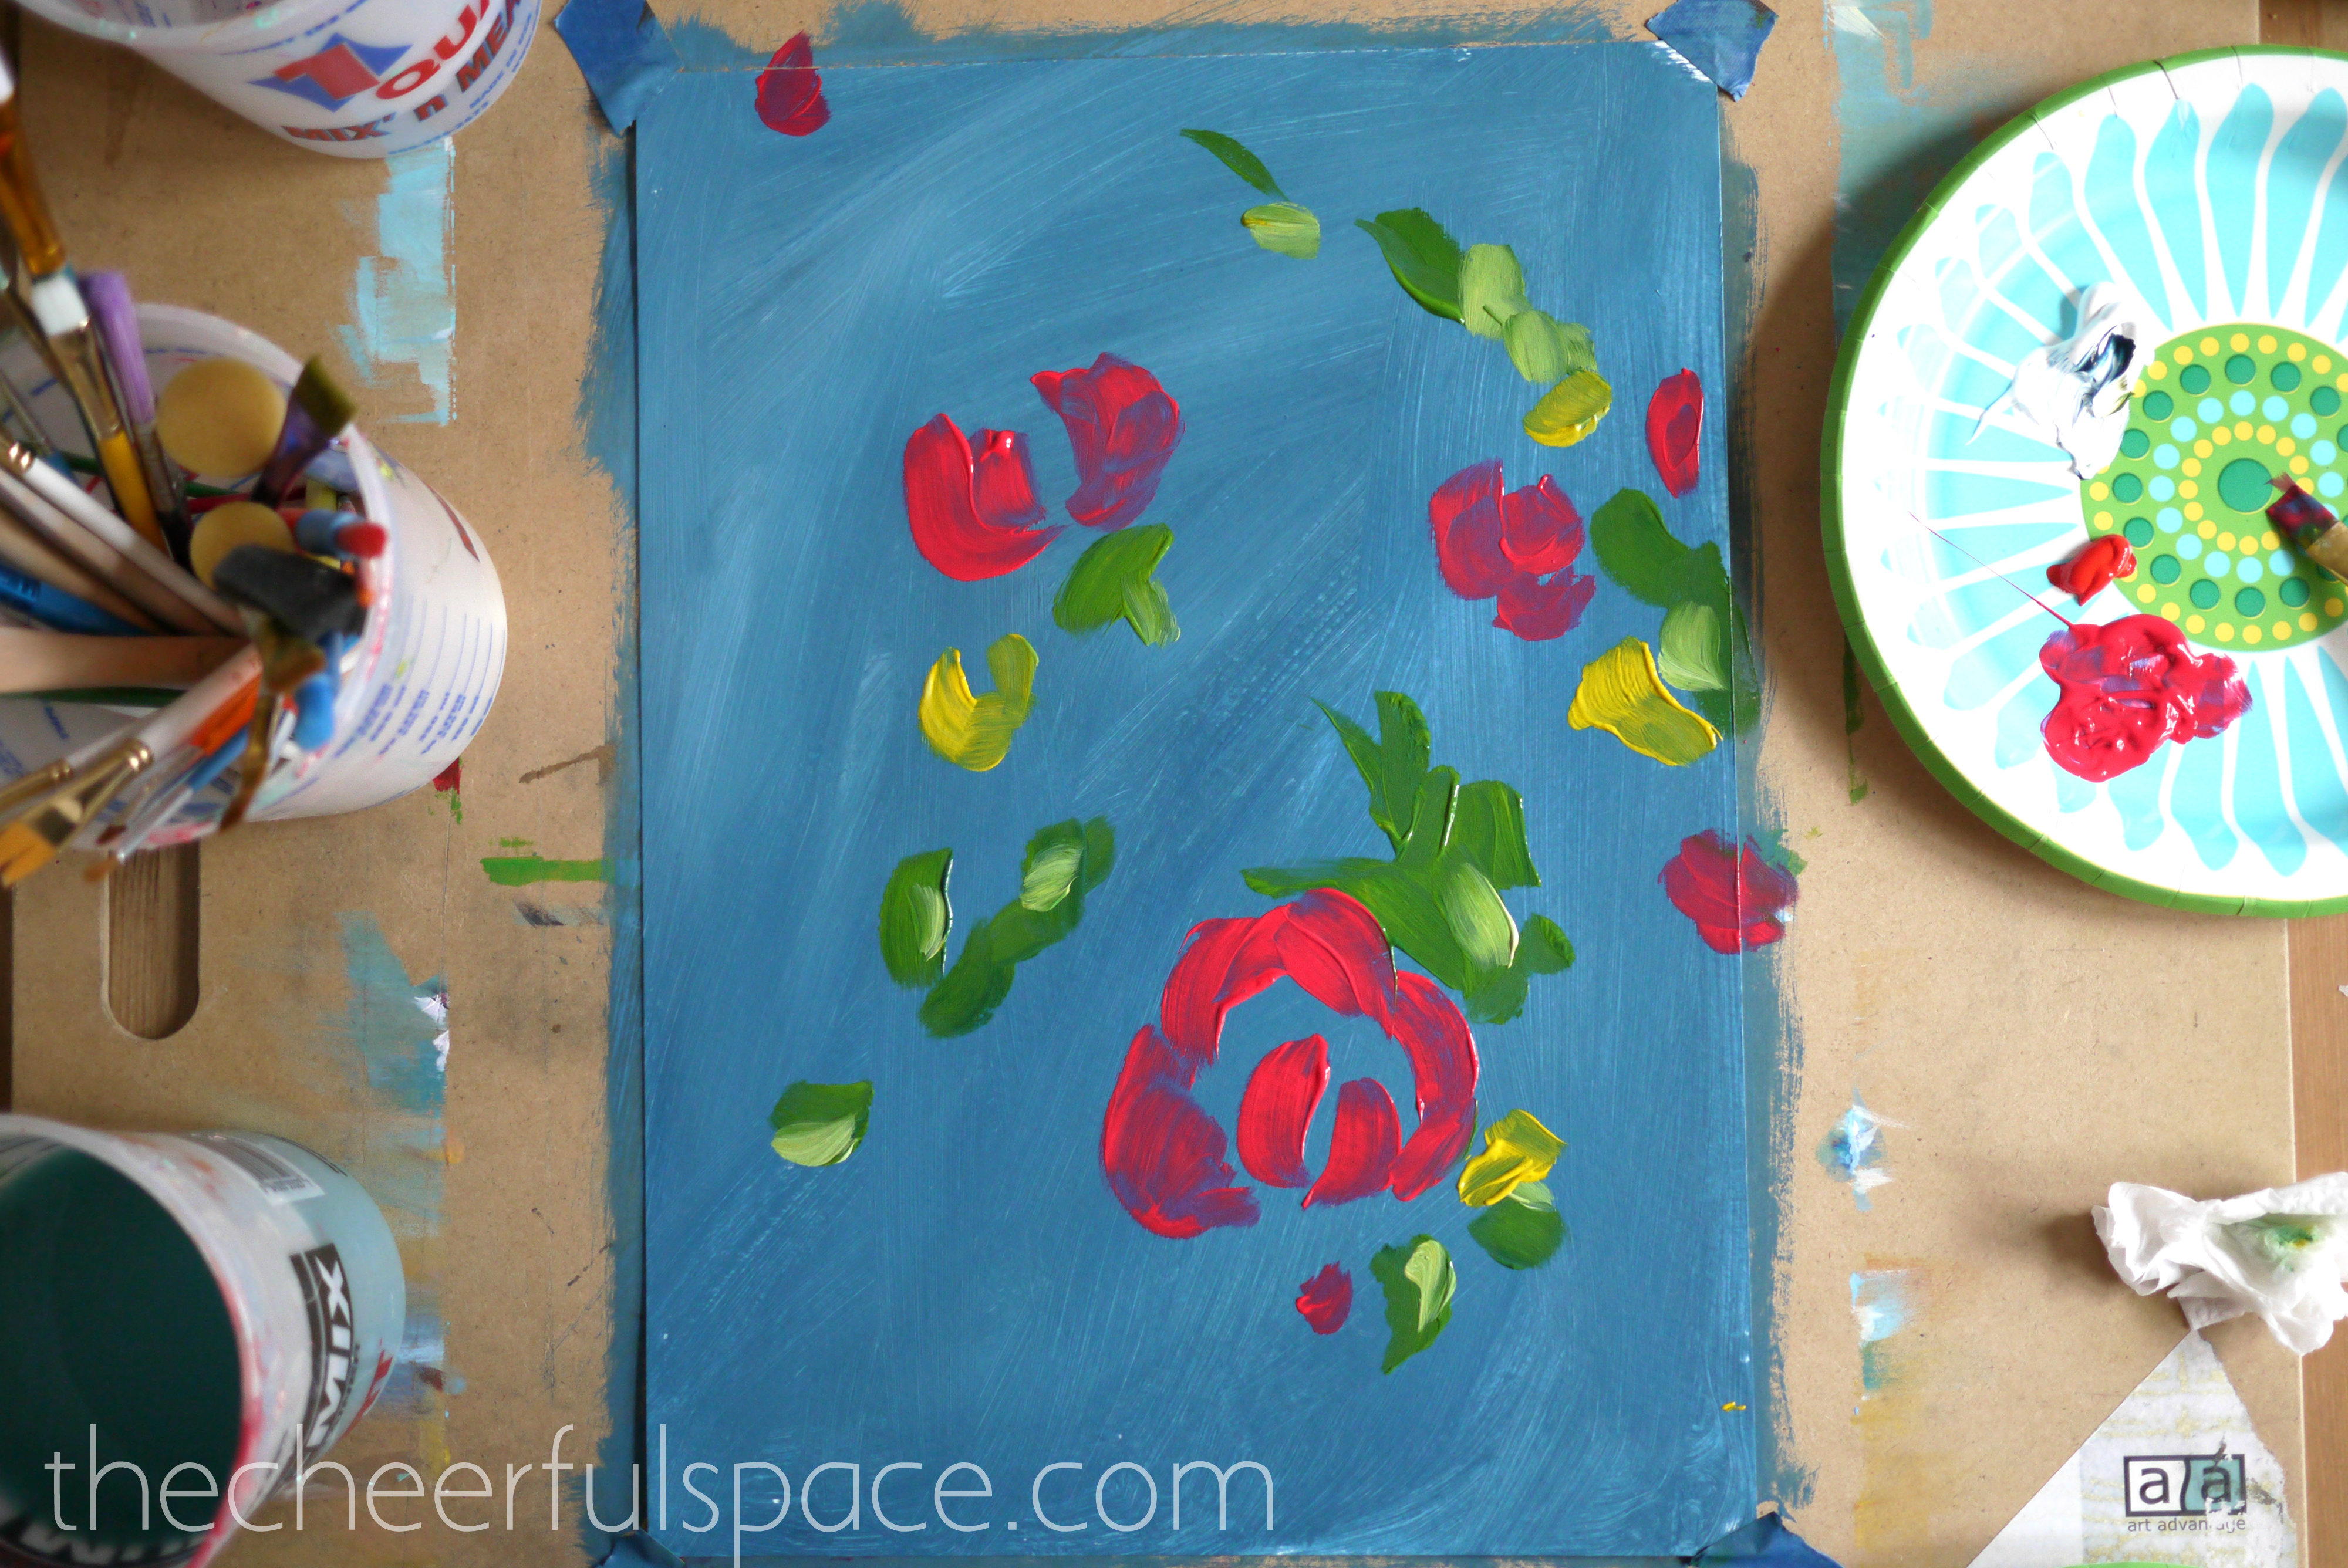
Then I mixed a little bit of magenta and red to start forming some blooms! The key here, is to make brush strokes that go in a rounded direction like a C or Parenthesis shape to form petals. I take this same color and make sure to start some other flowers around the page.
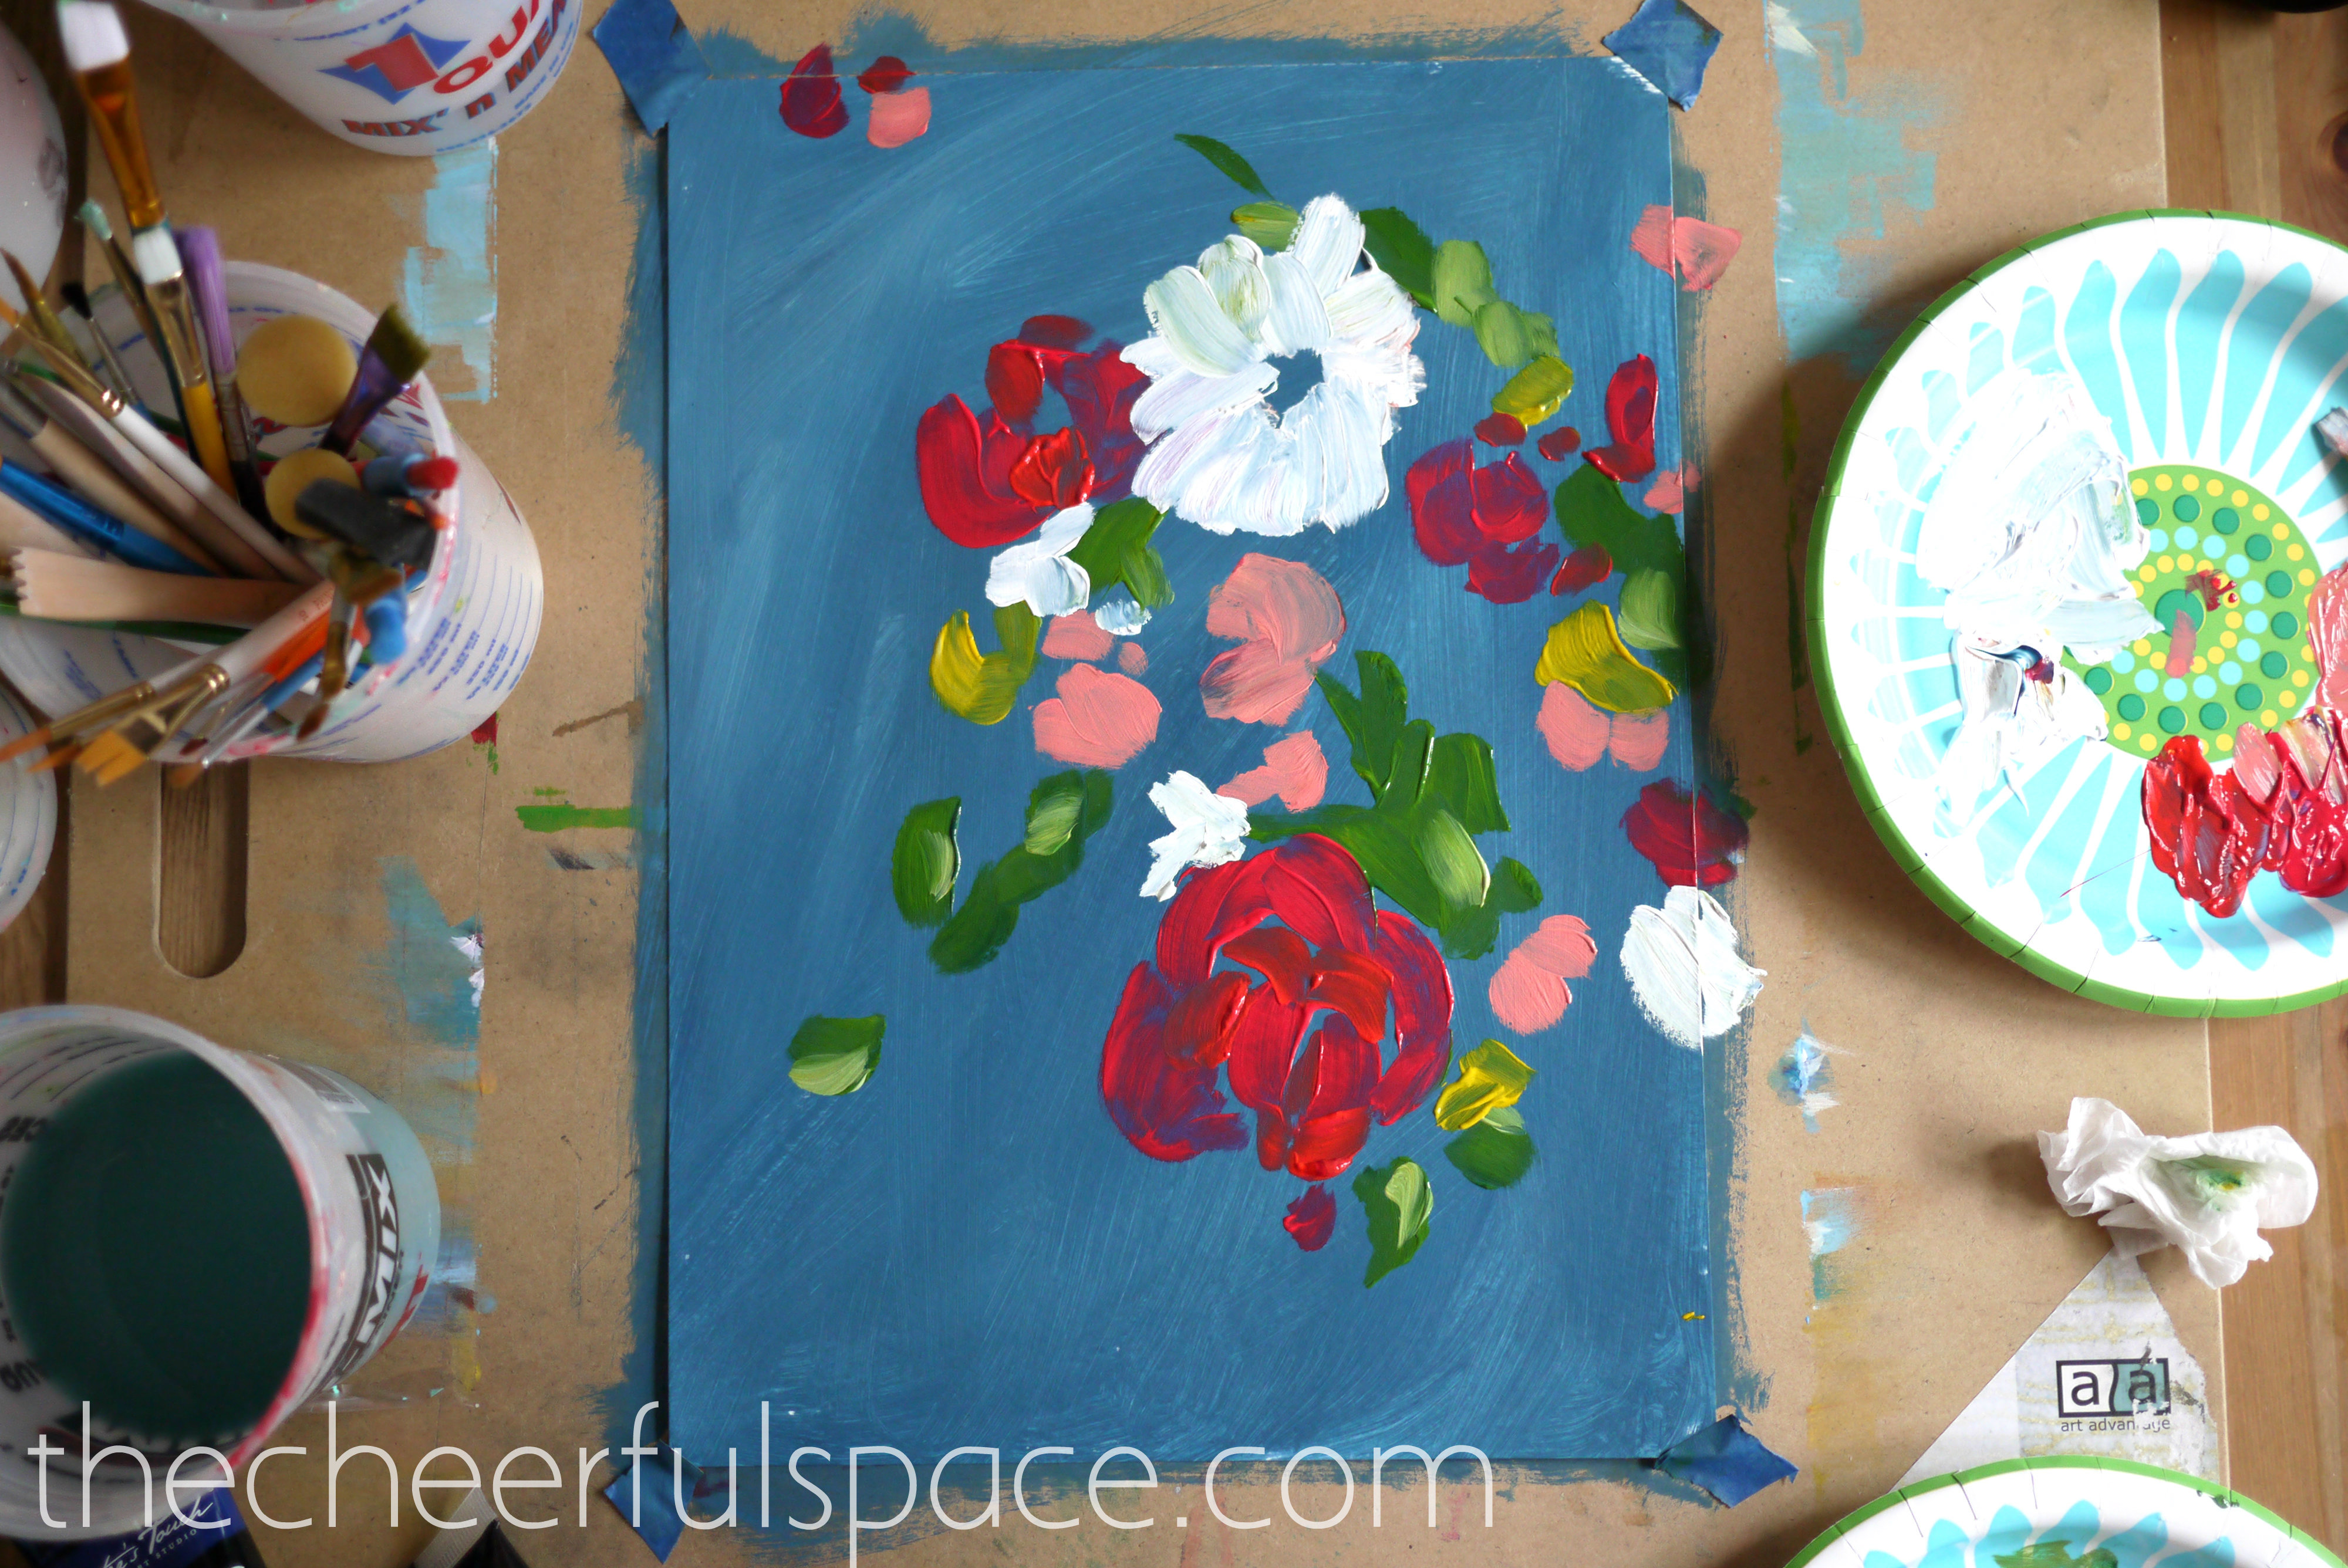
Here, you can see I’ve added some more blooms, a pale coral-ish color and some white ones. Different flowers have different petals, and your brush strokes should reflect that! Don’t be afraid to experiment and stay loose!
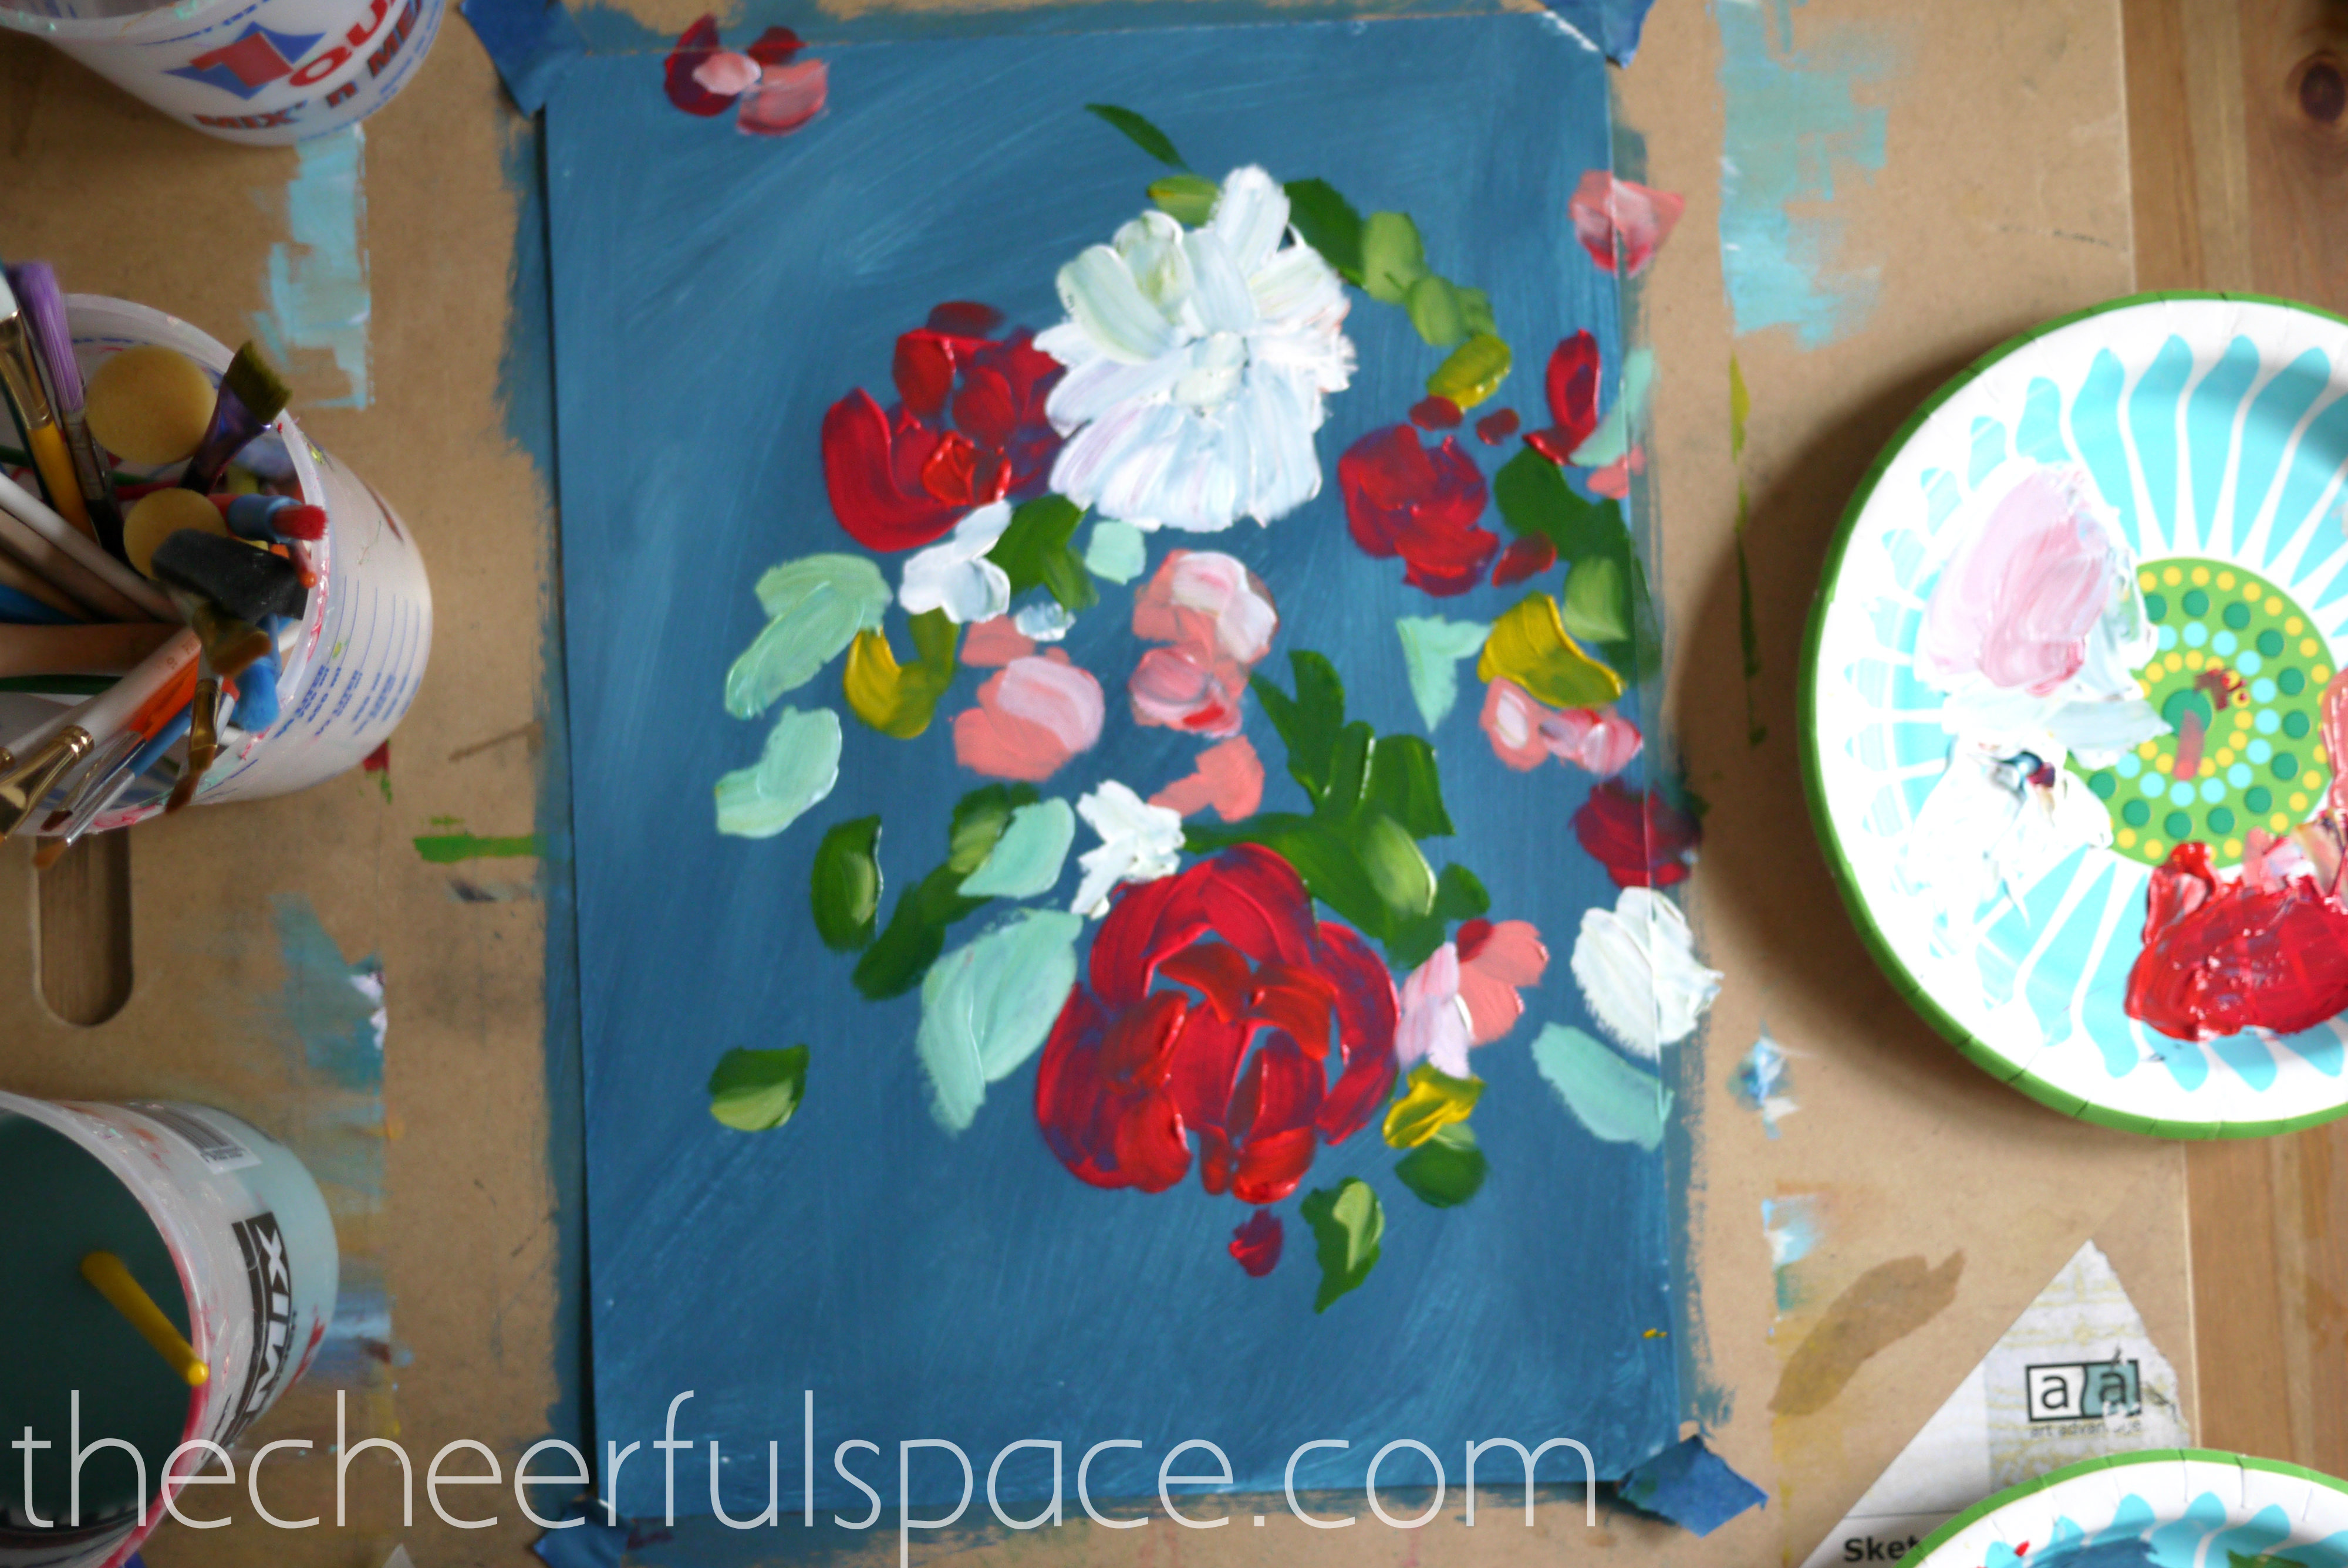
When I make a color, I usually make a lighter tone right away and add in some highlights to give the flowers some dimension. Here you can see I’m starting to fill in the bouquet by adding some lighter greens in addition to some more flowers.
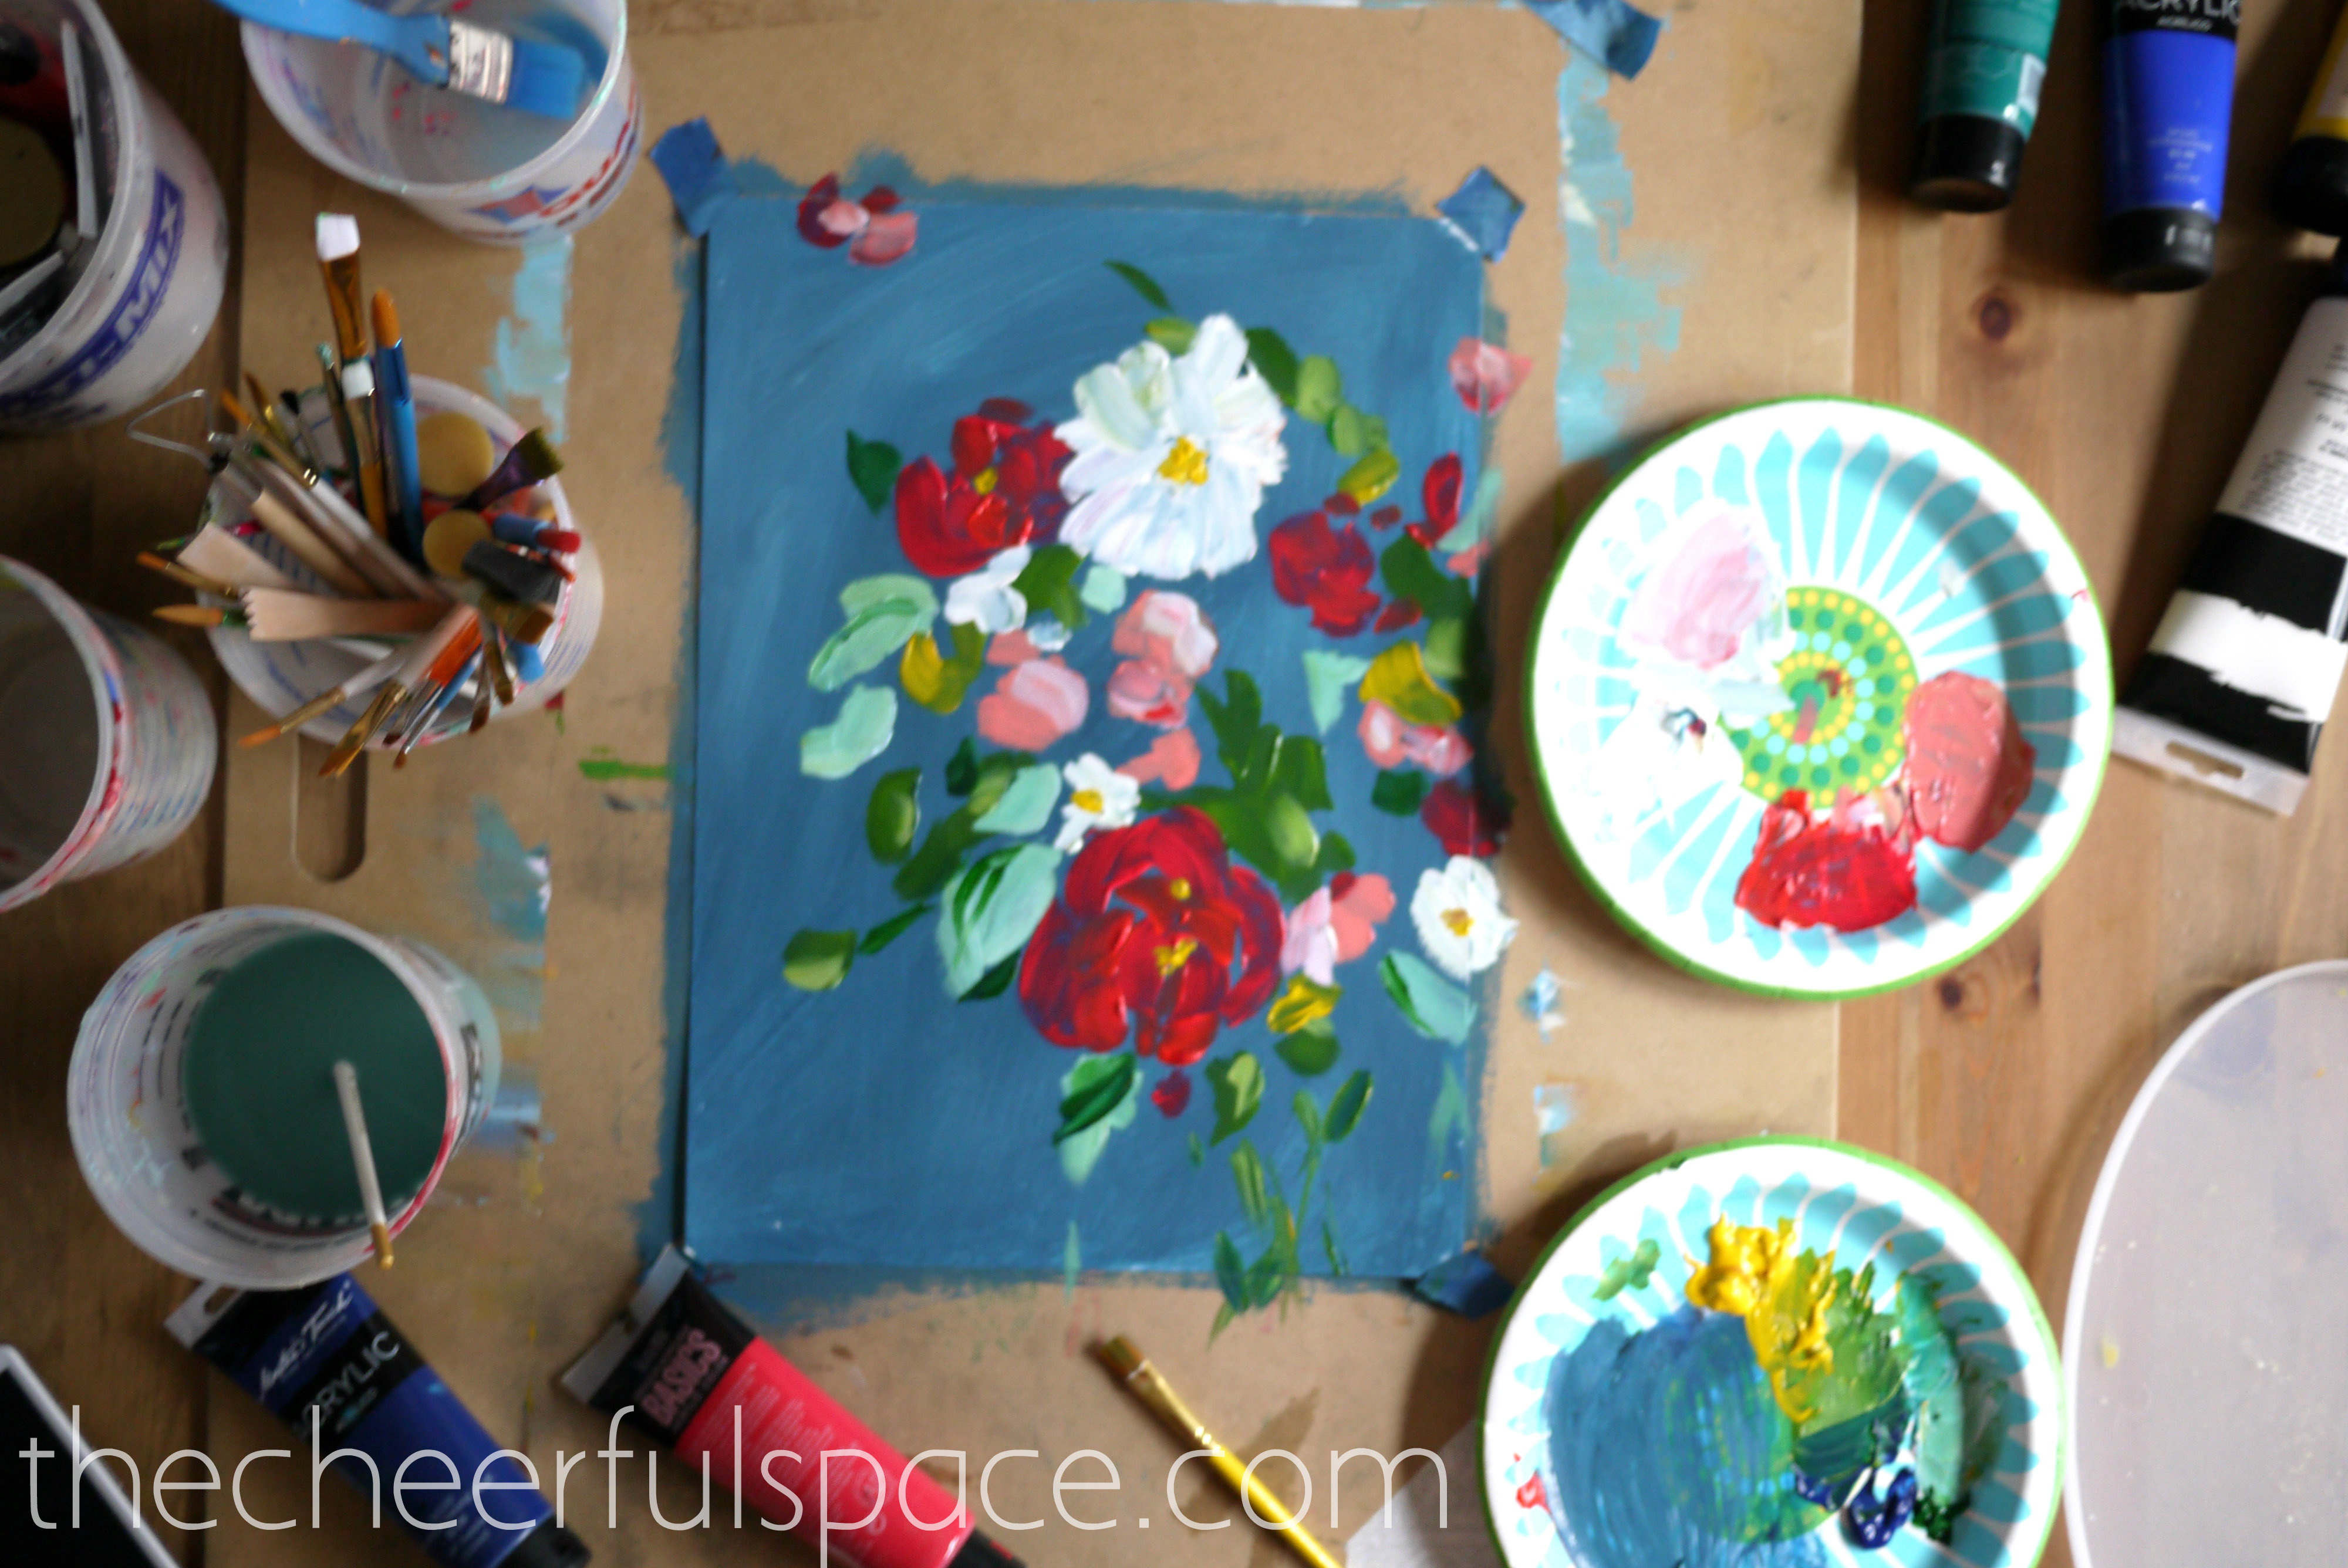
Adding some bright yellow in the center of your blooms, really brings the flowers to life!
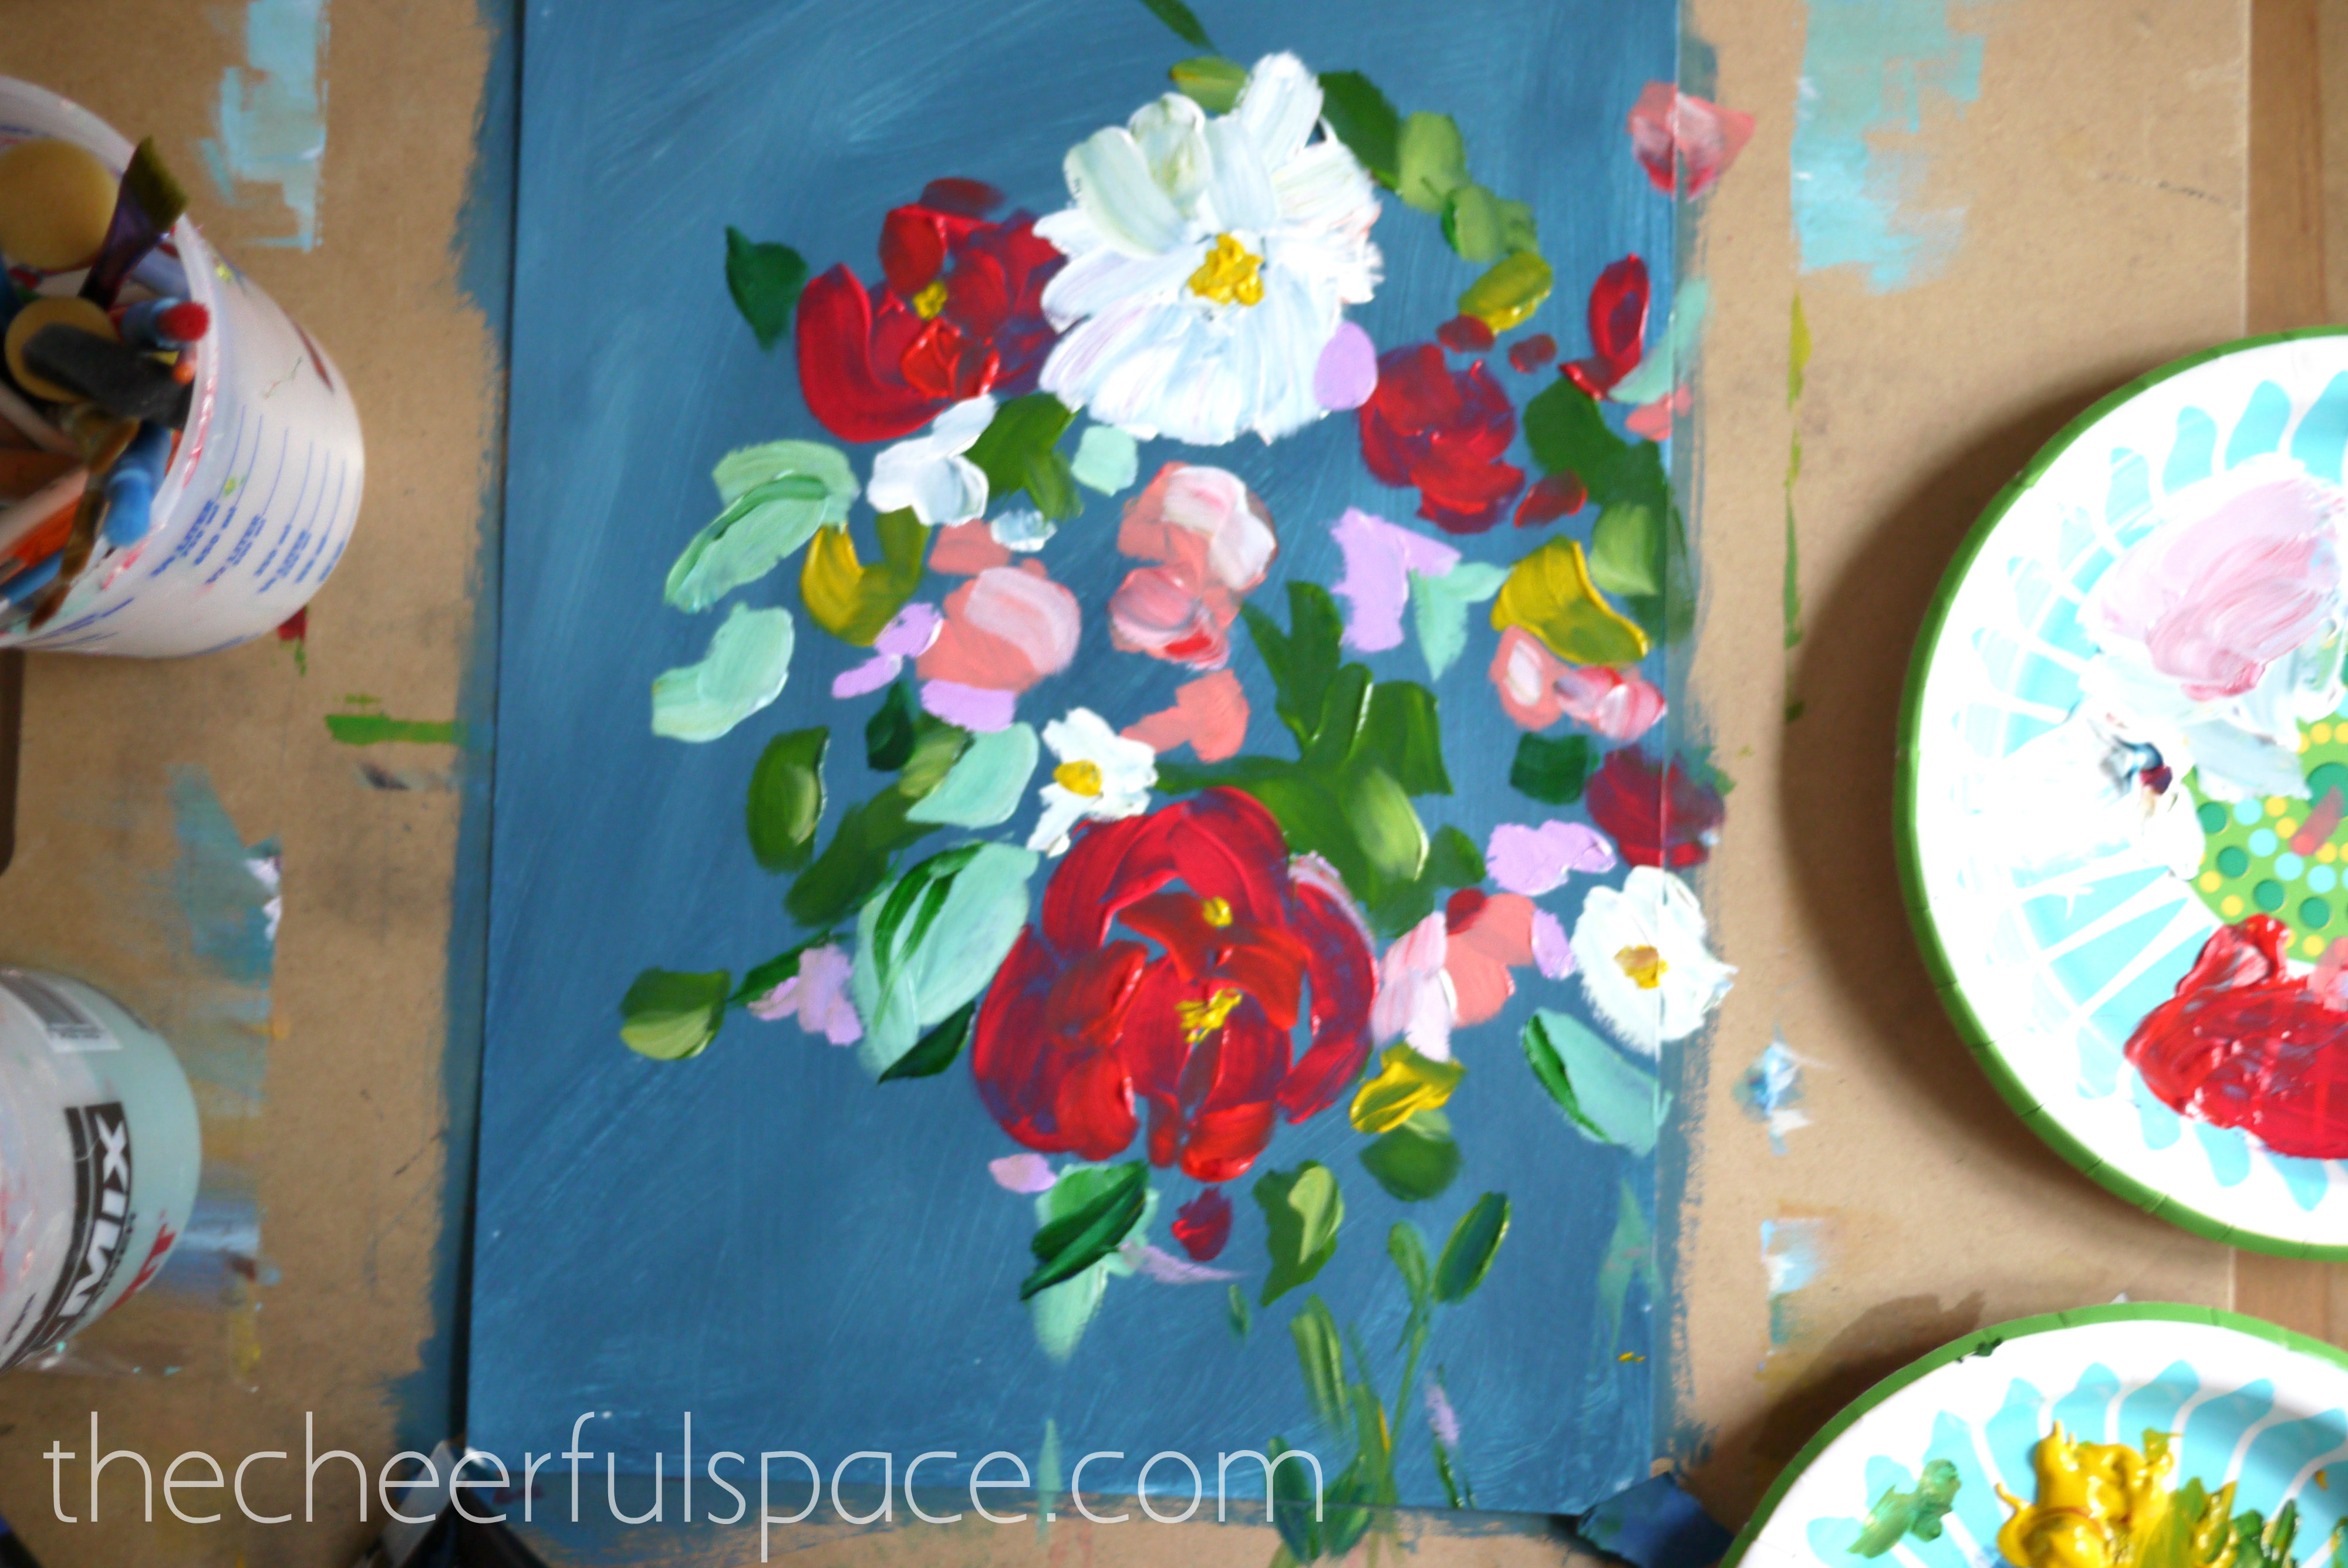
Here I added some dabs of a light lavender color.
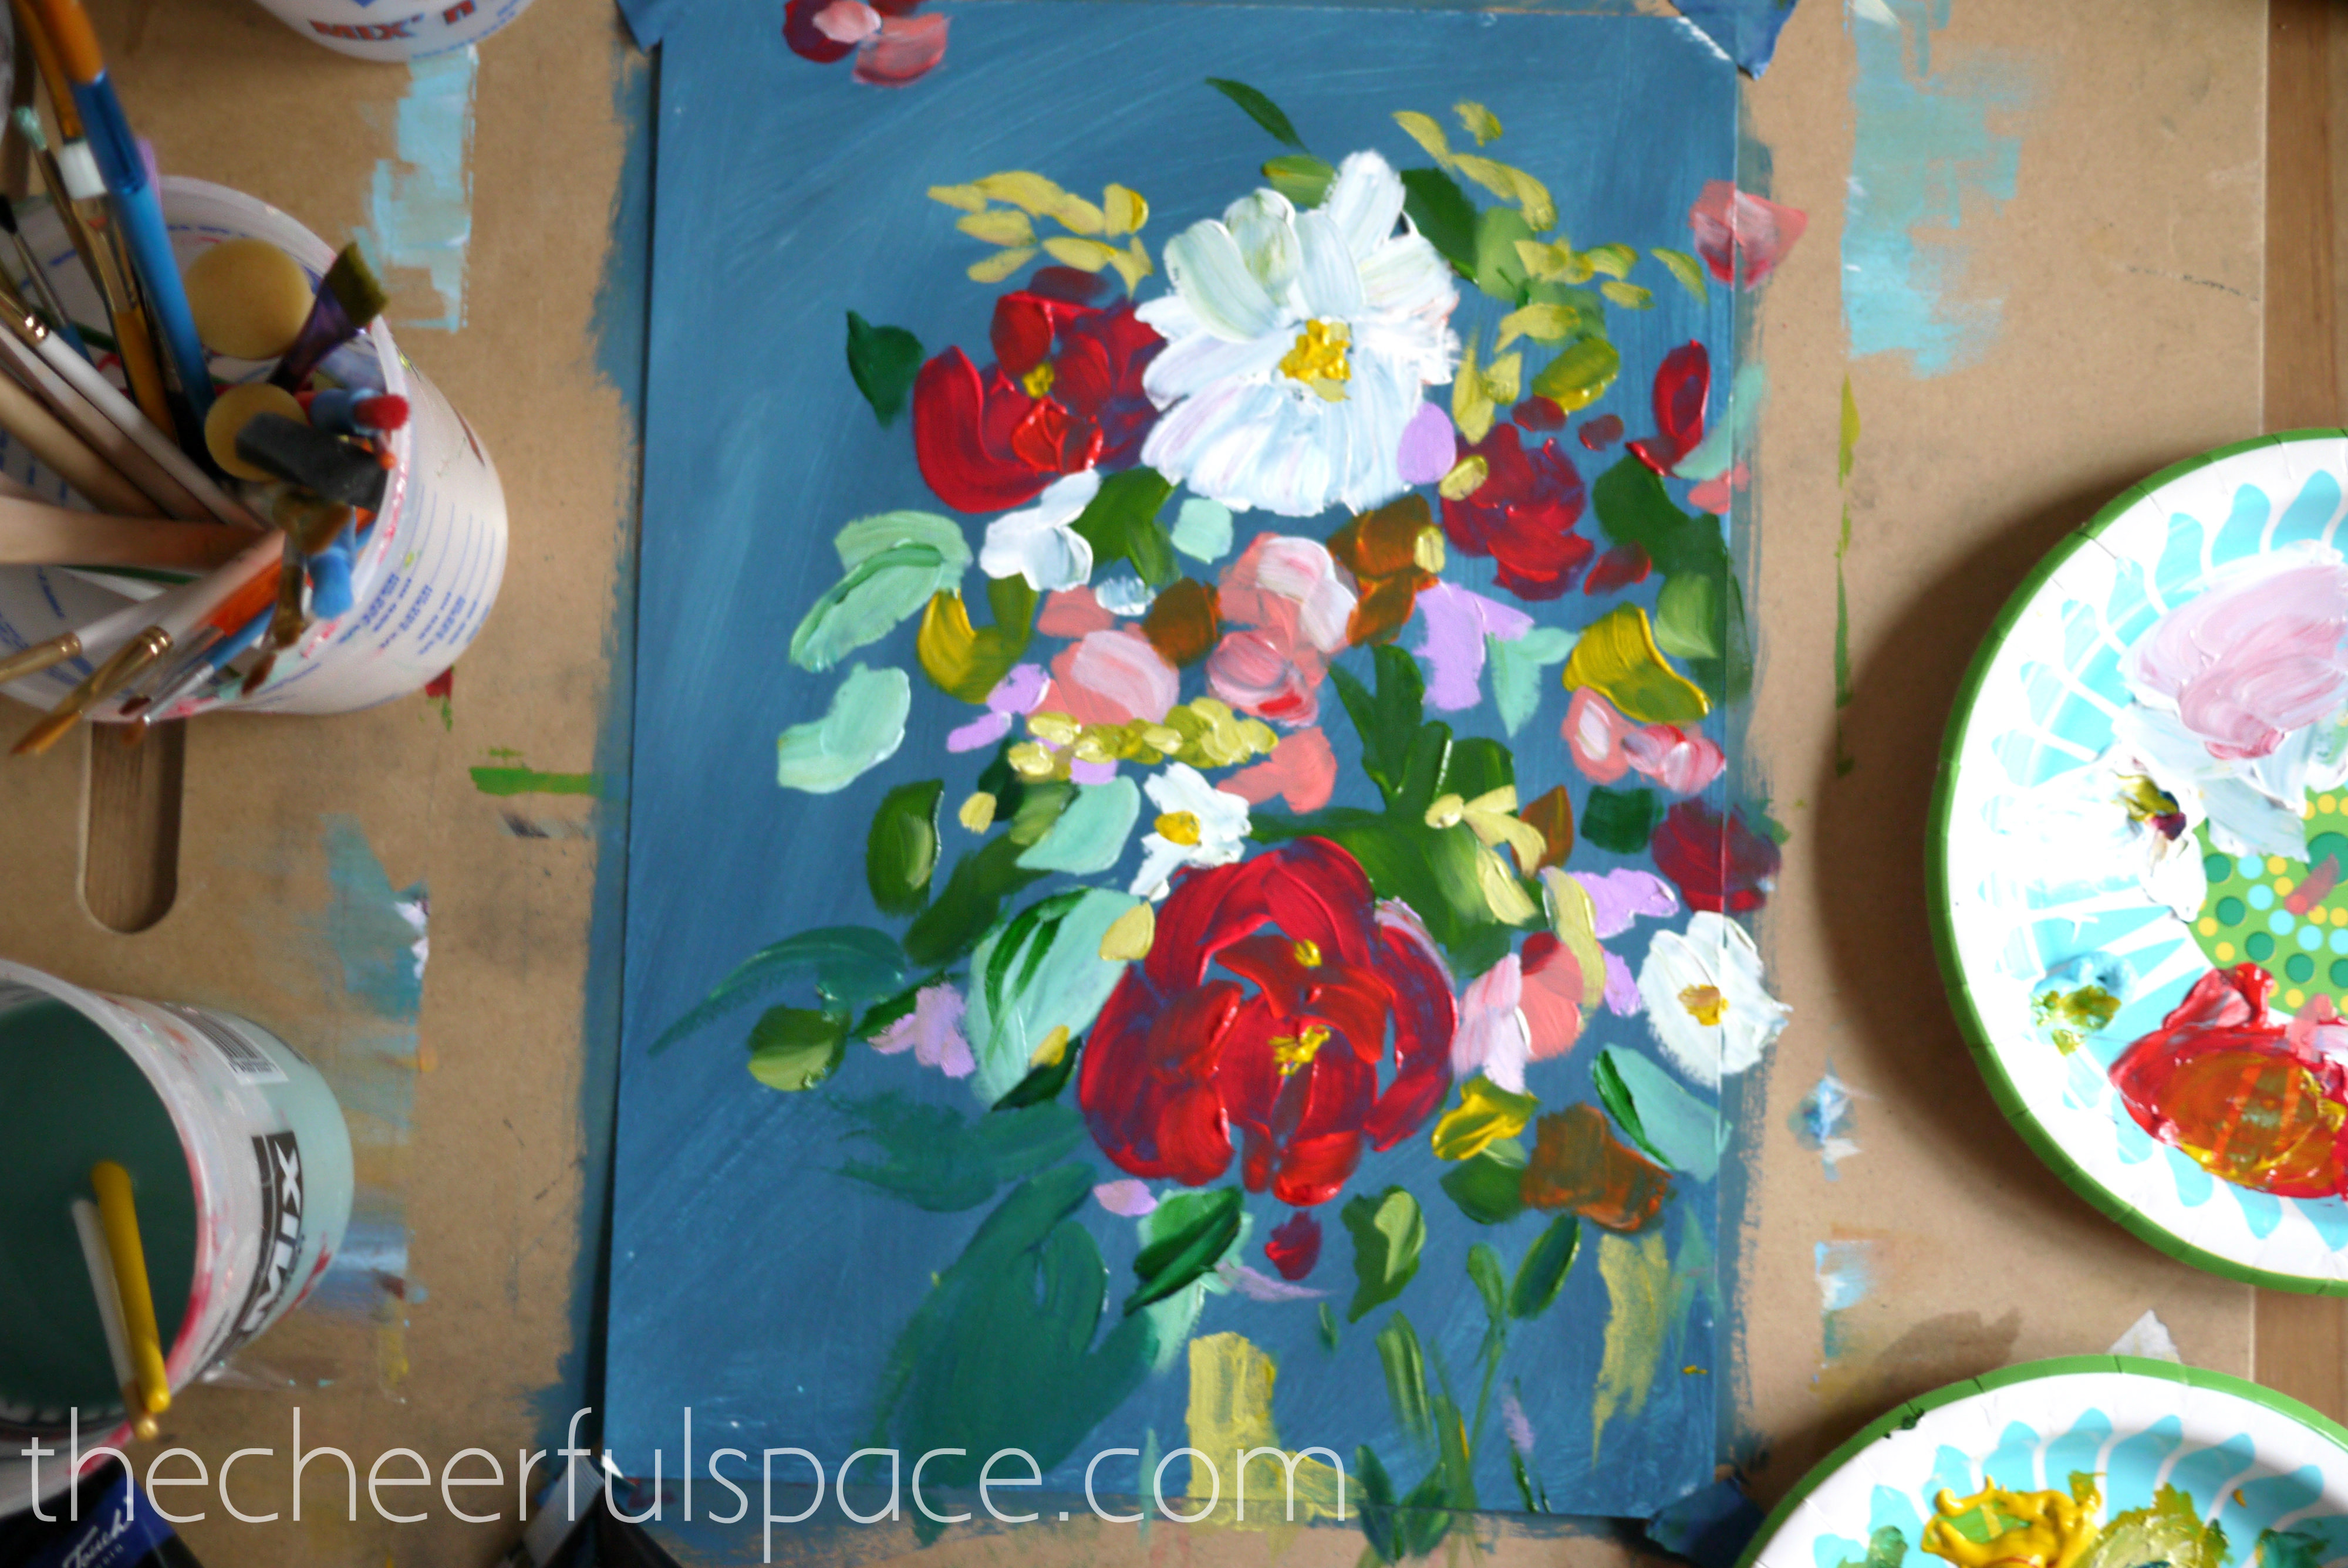
Go back in and fill in some of those bank spaces with more greens and blooms.
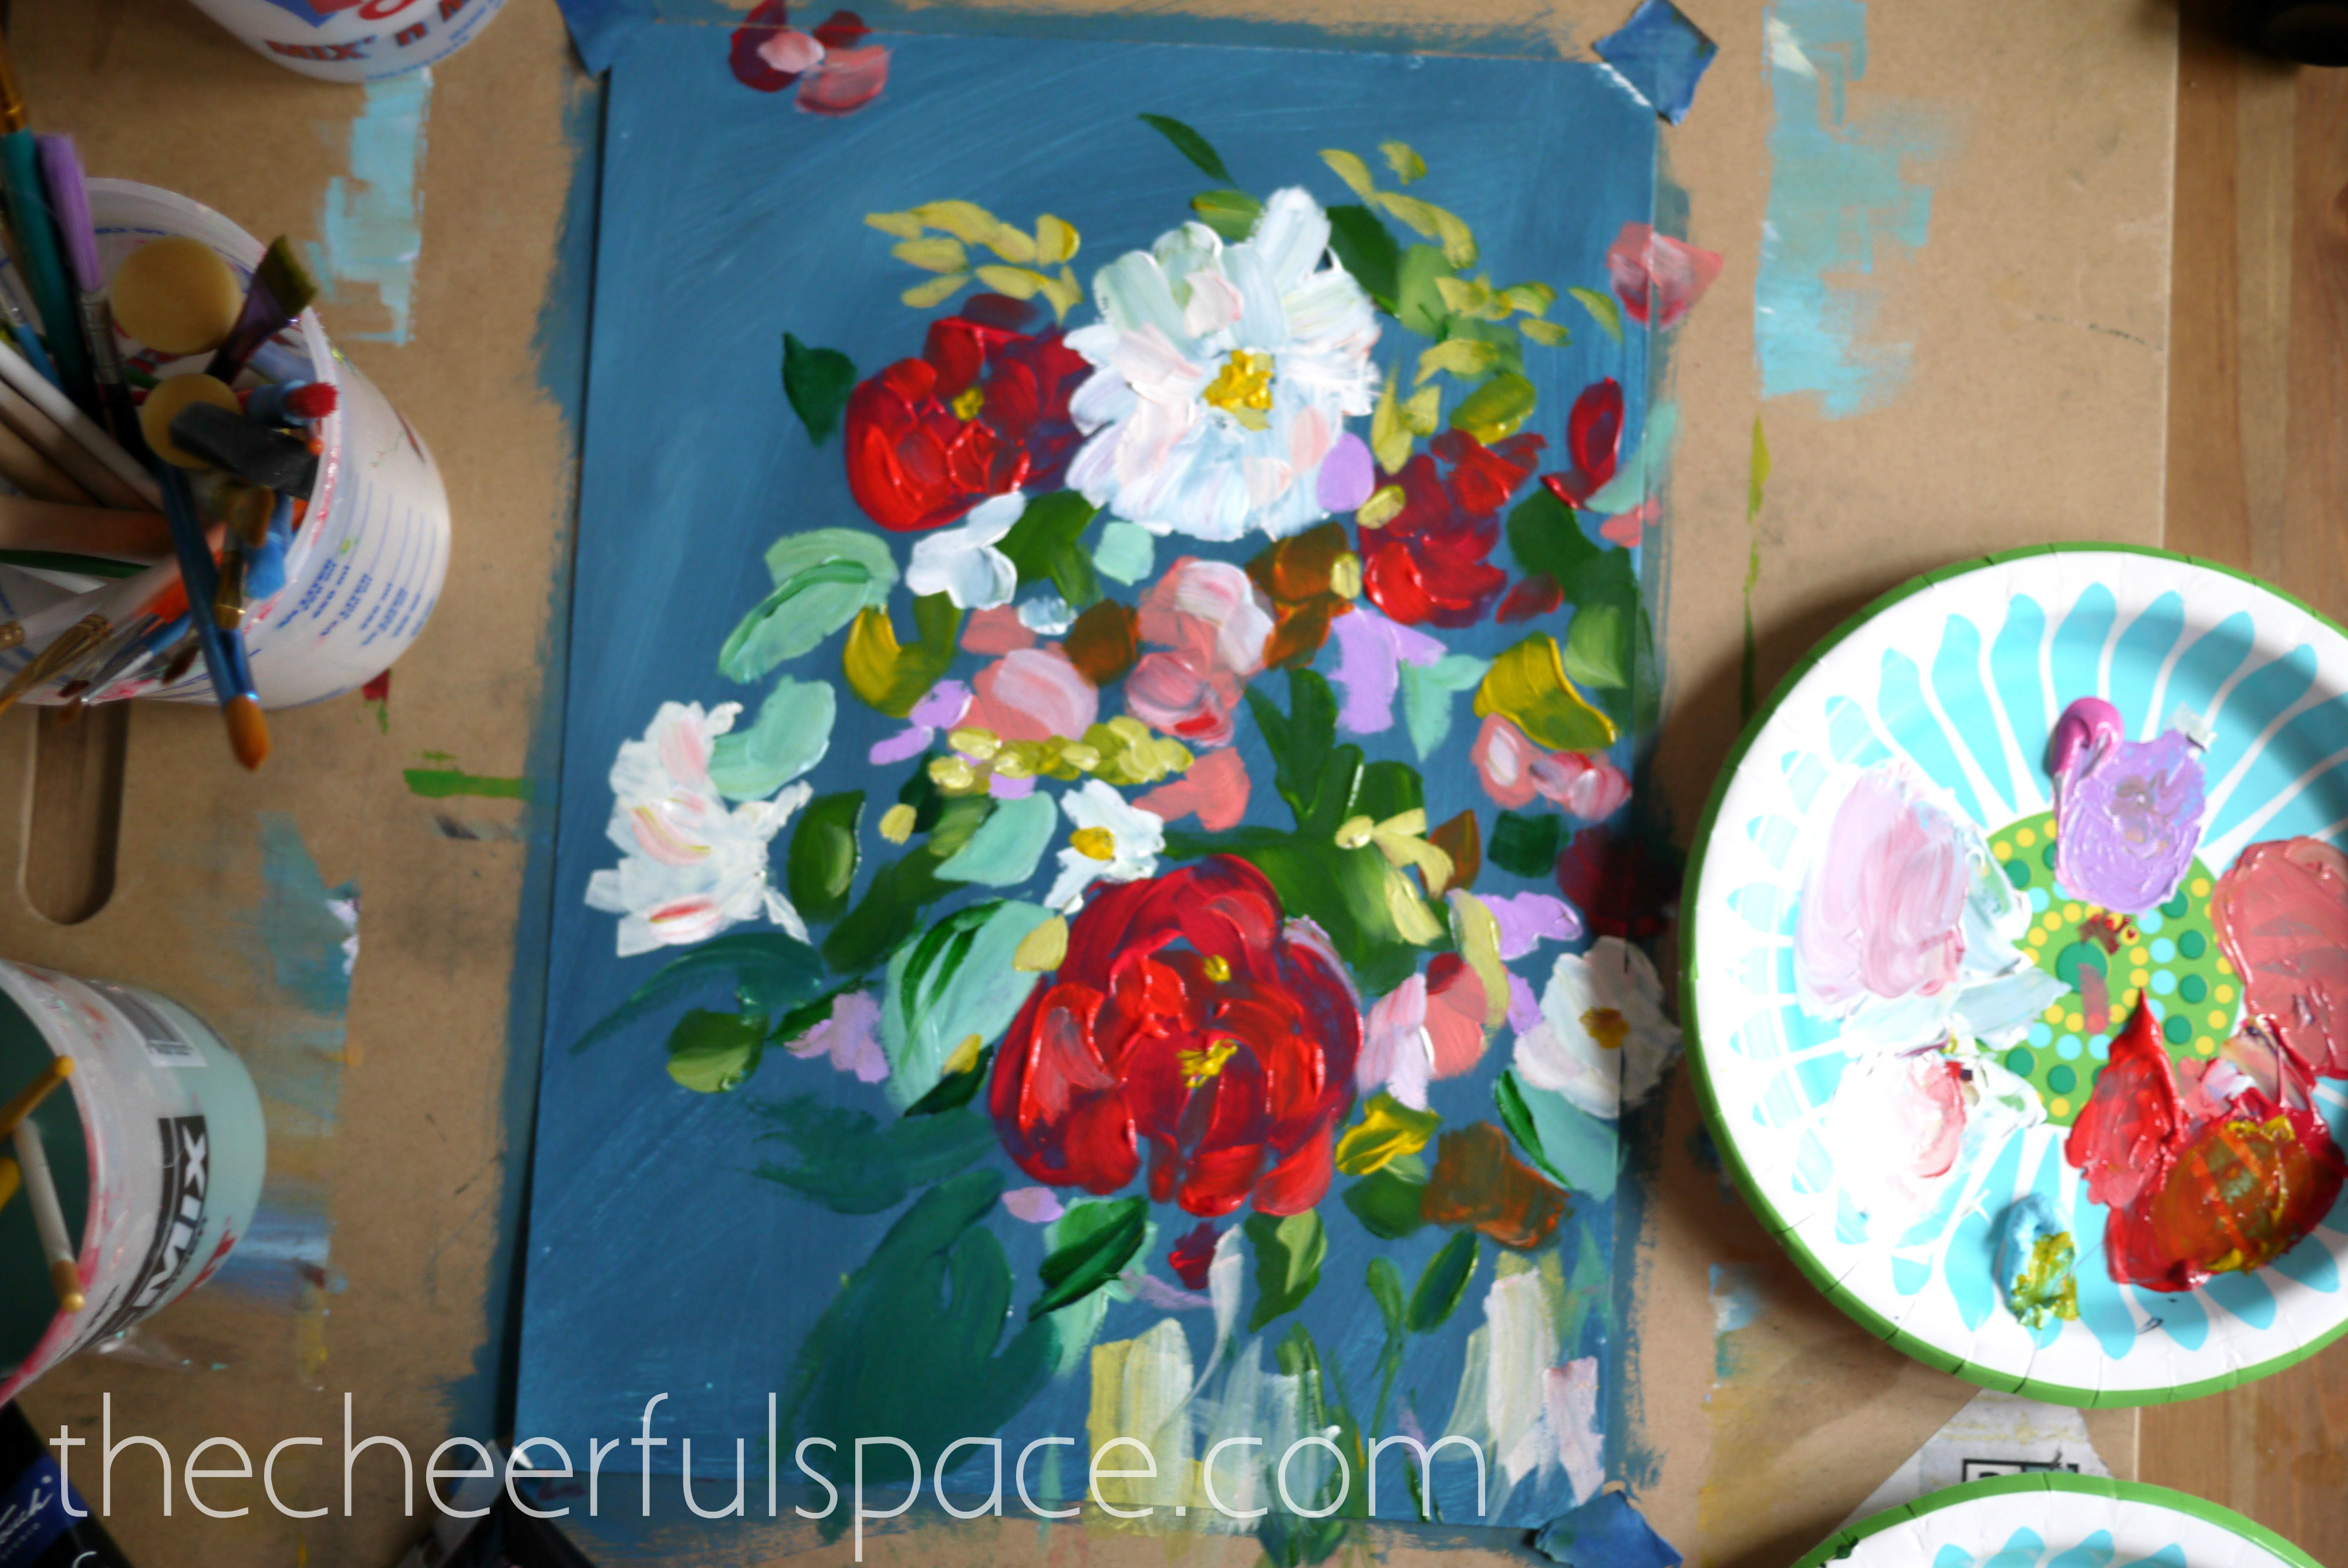
By the end, you can see I added in lots of different tones, and kinds of brushstrokes to create the painting. Lots of overlapping creates a sense of space too!
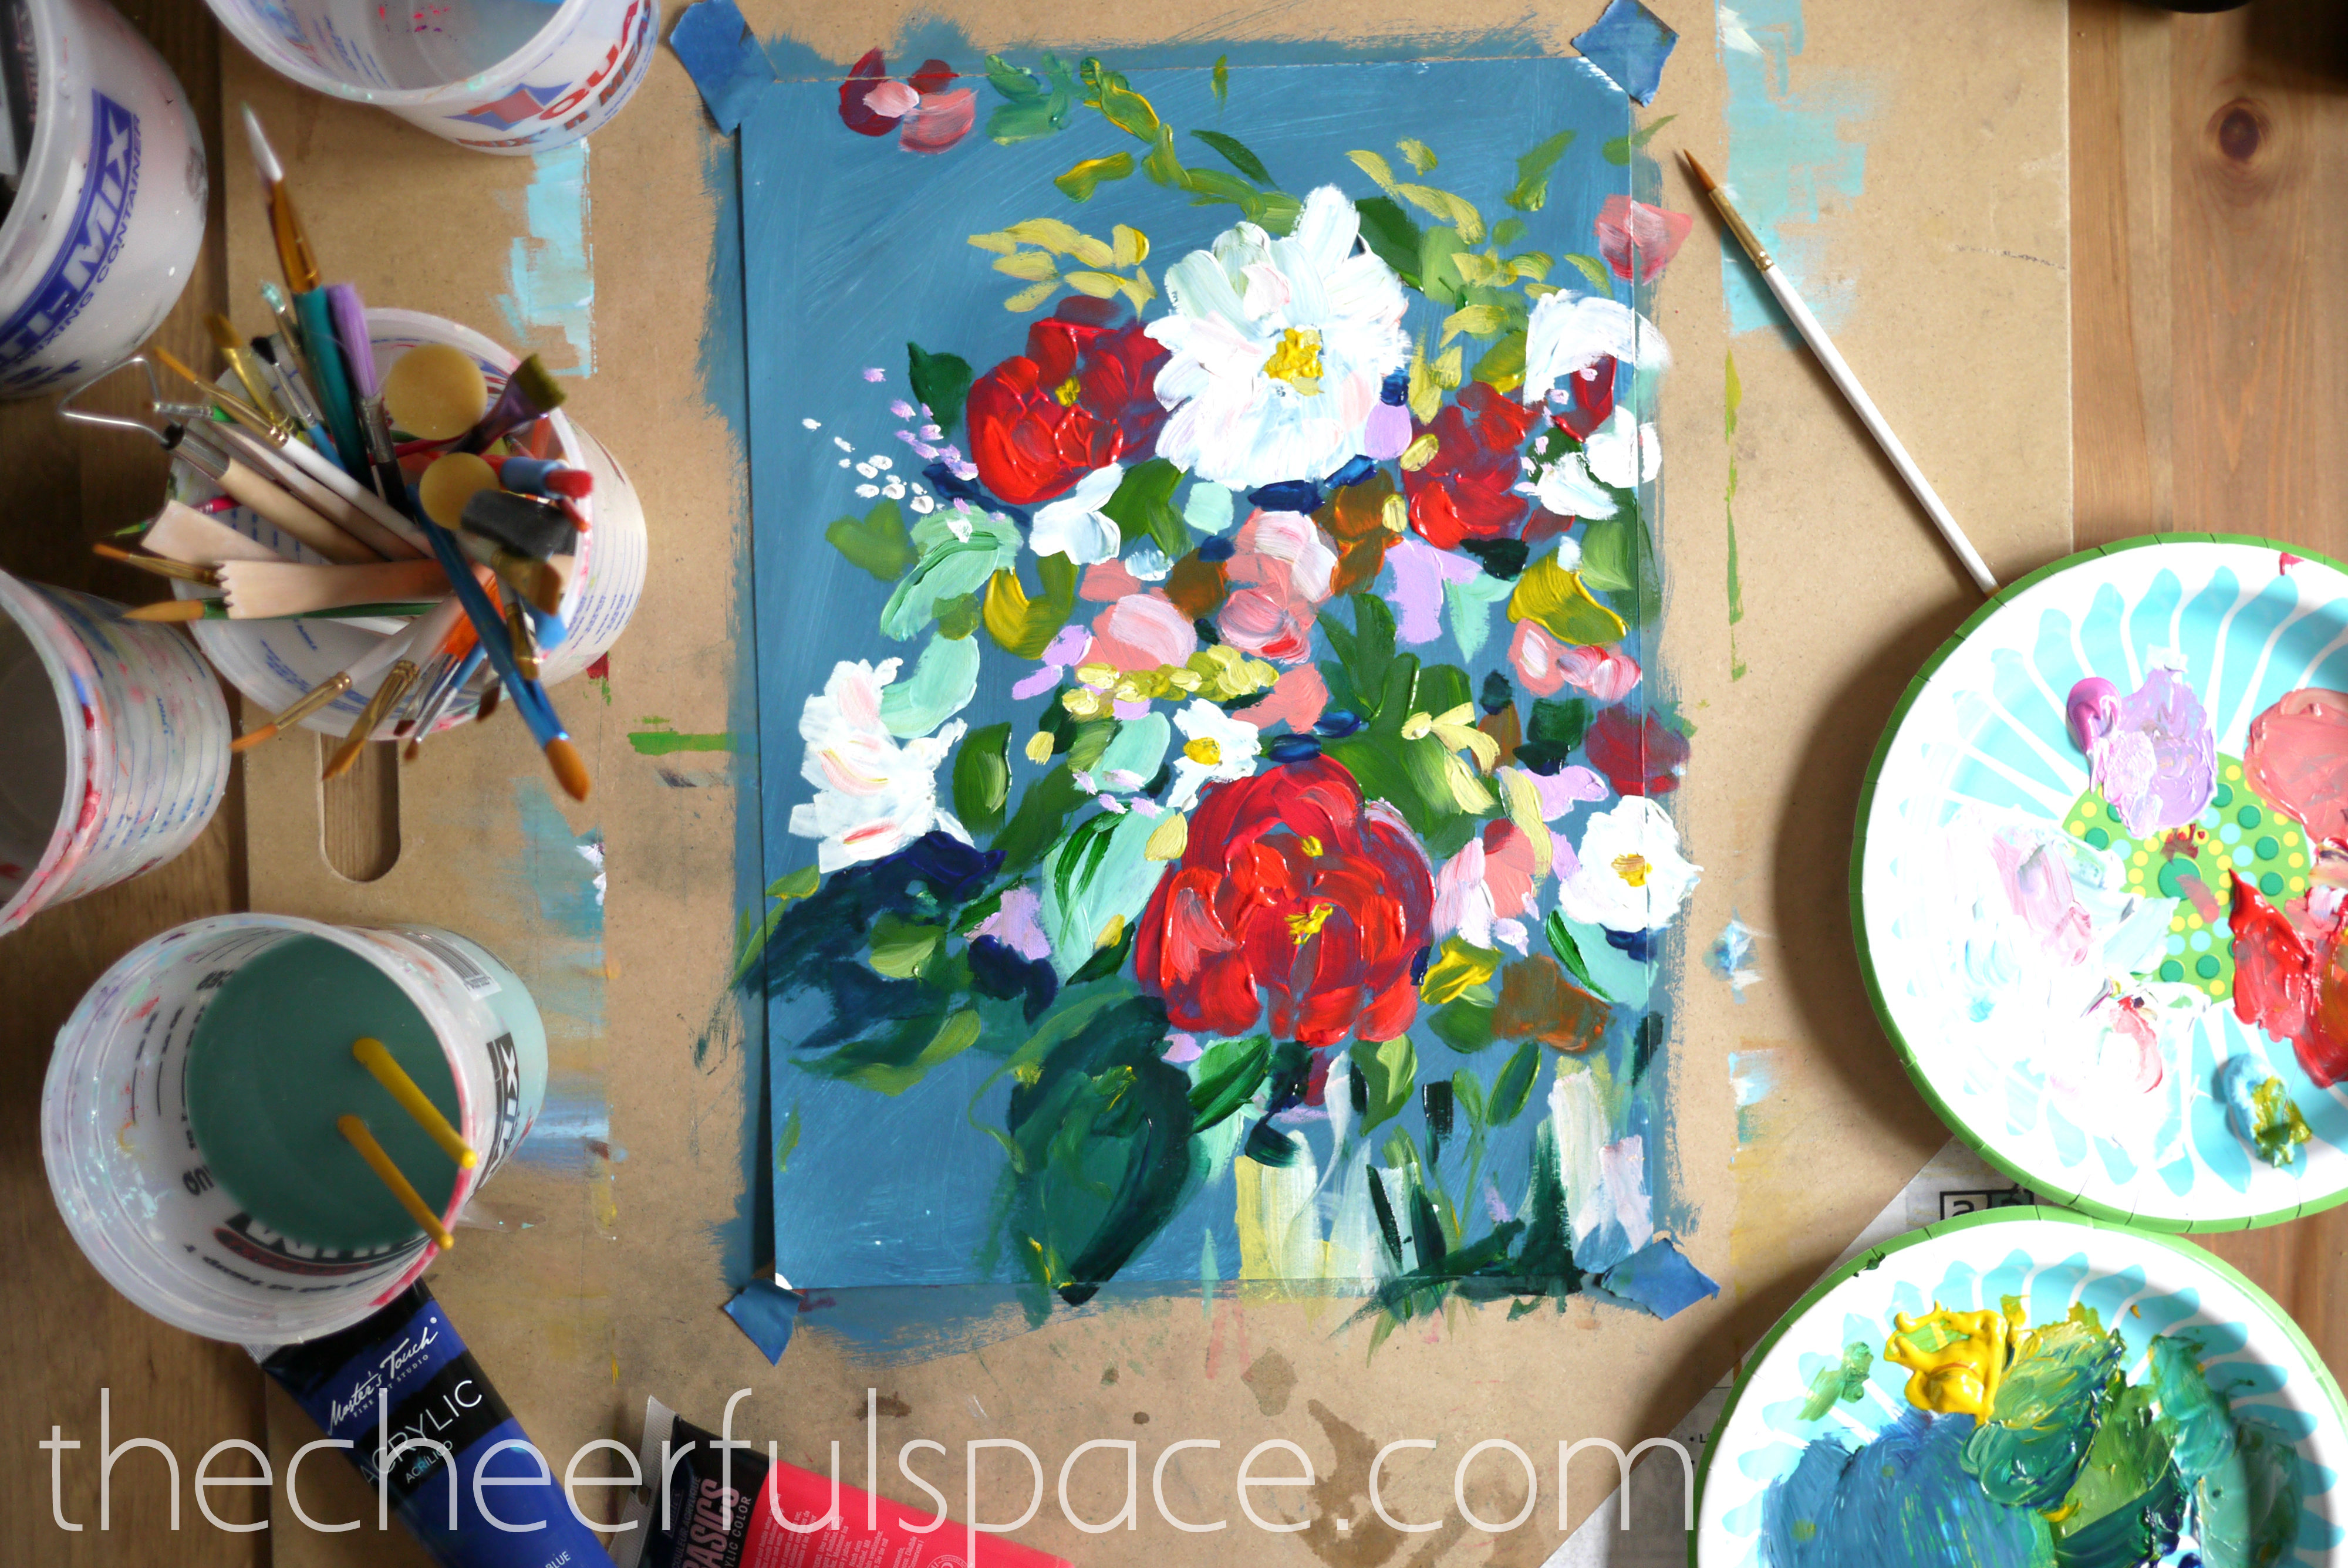
I hope this is helpful to get you started on your own painting! I find it helpful to look at pictures of bouquets of flowers for inspiration as I’m painting. Remember to stay loose with your brush strokes and don’t worry about recreating my painting. Everyone’s strokes and marks are different, that’s the beauty of art!
If you create a painting of your own, I’d love to see it!

Where was this post when I needed it a few weeks ago? Ha! This is gorgeous.
LikeLiked by 1 person
Thank you! 🙂
LikeLike
I’d like to try this in a 36 x 48”, super sized eye catching, bold as light piece! Wish me luck.
LikeLiked by 1 person
Sounds beautiful! Good luck Christina, and have fun!
LikeLike
THANK YOU SO MUCH…this is exactly what I need….your art is just beautiful - you are so talented!
LikeLike